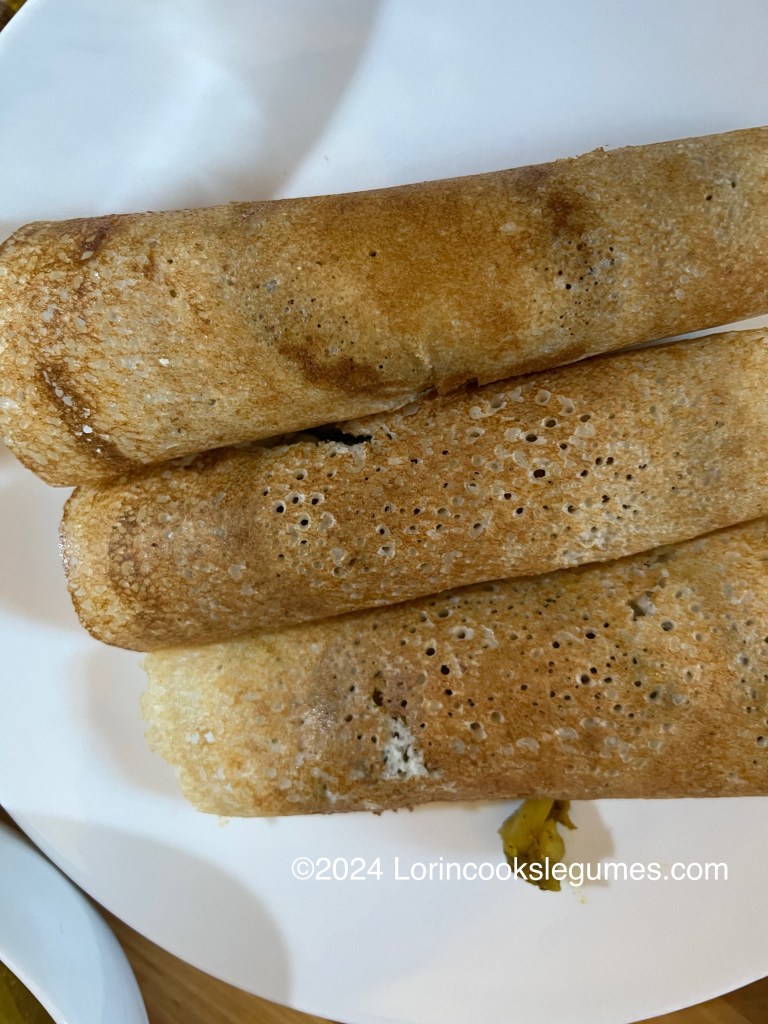
A dosa is a thin, savoury crepe in South Indian cuisine made from a fermented batter of ground white gramand rice. Dosas are served hot, often with chutney and sambar (a lentil-based vegetable stew). Dosas are popular in South Asia as well as around the world.
https://en.wikipedia.org/wiki/Dosa_(food)
I’m back, with another bread-like dish, made with urad dal and rice. Dosas are basically Indian crepes, and they get served with just as many different fillings or sauces as their French counterpart. Plain dosas are known as sada dosa, and are traditionally served with coconut chutney and sambar. The most popular “fancy” version is masala dosa, which are filled with a spiced potato mixture.
Dosas are made from a very similar, fermented, batter to idilis. In fact, many Indian households use the same batter for both preparations (as well as several other dishes), simply adjusting the amount of water, and maybe adding some other ingredients for different preparations. Because it’s a fermented batter than takes quite a bit of time to prepare, many households make big batches and then make several different meals from it over the course of several days (most sources say the batter will keep for a week in the refrigerator). Of course, other people tell you that you need different proportions of urad dal and rice to make good dosas than you do for good idlis, and many people add some chana or toor dal to the dosa batter to enhance the color.
Of course, that brings up the question, just what are the characteristics of a “good” dosa? There are lots of different versions, some thicker and soft, some thin and crispy… The general consensus is that a good dosa should be both soft and crispy. My experience says that in order to achieve that it MUST be served straight out of the pan, onto a plate and into your mouth. In the time it takes to cook one or two more dosas, the crispy crust will have softened. I thought they were still delicious when soft, but I can definitely see that crispy they would be almost addictive.
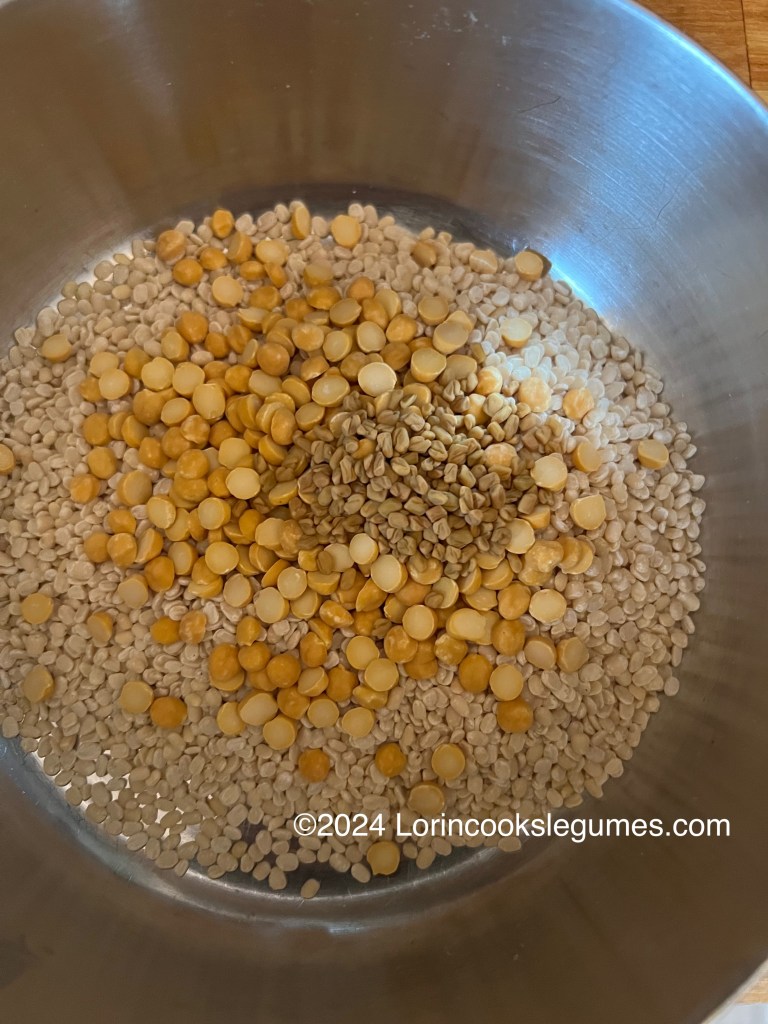
The first step to making dosa is to soak the dals, fenugreek, and rice. I chose to keep the dal and rice separate so that I could make sure that the dal was ground smooth, while the rice retained a little bit of grittiness, which supposedly helps make crispy dosas. However, quite a few of the recipes I looked at just put everything in one bowl. Use non-chlorinated water to rinse and soak everything, so we don’t kill off the bacteria that will cause the fermentation.
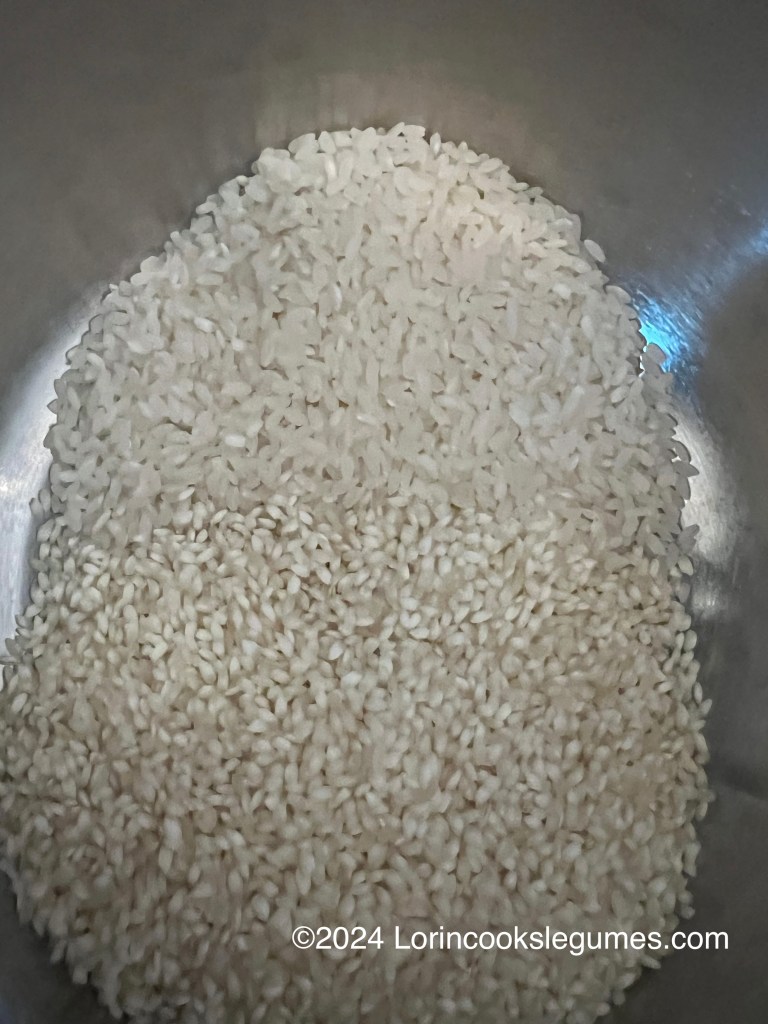
You can use pretty much any type of rice you like; different varieties, and different ratios of regular rice to idli rice will change the flavor and texture of your dosas, so play around and find what you like! Idli rice * has been parboiled, and is intended specifically for making batters like this. However, a number of the recipes I looked at said that using all idli rice negatively affected the texture. I just used whatever basic white rice we had in the house, along with idli rice, and thought the dosas turned out fine, so no need to go buy some special variety of regular rice. The idli rice, on the other hand, is different from “instant” rice or other varieties of parboiled rice available in American grocery stores. If you don’t want to buy idli rice, I’d suggest using all regular rice over using another variety of parboiled rice.
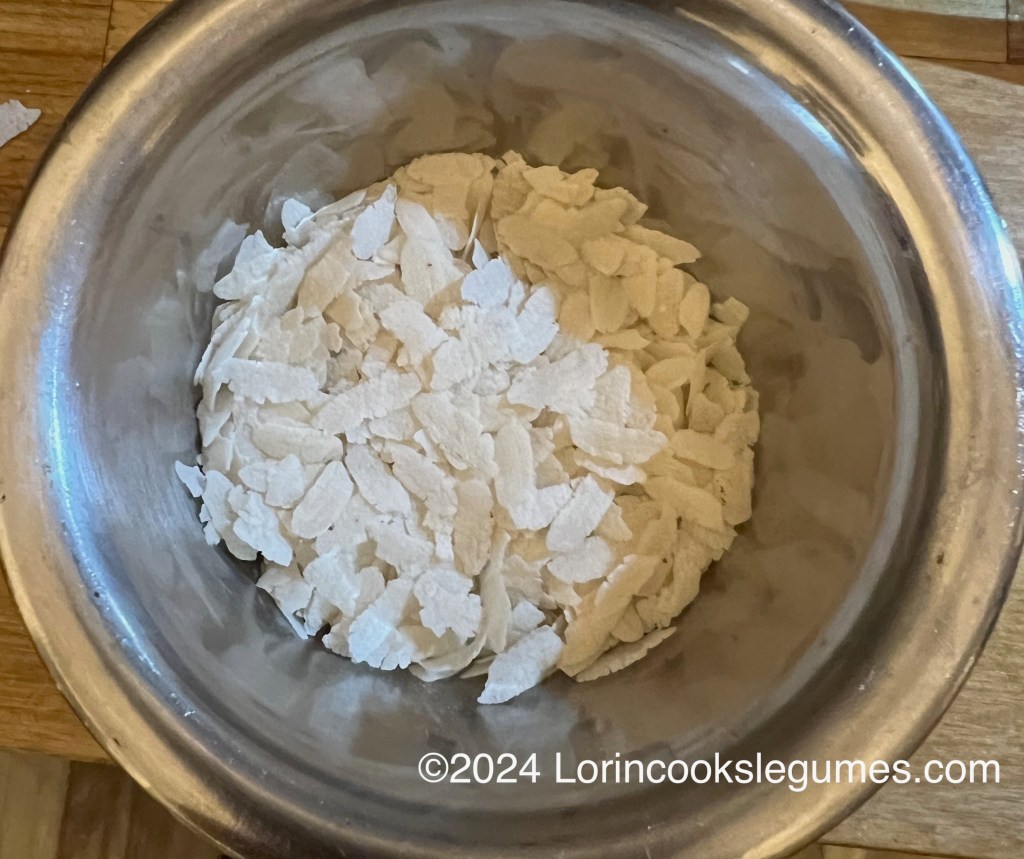
After the dals and rice have soaked for 5 hours or so, you want to soak a little poha *, which is “flattened” or “beaten rice” (think rolled oats, but with rice) for about 30 minutes.
Now it’s time to grind the batter. In India, most households own a wet grinder *, which looks a lot like a food processor, but has stone grinding wheels inside instead of metal blades. Fortunately a high speed blender, like the BlendTec * I already own, does a decent job, because I wasn’t about to spend over $200 for an appliance I’d only use a couple times. Drain the dal and add it to the blender along with about a cup of cold, non-chlorinated, water. Grind to a smooth, thin, but not watery, batter and transfer to a large bowl. Repeat with the rice and poha, keeping the batter slightly gritty.
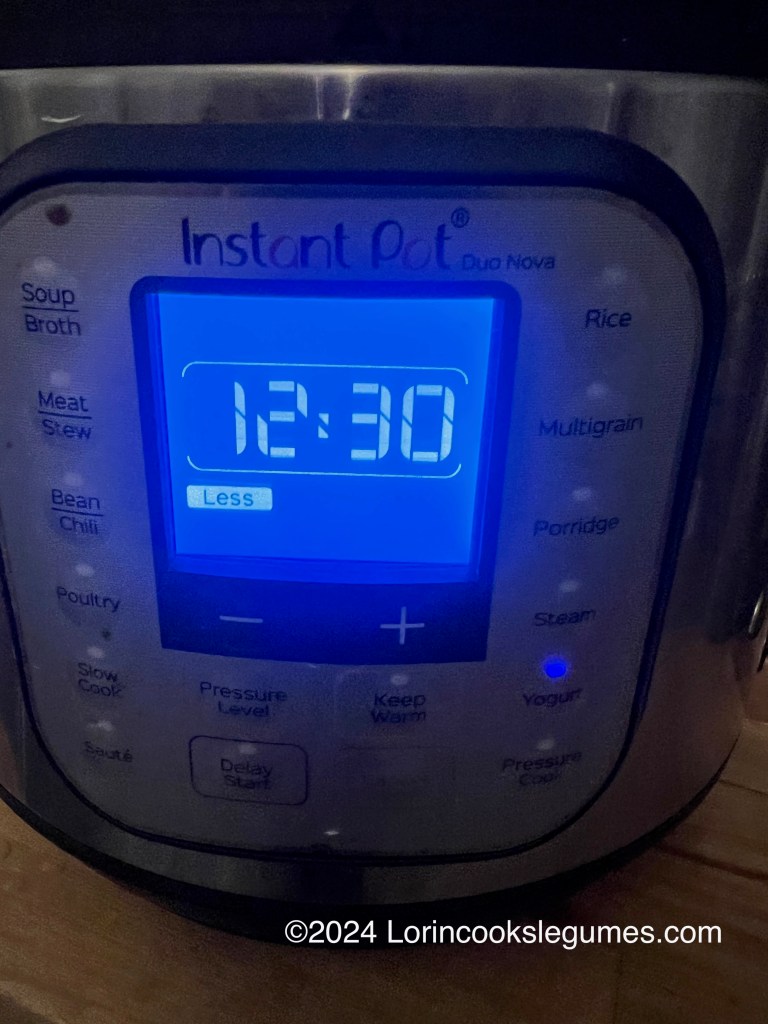
Combine the rice and dal batters, and use your hands to mix well for a couple minutes. (Supposedly the heat from your hands will help start the fermentation process). Loosely cover the bowl and place in a warm location to ferment; this could be on your kitchen counter in very warm weather, but in colder climates you’ll want to give it a warmer environment to encourage fermentation, ideally somewhere between 80 and 90 degrees, F. Most people suggest preheating your oven to the lowest setting, turn it off, allow to cool for 10 minutes or so, and then place the bowl inside, and leave the light on if your oven has one. Or, if you own an Instant Pot * with a yogurt mode, the low setting on that is the ideal temperature.
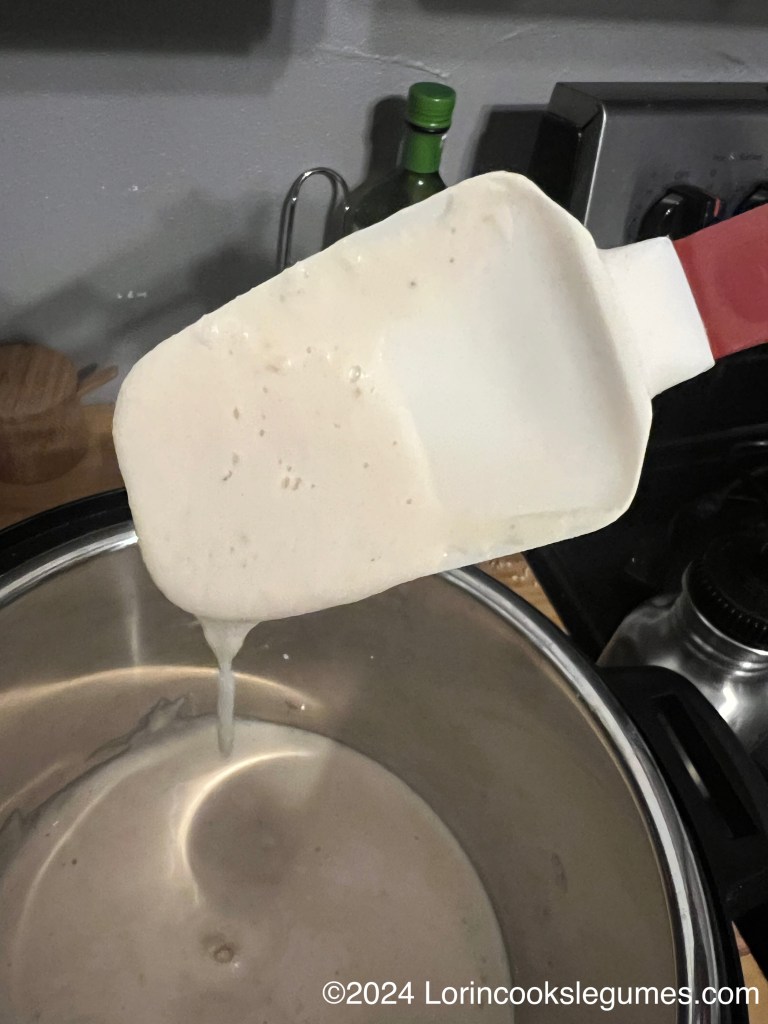
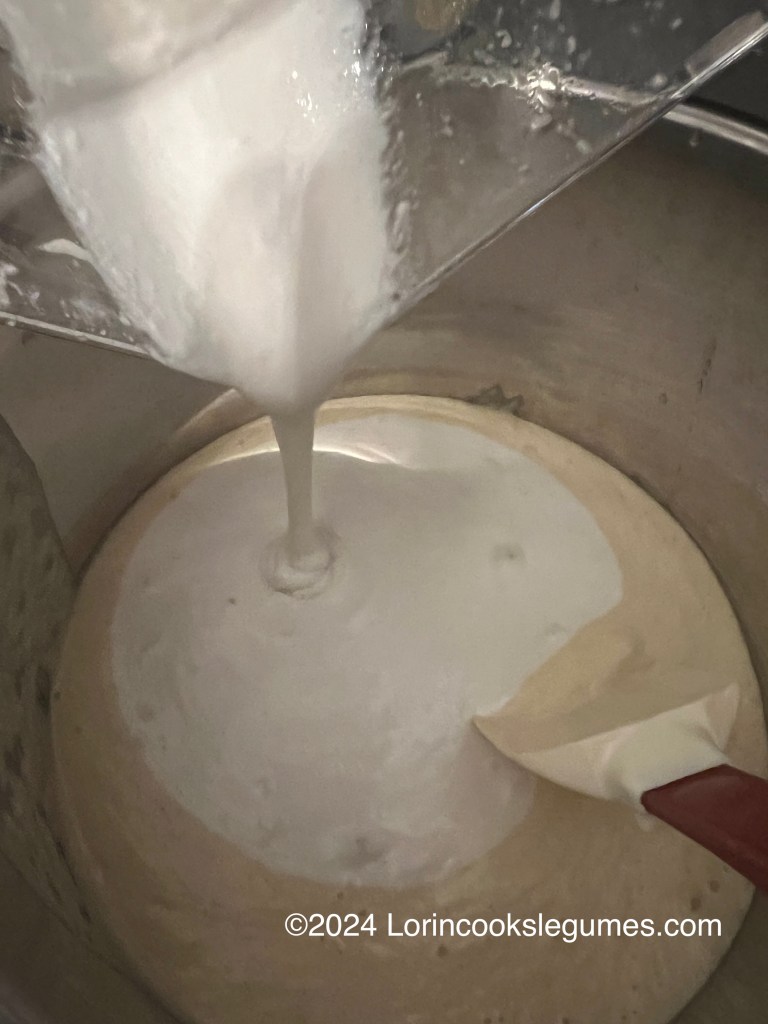
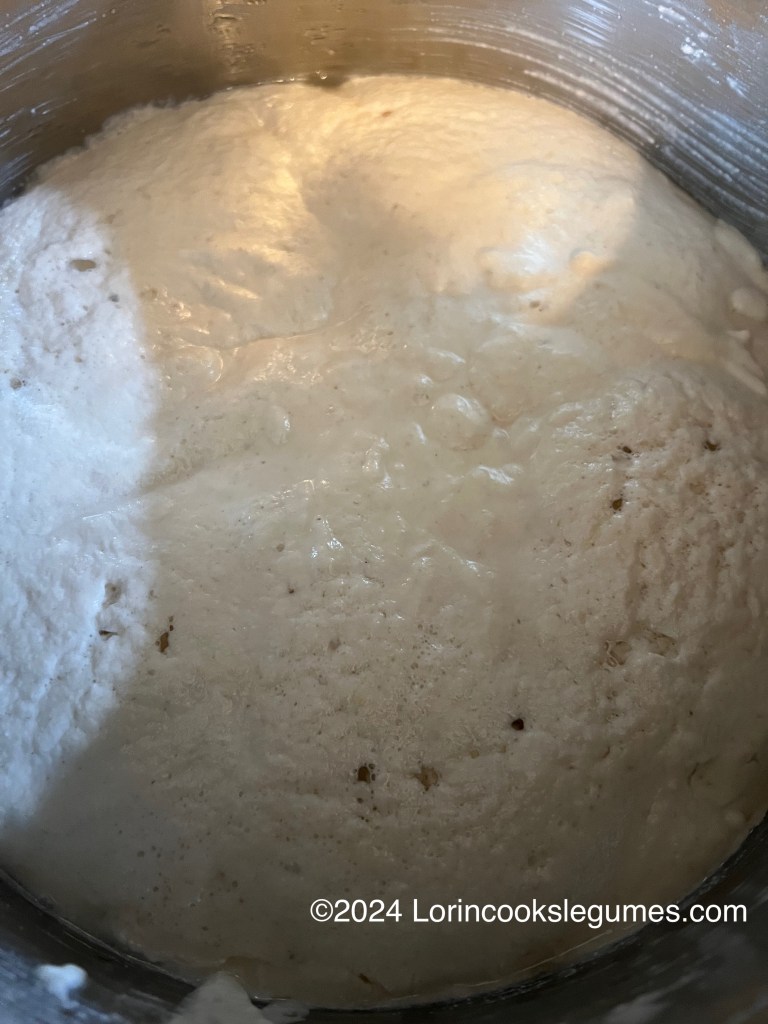
The fermentation process will take anywhere from 6 to 24 hours, depending on temperature, how thick your batter is, and how much natural yeast was on your urad dal. My batter took close to 20 hours to ferment, but once it got going it really did get super fluffy and double in volume. Based on that experience, I think I have a better understanding of where I could improve my process for the Idli batter that I struggled with last time- Primarily, I think my batter was too thick, and perhaps giving it a stir once it started fermenting would help; with the dosa batter, after I decided it was ready, I gave it a stir, and then left it in the IP while I prepared the rest of the meal, and a couple hours later when I was ready to cook the dosas, it had truly doubled in volume.
Unlike idli, dosas don’t actually require the batter to be fermented. The flavor of fermented batter is likely better, and it will be easier to digest, but the dosas will still cook up nice and crispy even if the batter hasn’t fermented, so if your batter is taking forever to ferment, it doesn’t have to derail your menu plan.
There’s much debate as to whether to add salt before or after fermentation, with some folks claiming it inhibits fermentation, while others say it helps. I think that most of the people adding it early were using some sort of unrefined rock salt, more common in India, that will have other minerals etc. that might counteract the fermentation inhibiting aspects. Some folks claim that salted batter will over ferment faster, so if you are not cooking all your dosas in one go, it is best to salt only the portion of batter you intend to cook at one time, which is the advice I chose to follow. If you are adding salt prior to fermentation, or intend to store salted batter, make sure to use non-iodized salt, as iodine will kill the yeast and bacteria that cause fermentation.
Once the batter is fermented, the real art of dosas begins: cooking them. In India, a tava, or cast iron griddle *, is used. I used my 9″ cast iron skillet, but it would definitely have been easier on a pan with no sides. Most recipes said you can also use a non-stick pan, but will get better color with cast iron. I believe I have a heavy bottomed, non-stick crepe pan squirreled away in a box somewhere. If I make these again I might give that a try.
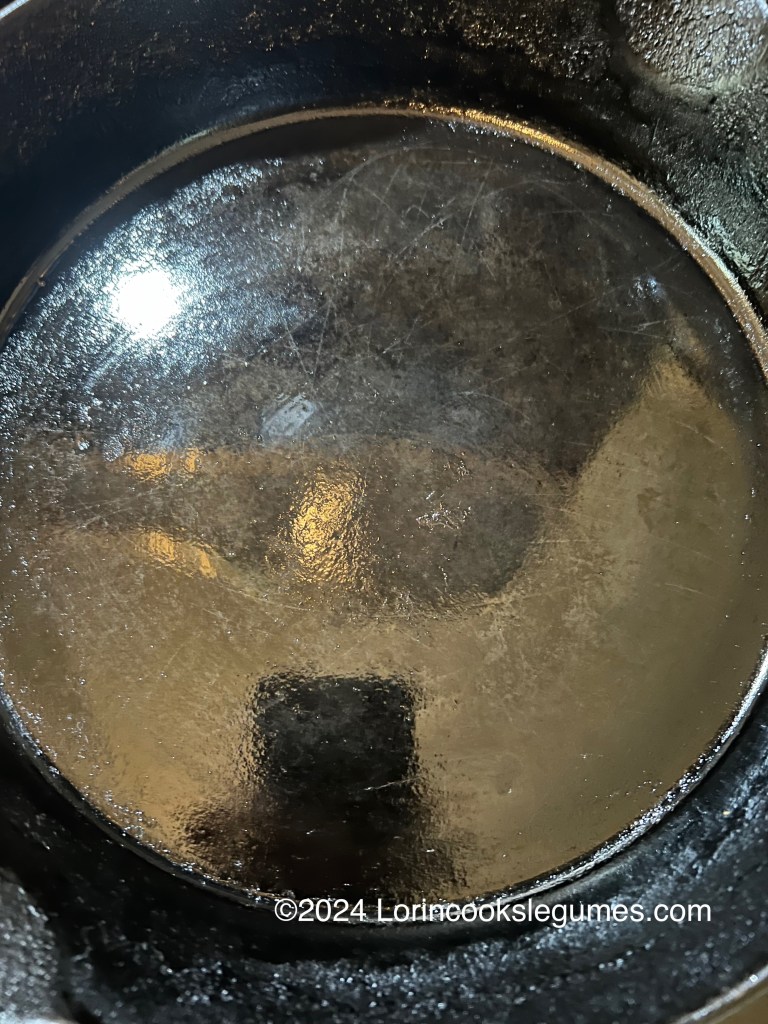
Cooking crispy dosa is all about heat control. You want to get your pan hot enough that a few drops of water sprinkled on it start dancing and evaporate almost immediately. Once hot, turn the heat to low and oil the pan very lightly; I used a spritzer * to mist a bit of oil on the pan, then wiped it with a paper towel to spread it. In Indian kitchens, the common practice seems to be to cut an onion in half, stab it with a fork, and use the cut side to spread the oil. Some recipes even seemed to be just rubbing the pan with the cut onion without oil. If using a non stick pan, oil may prevent the batter from sticking, making it hard to spread; you’ll need to experiment to see what works for you.
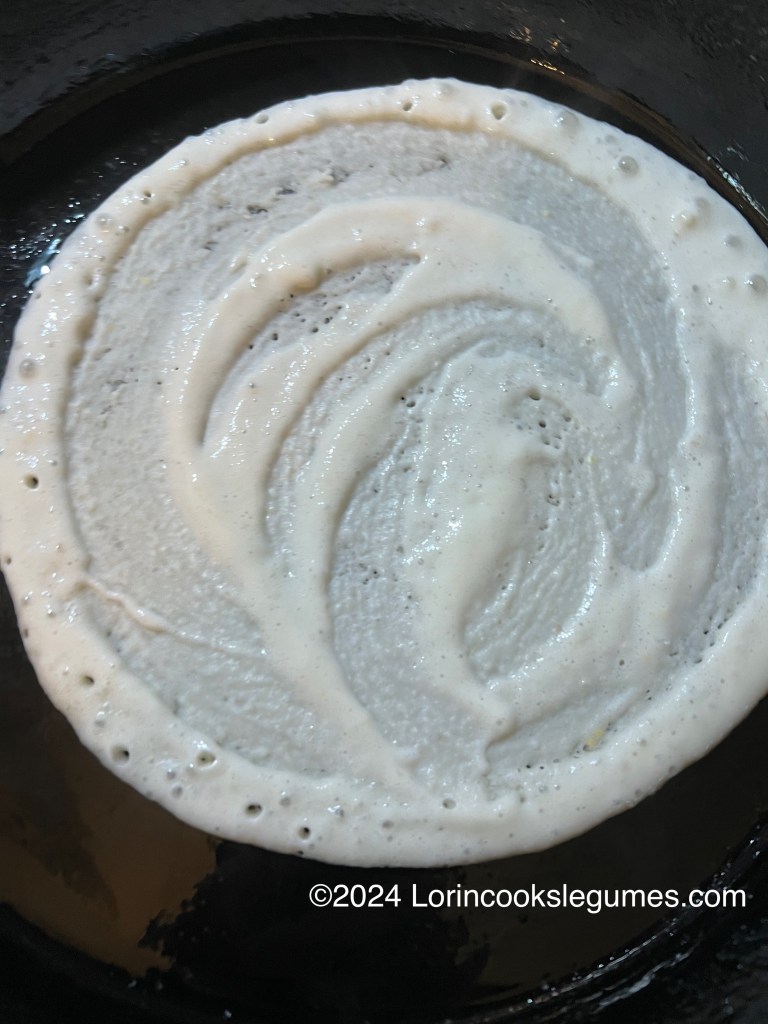
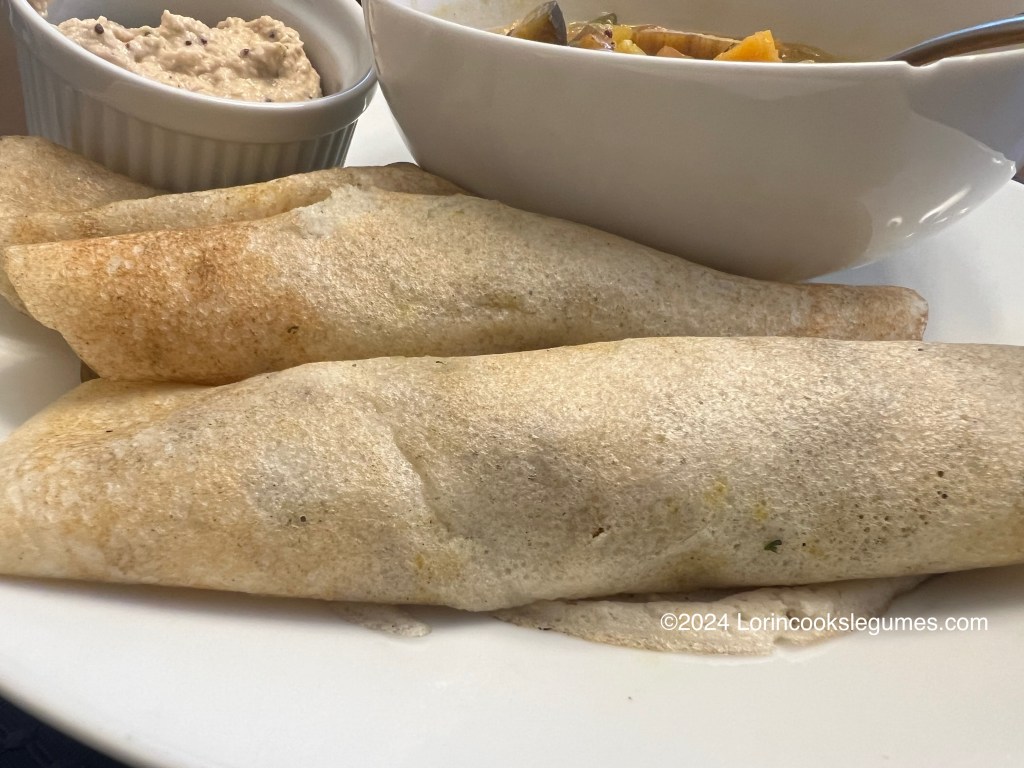
Getting the heat right is definitely a trick. If you compare the image at the top of the post, with the last picture in the gallery below, you can see that one batch has much better color than the other. I used a higher powered burner the second day, which led to much better color and crispier dosas, with faster cook time. I think I was overly concerned about not overheating the pan the first day, and should have turned the heat a little higher.
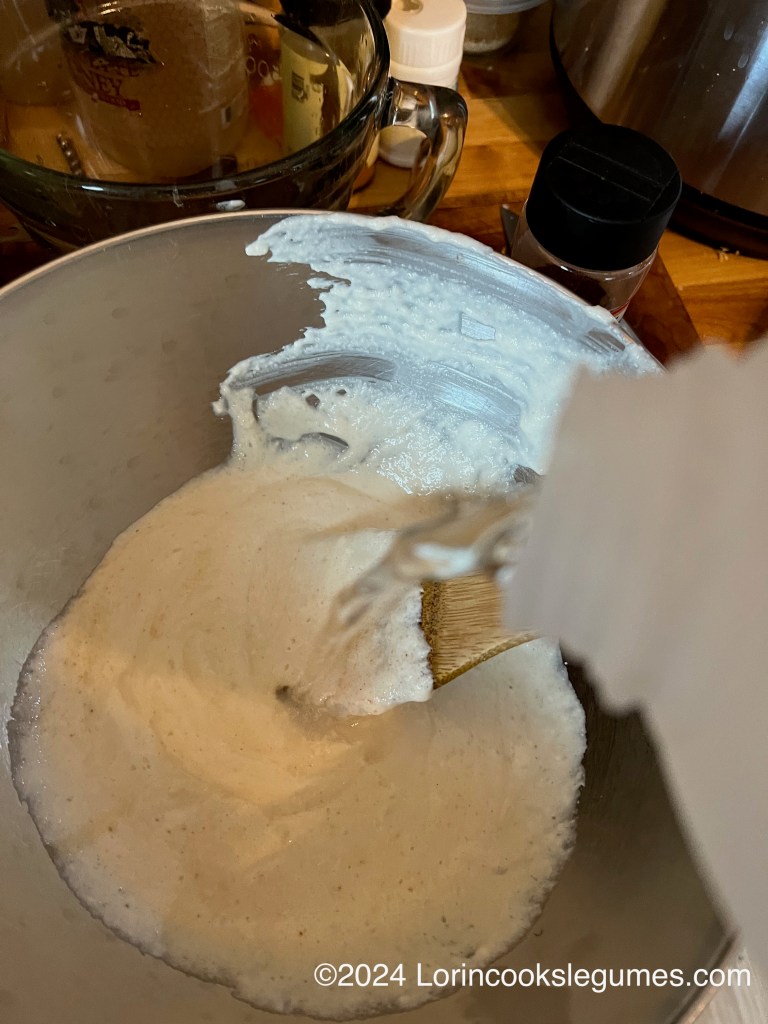
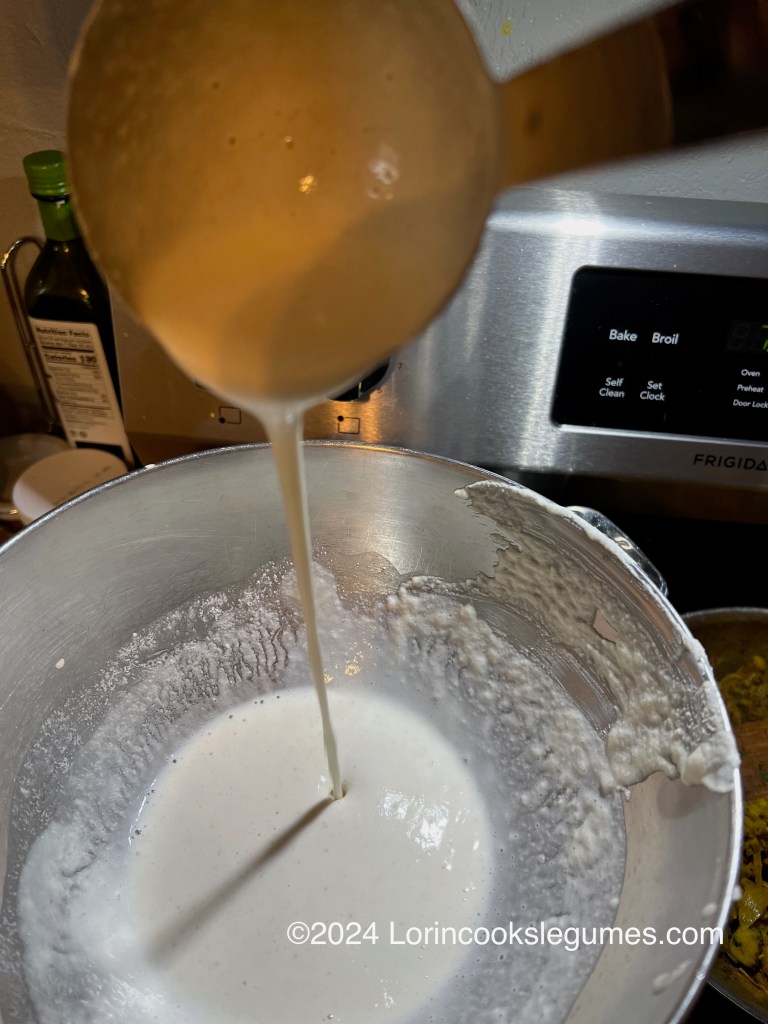
While the pan is heating you’ll want to get whatever portion of the batter you intend to cook adjusted to a thin, but not watery, consistency, and add the salt.
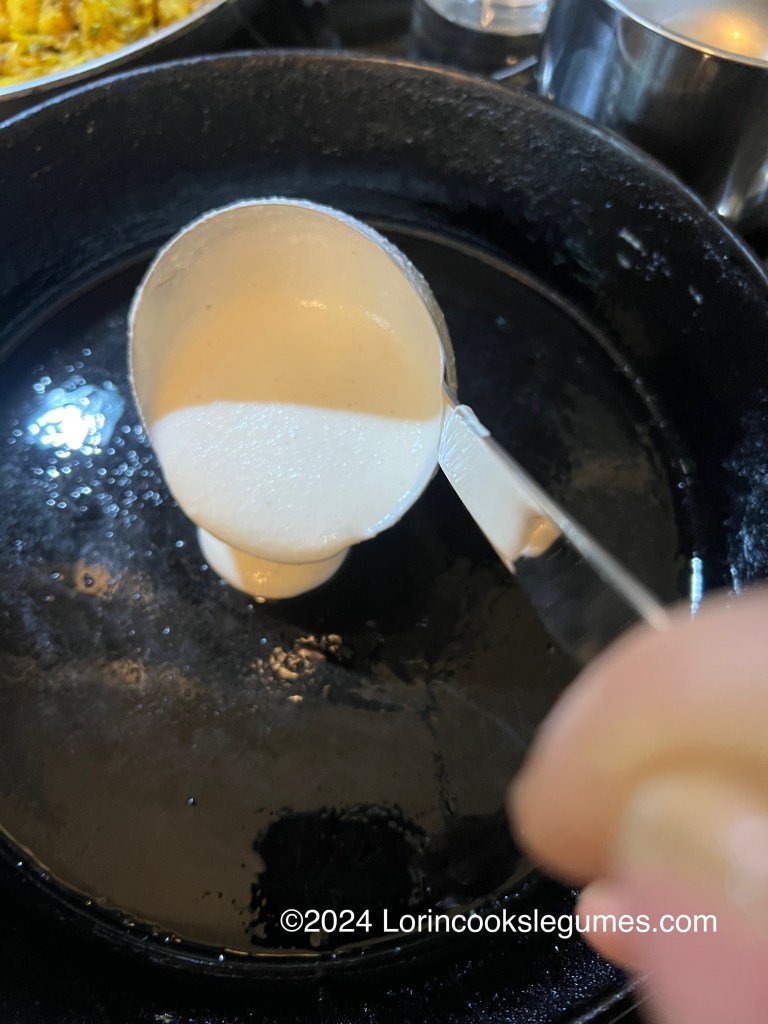
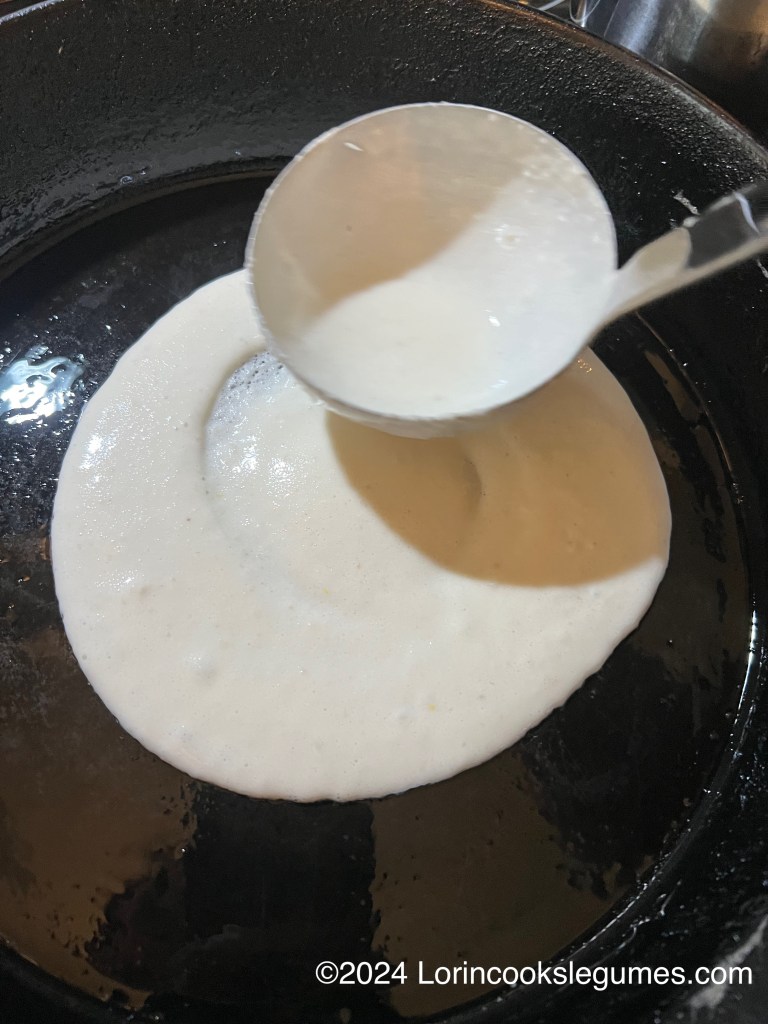
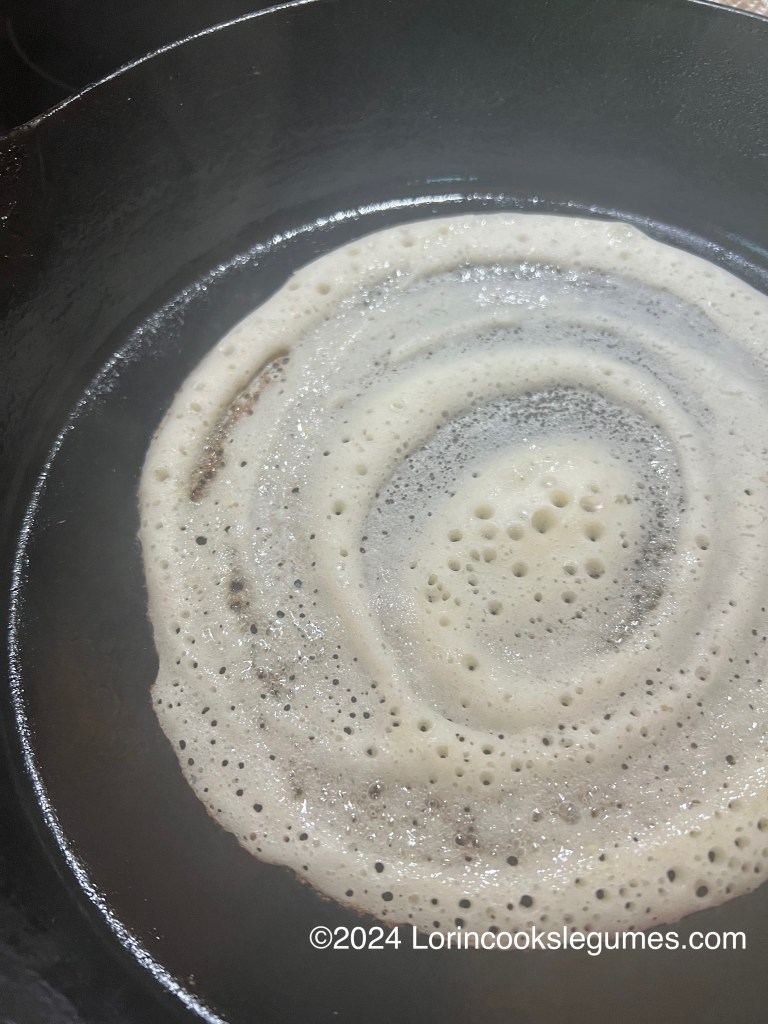
Once the pan is oiled, pour a small ladleful of batter (¼-½ cup) in the center of the pan and immediately use the back of the ladle to spread the batter. Starting in the center, use a circular, spiraling motion, to spread the batter into a thin crepe. If you have too much oil on the pan, or the pan isn’t hot enough, the batter won’t stick, and you’ll have trouble spreading it. If the pan is too hot, it will set up too quickly and you’ll just create a lumpy mess.
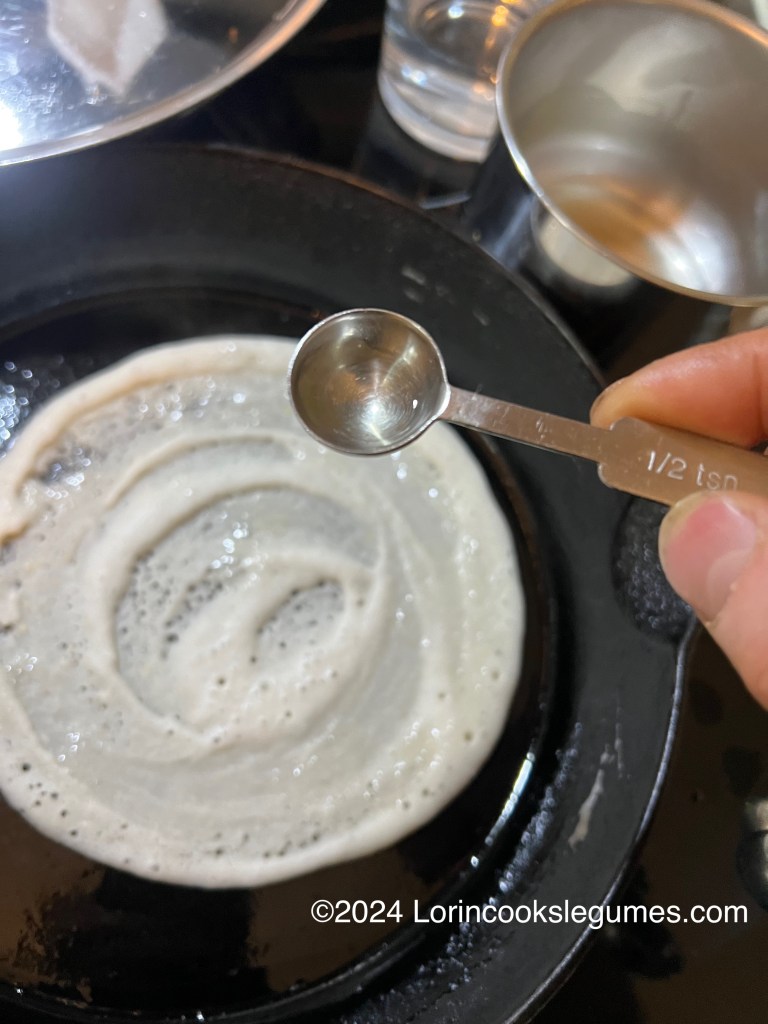
Now turn the heat back to medium, and once the surface is dry, drizzle about ½ teaspoon of oil over the dosa, especially around the edges. After a minute or so, you should be able to see, through the thinner parts of the dosa, that the bottom is browning, and the edges should start to release. Work a thin metal spatula * under the edge and slide it around to release the dosa. (This is where I was wishing I had a griddle.) Generally dosas are only cooked on one side, but if you’ve made them too thick, or just prefer to have them browned on both sides, you can flip them and cook the top for a minute or so.
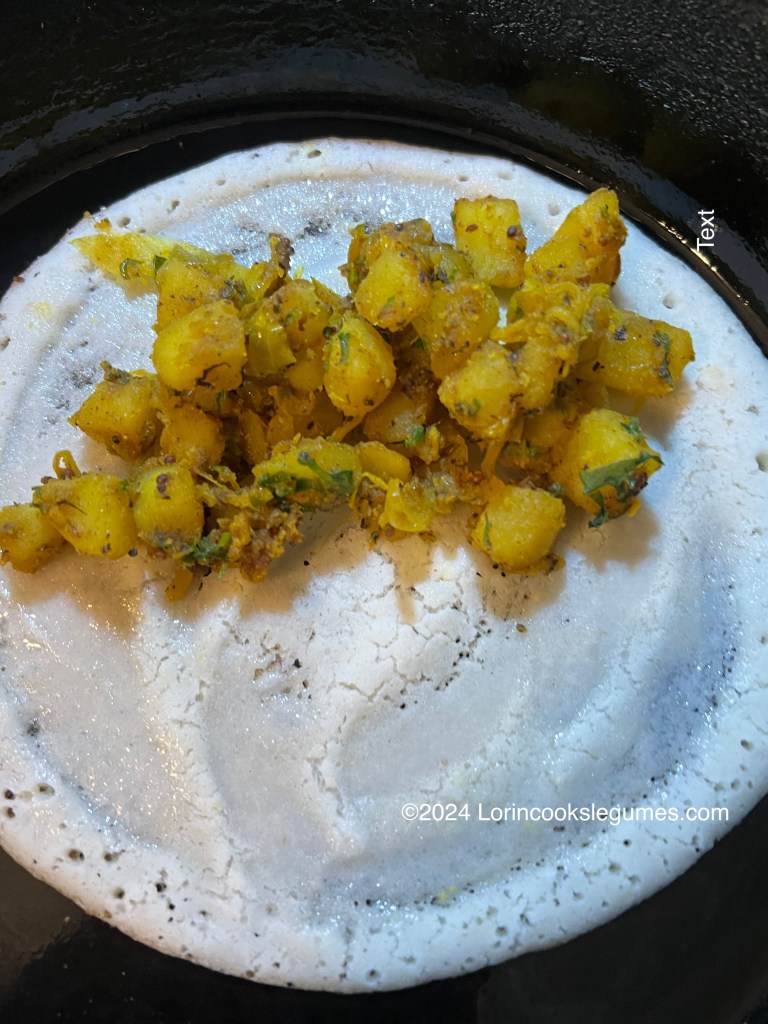
Now either fold the dosa in half, to serve plain, or place a spoonful of your desired filling on one side, roll it up, and serve immediately
Before cooking the next dosa, you want to turn the heat back down to low and wipe the pan with a wet paper towel to cool it down so that the batter doesn’t cook too fast. Lightly grease the pan again, and repeat the process until all your dosas are cooked!
I served my dosas with coconut chutney, sambar, and the potato filling to make them masala dosas. I ran out of filling on day three, and can say the dosas are just as delicious used to mop up sambar juices as they are filled with spicy potatoes.


Dosa
Yield: about 24, 8″ dosas
Prep: 15 Minutes
Soaking: 5 ½ hours
Fermenting: 6-24 hours
Cook: ~30 minutes
Total: Allow 30 hours, until you have some experience as to how long fermentation takes in your kitchen. Batter can be refrigerated for up to a week if needed.
(As an Amazon Associate I earn from qualifying purchases.)
½ cup urad dal
2 ¼ Tablespoons chana dal
⅞ teaspoon fenugreek seeds
Non-chlorinated water
¾ cup rice
1 cup idli rice
Non-chlorinated water
4 Tablespoons poha
Non-chlorinated water
1 ½ cups non-chlorinated water (or as needed) (divided)
½ teaspoon non-iodized salt (rock or sea salt)
Vegetable oil, as needed
Optional:
2 teaspoons toor dal.
Place the dals and fenugreek in a bowl and rinse a couple times with non-chlorinated water. Cover with non-chlorinated water and leave to soak for about 5 ½ hours.
In a separate bowl, combine regular and idli rice and rinse with non-chlorinated water. Cover with non-chlorinated water and leave to soak for about 5 ½ hours.
About ½ hour before grinding the batter, rinse poha with non-chlorinated water and soak for about 30 minutes.
Drain the dal and place in a high-speed blender. Add about 1 cup cold, non-chlorinated water and grind to a smooth batter. Add additional water as needed to get a thick-but-pourable consistency. Transfer to a large stainless steel or glass bowl. If the blender starts to feel warm pause and let it cool down before continuing.
Drain the rice and poha and place in the blender. Add about ½ cup cold, non-chlorinated water and grind to a smooth, but slightly gritty, batter. Again, add additional water as needed to reach a thick-but-pourable consistency, and don’t let the blender get hot.
Combine rice bater with dal batter and mix with clean hands for 2-3 minutes. Make sure your bowl is large enough for the batter to double in volume without overflowing. Cover with a plate or loosely fitting lid and leave to ferment. In warm weather/ climates this can be on your kitchen counter.. In cooler conditions, you’ll need to provide a warm space (ideally around 90F) for the batter to ferment. This could be near a radiator or heater, or you can preheat your oven to it’s lowest setting, turn it off and allow to cool for 10 minutes or so, then place the batter inside to ferment. If your oven has a light, leave it on to generate a little extra heat.
Or, if you have an Instant-Pot (or similar electric cooker) with a yogurt setting, place the batter in the steel liner and set the pot to yogurt-low for about 12 hours. Cover with a loose fitting glass or steel lid (not the IP lid, as if the batter overflows, it can cause the lid to lock).
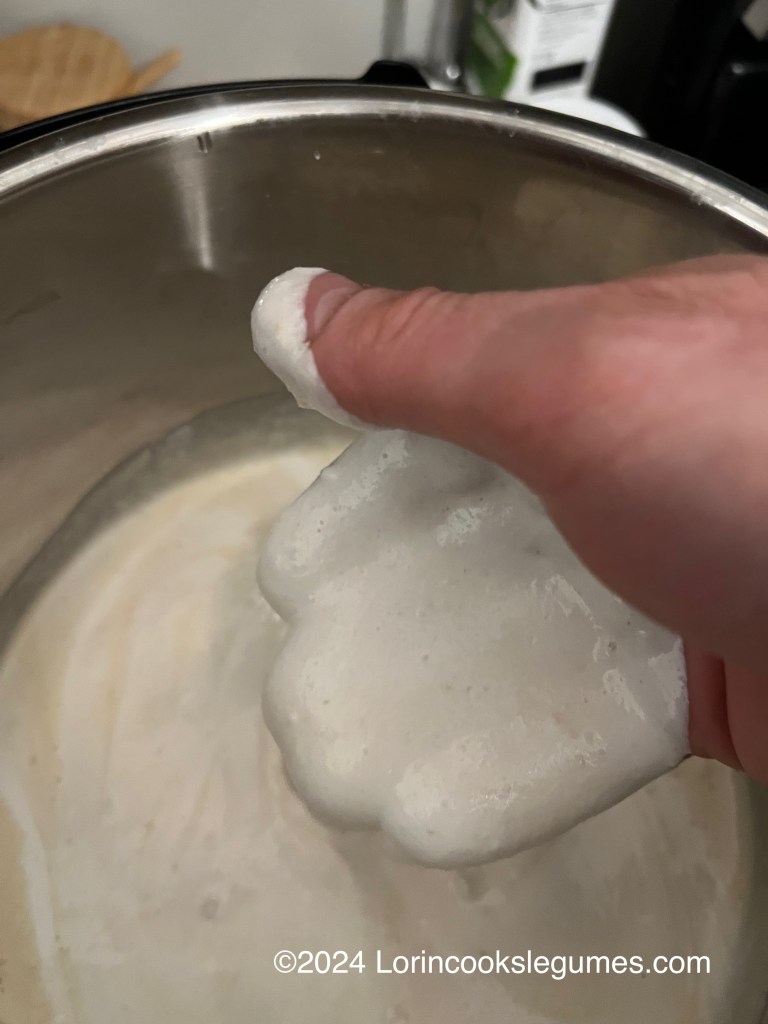
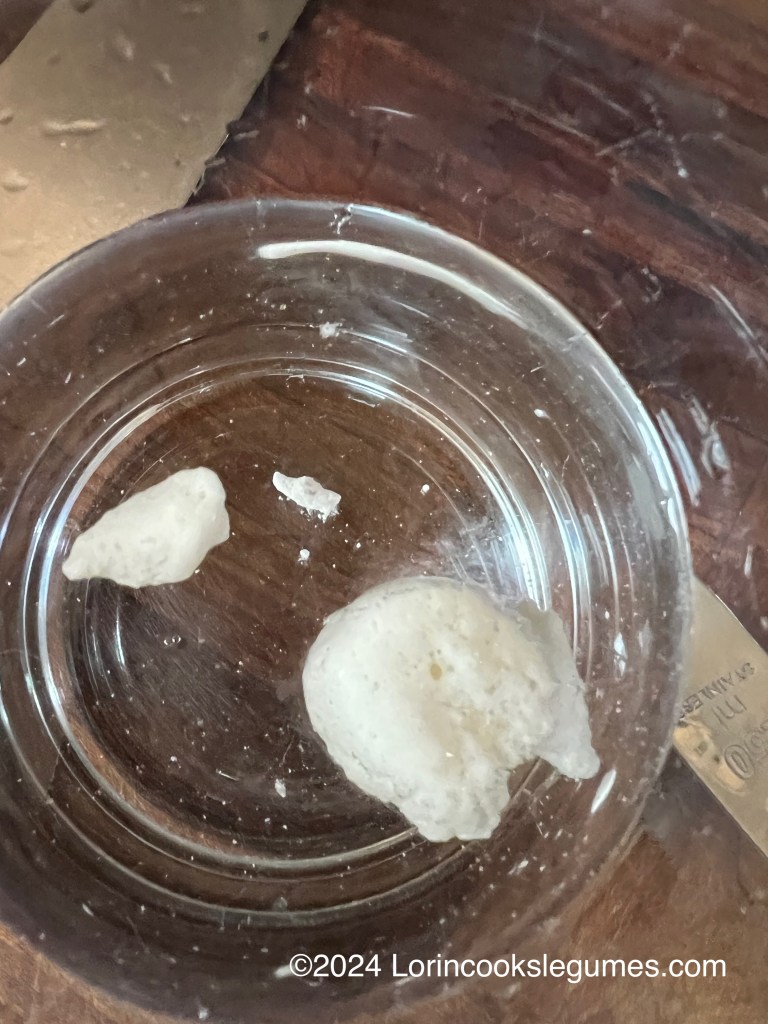
It will take anywhere from 6 hours in very warm conditions, to 24 hours if it’s cold, for your batter to ferment. You’ll know it’s ready when it has doubled in volume, has lots of air bubbles and a slightly sour smell. If you drop a teaspoon of batter into a bowl of water, well fermented batter will float.
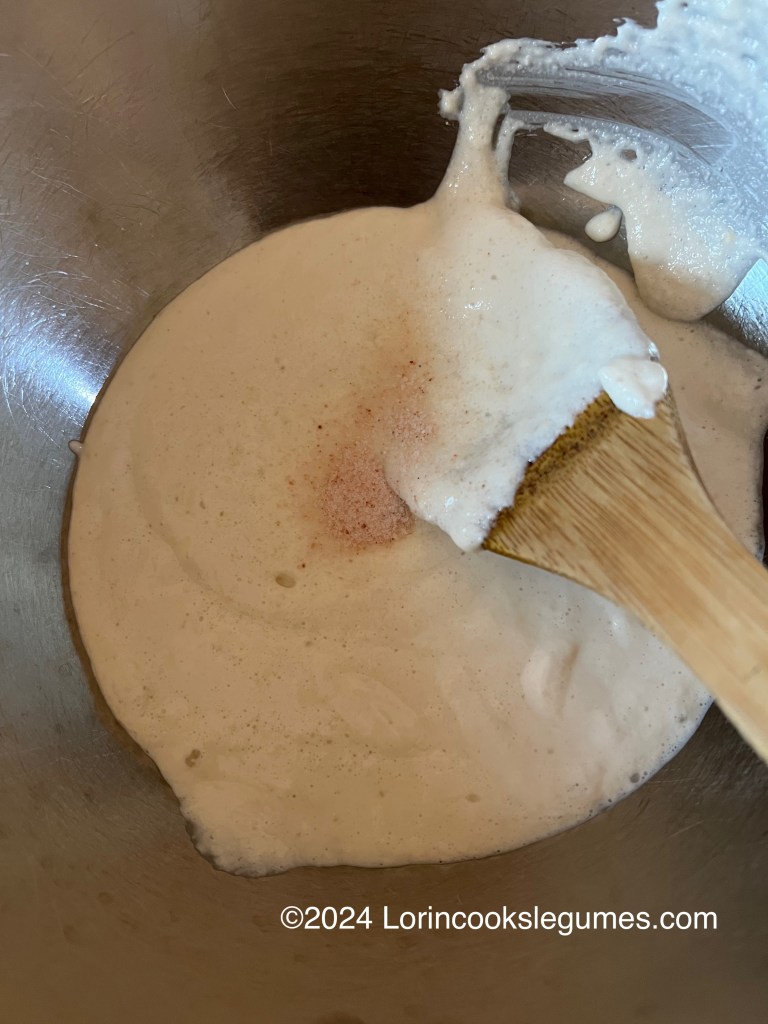
Once it’s ready, give it a gentle stir, and transfer as much batter as you intend to cook to a separate bowl. Mix a proportionate amount of the salt into your small bowl (i.e., if your are cooking half your batter add ¼ teaspoon of salt), and add additional water to reach a thin, but not watery, crepe batter consistency. You can refrigerate extra batter for up to one week; bring it up to room temperature for an hour, and add salt and water before cooking.
Heat a cast iron griddle or skillet over medium heat, until a few drops of water sprinkled on the surface sizzle and begin to evaporate immediately. Lower the flame to low, and add a few drops of oil to the griddle. Using a paper towel, spread the oil to lightly coat the surface. Take a ladle-full (about ¼ -½ cup) of batter and pour it in the center of the griddle. Immediately use the back of the ladle to swirl the batter in a circular motion, spiraling outward to spread it into a thin crepe. Raise the heat back to medium and cook until the surface looks dry. Drizzle about ½ teaspoon of oil on the dosa, around the edges and across the center, and cook until golden brown. Work a thin metal spatula under the edge and release the dosa from the griddle. Lift one edge of the dosa and fold it over, or place masala potatoes or other filling across the dosa and roll it up. Serve immediately, while still hot. Dosas are usually only cooked on one side, but if you made your dosa too thick, or prefer both sides to be browned, you can flip and cook the other side before filling and serving.
Before cooking the next dosa, lower the heat again and wipe the griddle with a wet paper towel to cool the pan, before applying more oil and repeating the process.
Serve with chutney, sambar, potato masala (see below) or any other side dish or filling of choice.
Potato Masala
Yield: fills 12 dosas
Prep: 15 minutes
Cook: 30 minutes
Total: ~45 minutes
(As an Amazon Associate I earn from qualifying purchases.)
3 ½ cups potatoes, peeled and diced
¾ Tablespoon oil
¾ teaspoon mustard seed
½ teaspoon cumin seed
1 ¾ teaspoon ginger root, grated
1 cup onion, finely sliced
1 sprig curry leaves
2 small green chilies, finely chopped
1 pinch asafoetida
⅜ teaspoon turmeric
⅜ teaspoon salt
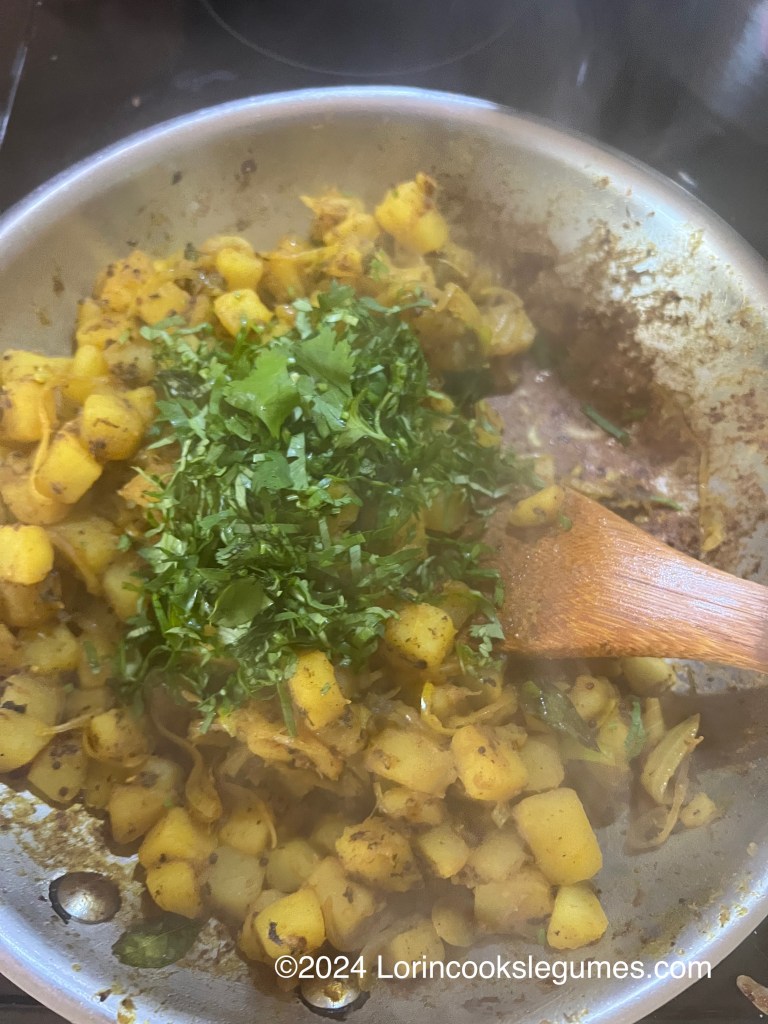
¼ cup cilantro, finely chopped.
Optional:
⅔ teaspoon chana dal, soaked in boiling water for 30 minutes, fried with the spices
⅔ teaspoon urad dal, soaked in boiling water for 30 minutes, fried with the spices
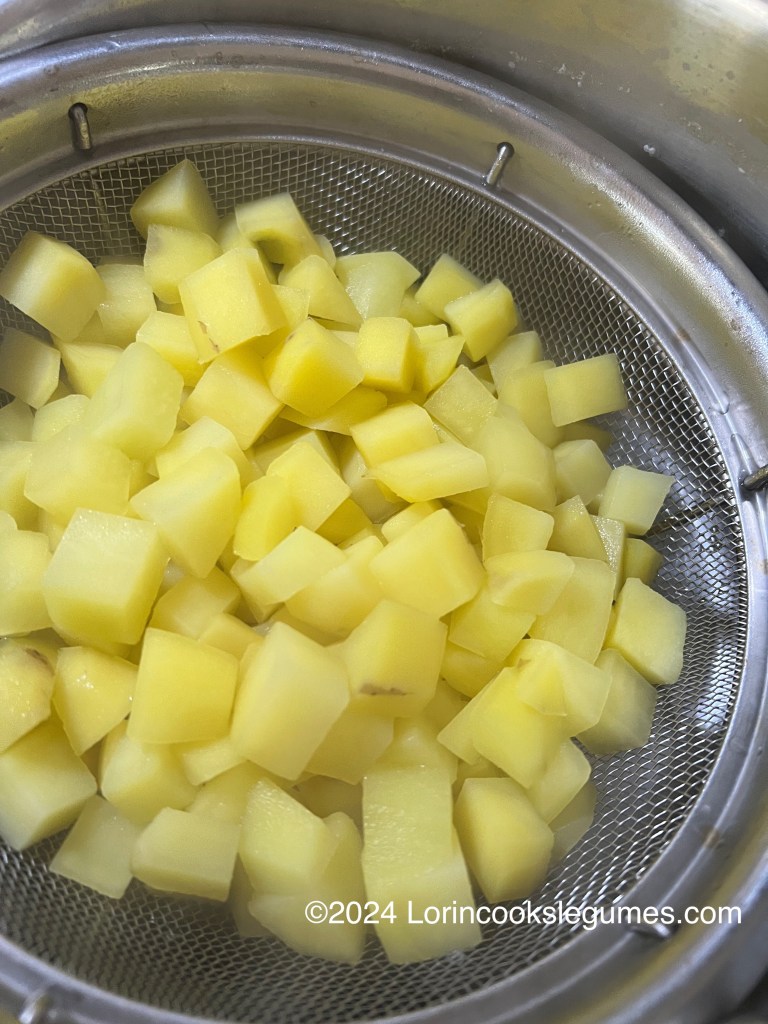
Steam or boil potatoes, in salted water, until just tender. Drain and set aside.
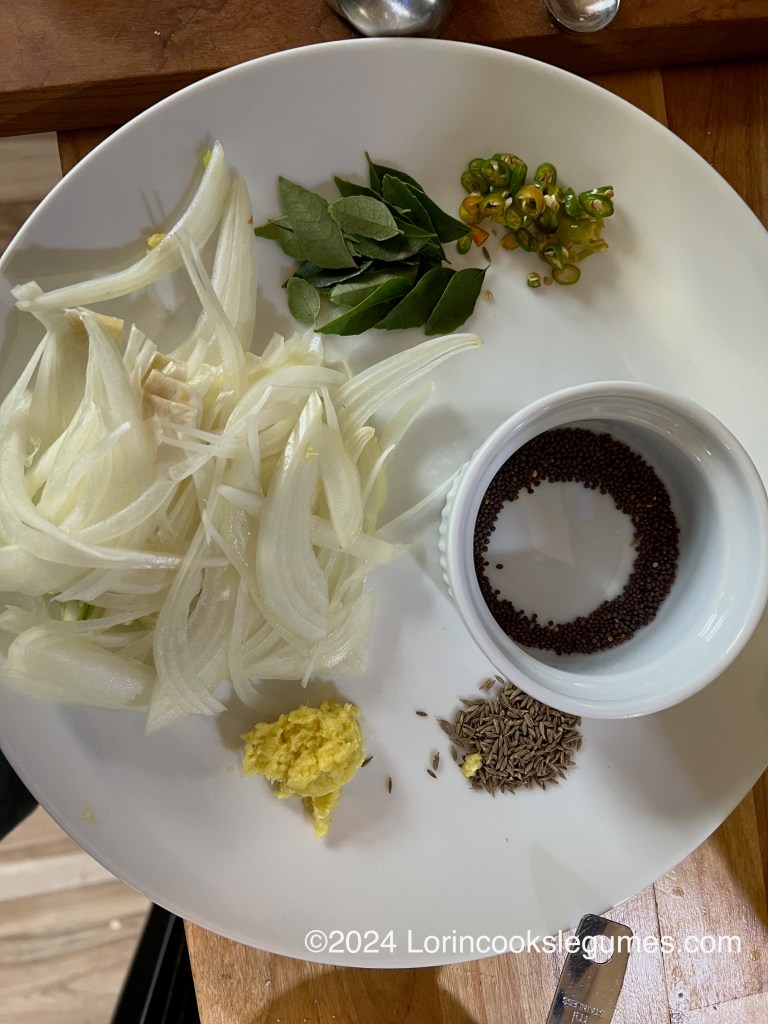
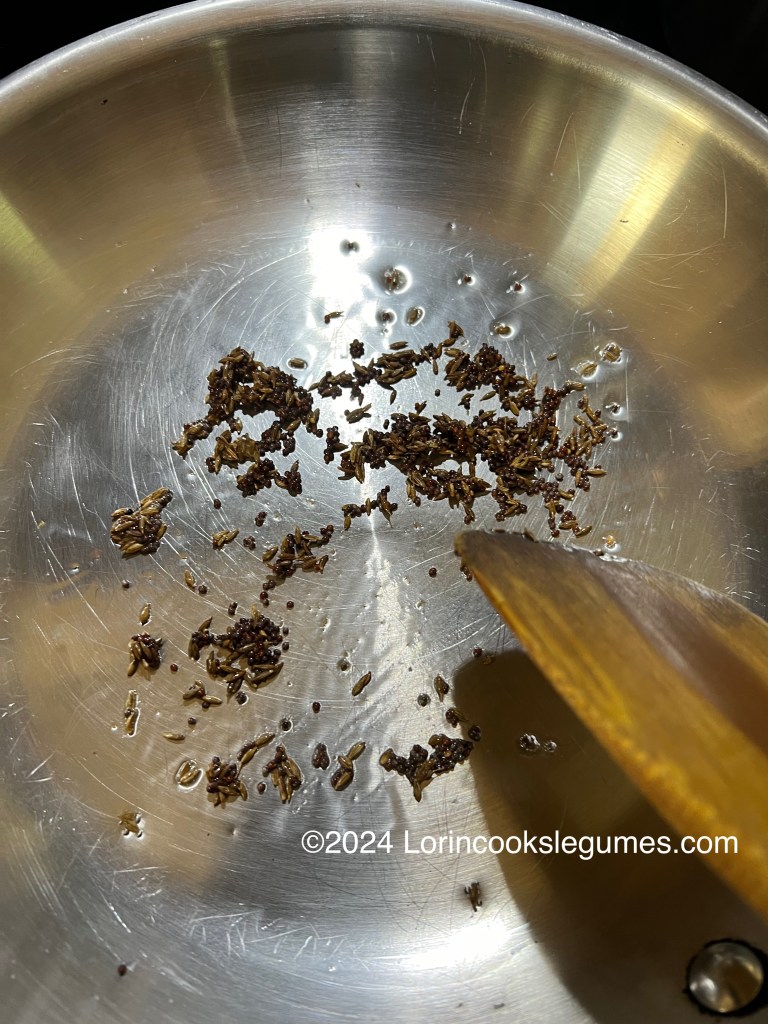
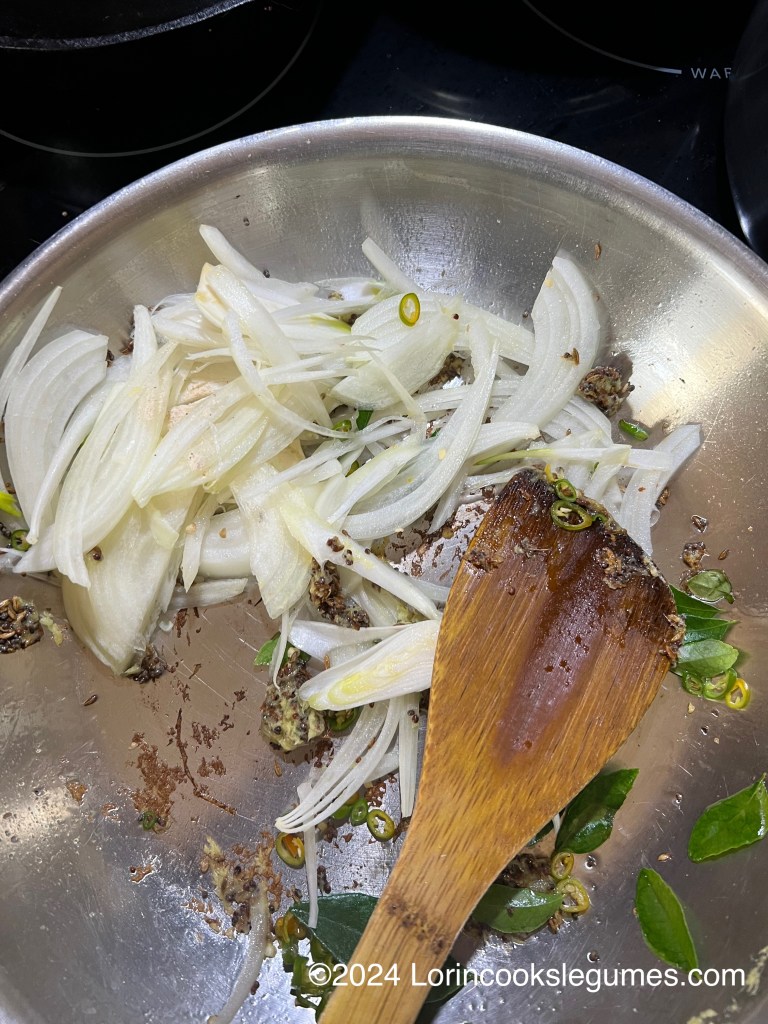
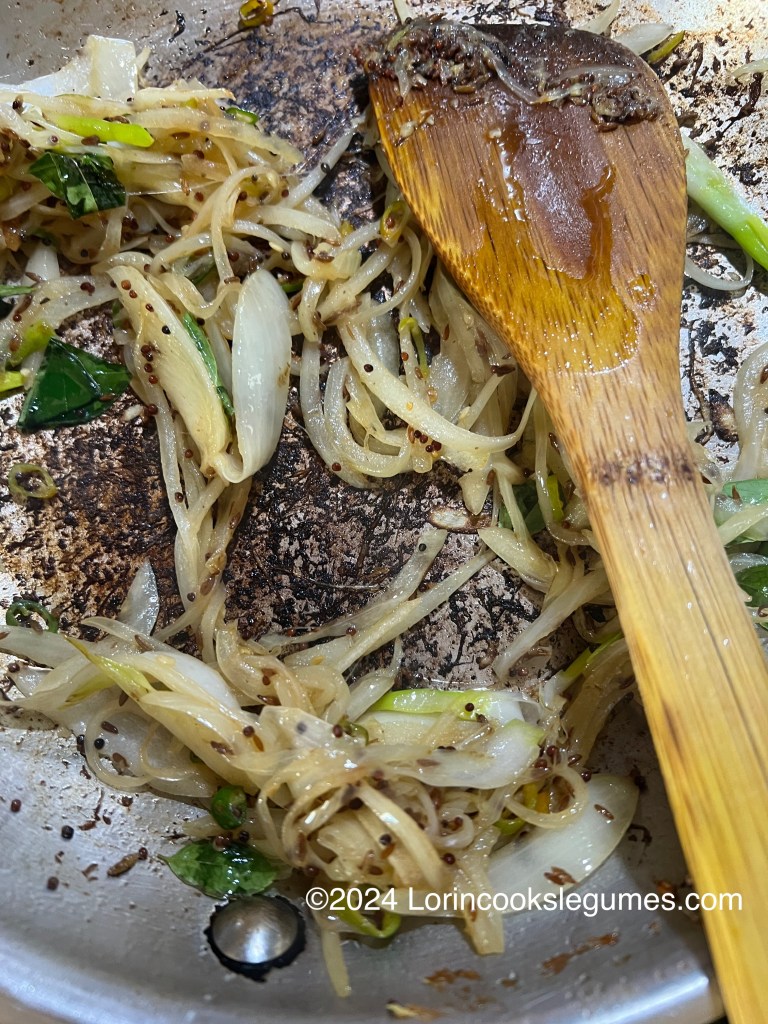
Heat oil in a large frying pan. When it shimmers, add mustard and cumin seeds. Fry until they sputter, about 30 seconds. Add ginger and fry until the raw aroma dissipates, another 30 seconds or so. Add onion, curry leaves, chilies and asafoetida. Fry until onion is golden.
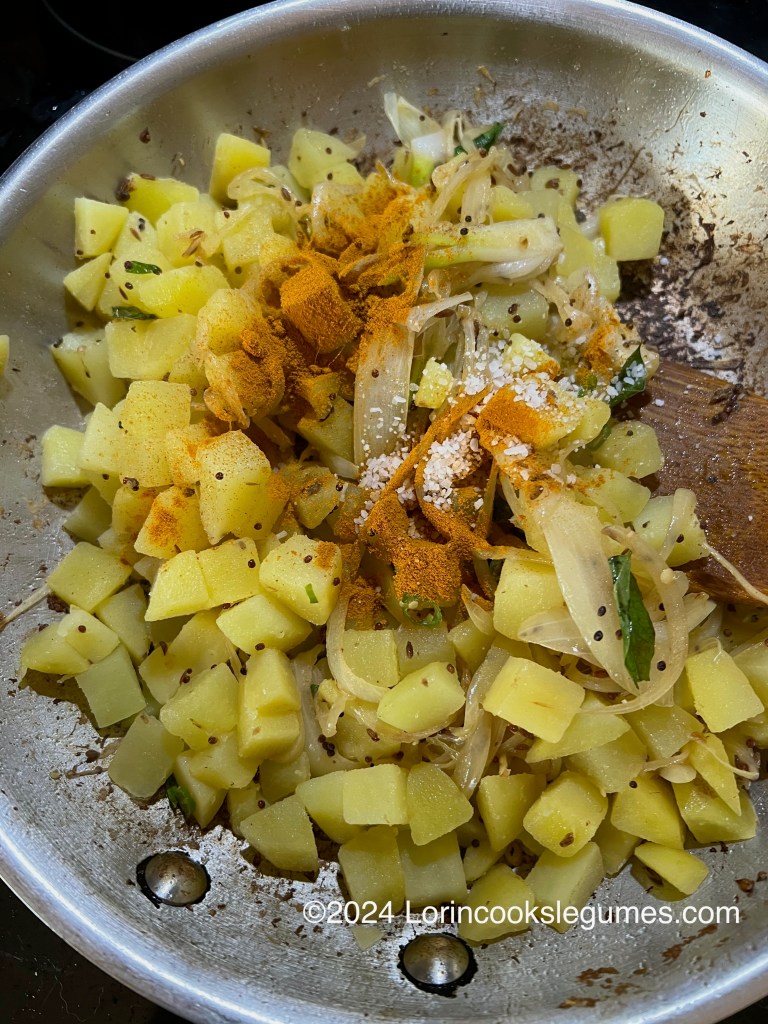
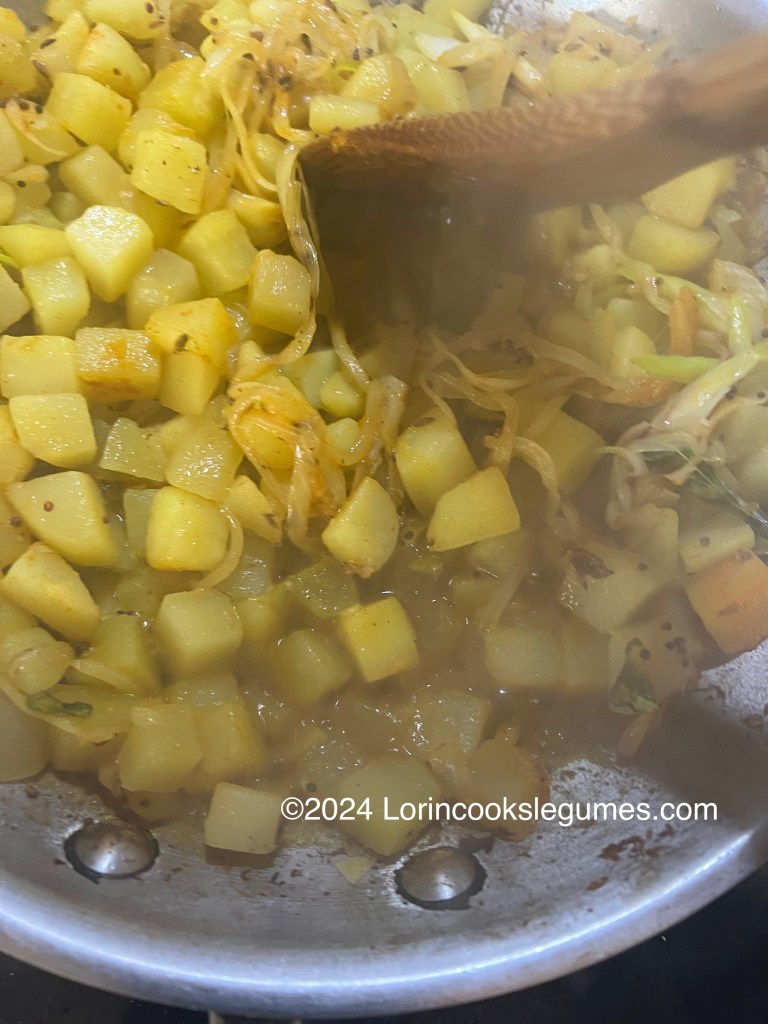
Add potatoes, turmeric and salt. When potatoes start to stick, add about ½ cup of water and deglaze. Cover and cook 5 minutes, stirring occasionally.
Remove from heat and stir in cilantro. Taste for seasoning and adjust to taste. Set aside while you cook your dosas.
*As an Amazon Associate I earn from qualifying Amazon purchases.
I receive no compensation for mentioning any other websites or product.

2 Comments Add yours