
Idli or idly (/ɪdliː/ ⓘ) (plural: idlis) is a type of savoury rice cake, originating from South India, popular as a breakfast food in Southern India and in Sri Lanka. The cakes are made by steaming a batter consisting of fermented black lentils (de-husked) and rice. The fermentation process breaks down the starches so that they are more readily metabolised by the body.
https://en.wikipedia.org/wiki/Idli
It’s been almost a month since my last post! There’s been a lot going on- a whirlwind 48-hour trip to Montana and back to rescue my wife after a deer totaled her car, a flooded basement, and working 7-10 hours of overtime for the last couple of weeks… On top of all that, this is the first time I have actually cooked a recipe a second time before sharing because I wanted to test some changes to the recipe to achieve better results, rather than just making untested suggestions like I usually do. Given the timing of the various steps in the recipe, I needed to start it on a weekend day when I would be home to keep an eye on it, so I had to wait a week between batches.
Idlis are a type of steamed, savory, cakes made with fermented rice and urad dal batter. In South India, they are traditionally served for breakfast, with sambar and/or coconut chutney. I’m eating them as lunch or dinner, with the same accompaniments. The recipe is simple with only six ingredients, but of course, the simplest recipes tend to rely on technique for the best results.
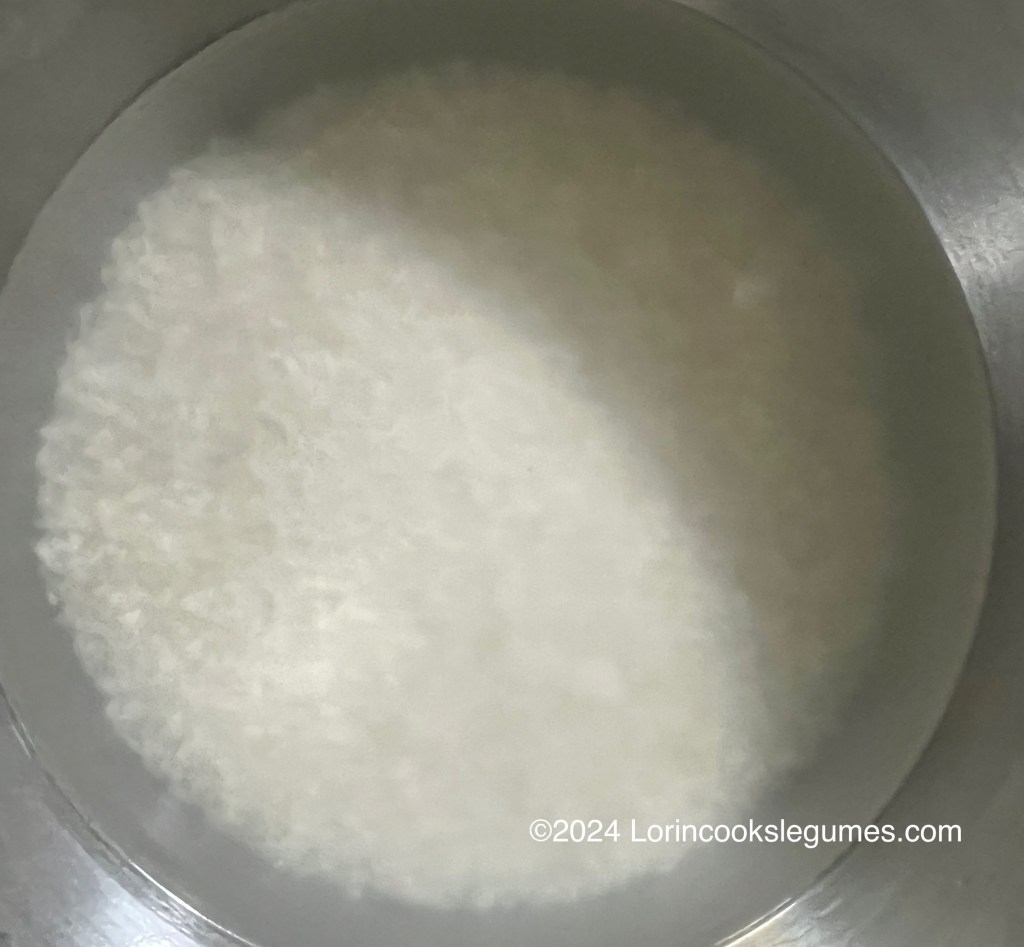
The primary ingredients are idli rice* and skinned urad beans. Idli rice is a short grain, parboiled rice. Parboiling reduces the amount of time it takes to soak the rice and helps the batter stay white once it is ground. You could certainly substitute another type of rice, although you might need to soak it several hours longer. The recipes I looked at were roughly split in opinion as to whether basmati rice would work- I tend to agree with the folks who said it would affect the flavor. I’d probably stick with a short-grain variety. (Arborio or another risotto variety would probably work well).
There are other types of idlis, made with other grains, but this seems to be the basic recipe that most households use on a daily basis. There is also something called idli rava, which seems to be preground rice that just has to be soaked. The first couple of pages I looked at had recipes using rava, so I was expecting to wind up with rava as an alternate ingredient in my recipe, but most of the other recipes I looked at wound up not mentioning it, so it didn’t make it into my recipe after all.
Urad, or black lentils/ black gram is a type of small bean commonly used in Indian cooking. It seems to primarily be used to make batter-based dishes, like this one, or in small quantities as a spice. For this recipe, you want skinned beans. Most recipes said that whole, skinned, beans* give better results, but I already had a bag of split urad dal* in the pantry so I didn’t spend money on a separate bag of beans.
The traditional restaurant recipe for idlis has a 4:1 ratio of rice to beans. However many home cooks reduce that to have more protein in their idlis. My averaging process came up with a recipe that is closer to 2:1, which still seems to create nice, relatively fluffy, idlis (not that I have had a lot of experience with them to really compare.)
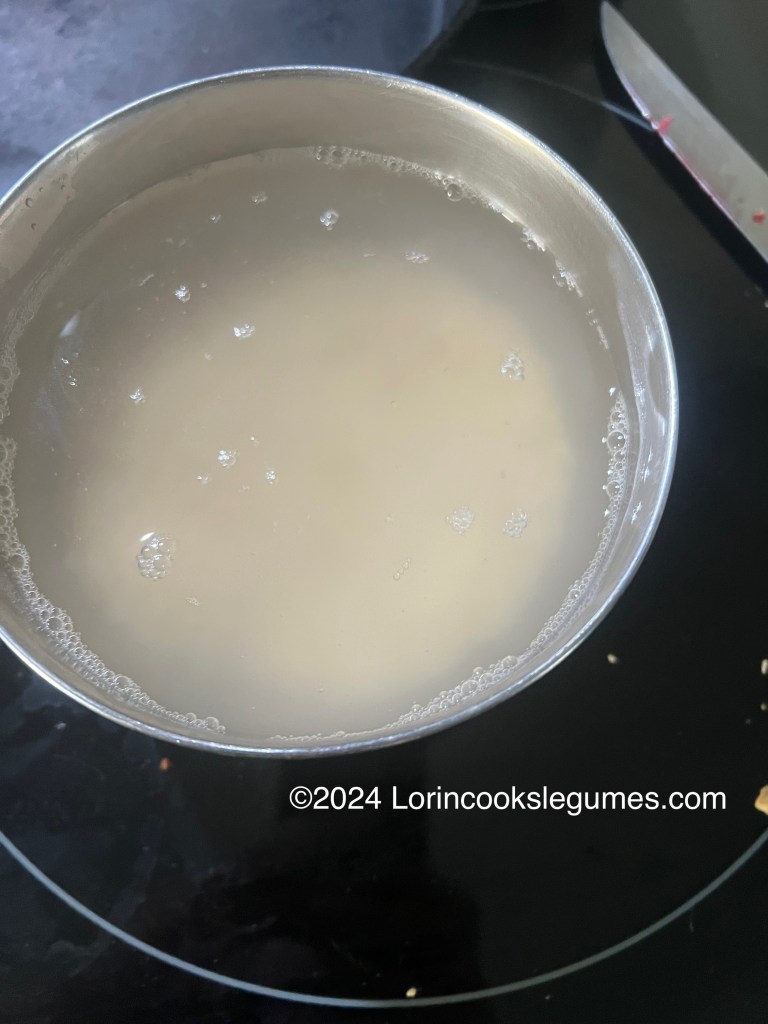
The rice and the urad, along with a few fenugreek seeds are rinsed and soaked, separately, for 4-5 hours. You want to use non-chlorinated water for both rinsing and soaking, as chlorine will kill the yeast we are counting on to ferment the batter.
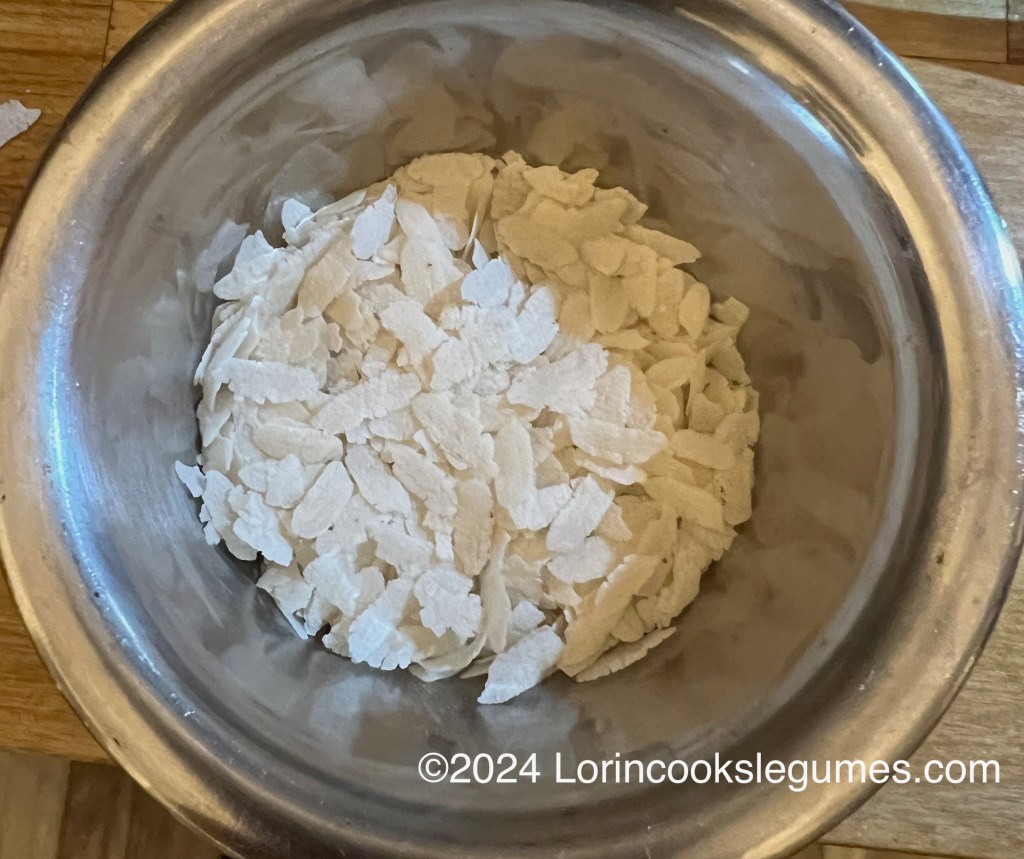
About half an hour before you are ready to grind your rice and beans, you want to soak a little bit of poha,* or flattened rice (basically the rolled oats of the rice world). This ingredient helps to make light fluffy idlis.
Once everything is soaked, it’s time to grind. In most Indian homes they have something called a wet grinder*, which is sort of like a food processor, but has actual stone grinding wheels inside that grind your rice and beans to a smooth, fluffy batter. As cool as this gadget sounds, the cheapest ones I see on Amazon are over $180, with most well over $200. I don’t see myself using it anywhere near frequently enough to justify that. Fortunately, for small batches, a good high-speed blender like a Vita-Mix* or Blendtec*, which I already own, does the job acceptably well (and considerably faster- most recipes said the wet grinder would take 30-45 minutes per batch). You might even be able to grind it in a regular blender if it’s powerful enough. With any blender you want to watch out for the batter getting too hot; we’re relying on natural yeasts on the rice and lentils to ferment the batter, and if it gets too hot it will kill the yeast.
The rice and beans are ground separately, to a smooth, thick-but-pourable batter (think pancake batter). The urad batter should be perfectly smooth, while the rice batter may have a slight grittiness to it. Some recipes called for draining the soaking water and using fresh water (again, chlorine-free) for grinding but I had slightly faster fermentation, on my second try, by using the soaking water from the urad dal as my grinding liquid. Again, the natural yeasts on the beans and rice will cause the fermentation, so pouring them out with the water might be counterproductive, especially in colder climates. (For the same reason, your initial washing of the rice and beans shouldn’t be super thorough, just enough to remove any dust and dirt- one or two changes of water at the most).
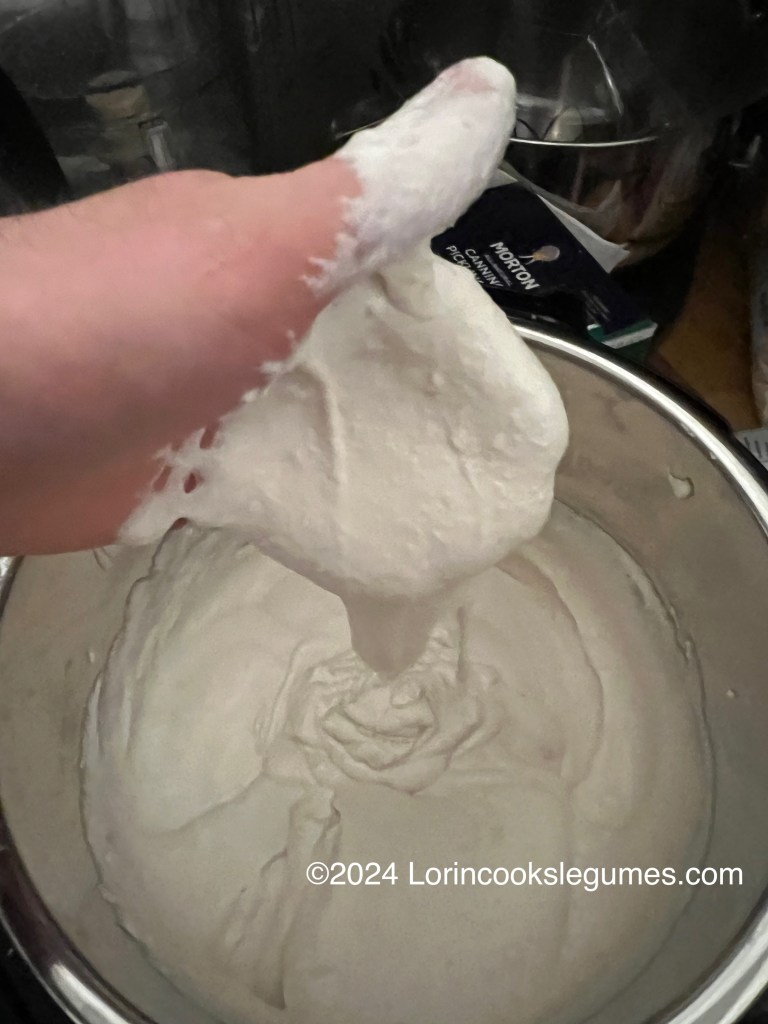
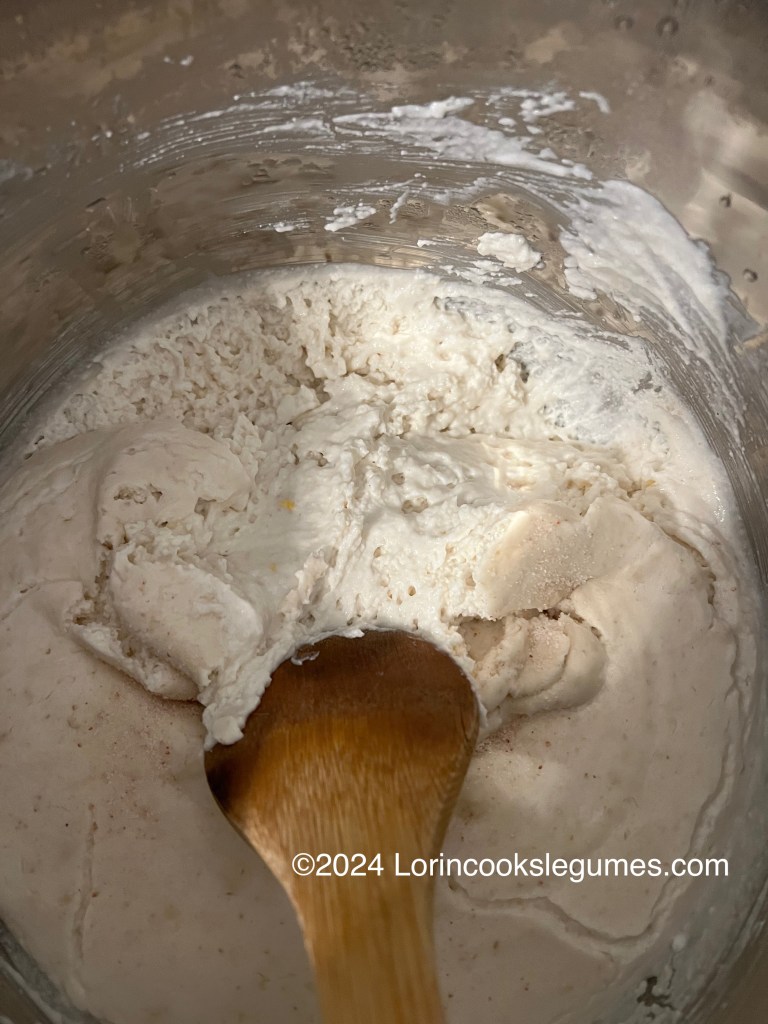
Once beans and rice are ground, the batters are combined. Mixing with your hands supposedly helps get the fermentation process going, whether it’s the heat from your hands, or natural yeasts from your skin I’m not sure, but most recipes said to mix with your bare hands for several minutes.
Once mixed, the batter must sit in a warm place for many hours until it ferments. In a tropical climate this could be as fast as 6 hours just left on the kitchen counter. In colder climates we need to help it along by creating a warm place for it to work, Ideally around 90 degrees. The most common suggestion is to preheat your oven to its lowest setting, turn it off, and let it cool for 10-15 minutes (depending on how low the lowest setting is), then place the covered bowl of batter inside. If your oven has a light, turn it on to generate a little extra heat. Probably the best method, however, is an Instant Pot* (or similar device) with a yogurt setting. Use the low setting set to at least 12 hours. (For my first batch I set it on medium, left the house for an hour or two to go see the northern lights, and came back to find the batter at about 110F.)

Then comes the waiting. The average time, according to the recipes I looked at came to about 10 hours. My first batch took 24 hours to even start to show signs of fermentation (I was starting to think that I had killed it by letting it get too hot while watching the northern lights). The second batch took about 16 to start, and I decided it was ready at about 22.
The fully fermented batter should have doubled in volume (make sure you use a big enough bowl to accommodate this), have lots of bubbles on top, and smell a little sour, or I actually thought it smelled vaguely “cheesy”, in a pleasant way. A good way to tell that fermentation has started is that smell; the raw bean batter has a smell that I found slightly unpleasant, but once it started to ferment, that changed. Most recipes said the batter would be a little thinner after fermentation, but I found that it actually thickened, with a slight crust forming on top. I’m not sure how one would prevent that- any batter that’s left out for hours tends to dry out on top, and the yeast needs to breathe, so it can’t be tightly covered with plastic or something. I fermented mine directly in the Instant Pot stainless liner, but most recipes called for putting another bowl inside the pot. I don’t know if having an extra layer of bowl between the batter and the heat source would really make any difference here though. I suppose it’s possible that I should have let it ferment longer- perhaps it hadn’t truly doubled in volume yet? That said, you do want to avoid over-fermenting as it will make the batter too sour.
The last ingredient is salt, which is also the ingredient that sparks the most debate among cooks, specifically as to when to add it to the batter. The collective wisdom is that salt will inhibit the fermentation, so in cold climates/ winter we should wait until after the batter ferments to add it, but in hot climates/ summer, we should add it at the beginning to help prevent over-fermentation. Of course, there was at least one blogger whose mother taught her the opposite!. I chose to add my salt after fermentation. Much like the non-chlorinated water, you want to use non-iodized salt, especially if adding it before fermentation, as iodine also will kill yeast and bacteria.
Once the batter is fermented you can either proceed with steaming your idlis immediately or put it in the refrigerator for up to two days (a handy trick when your batter takes twice as long as expected to ferment and isn’t ready until bedtime). If you refrigerate it, let the batter come to room temperature for an hour or so before you steam it.
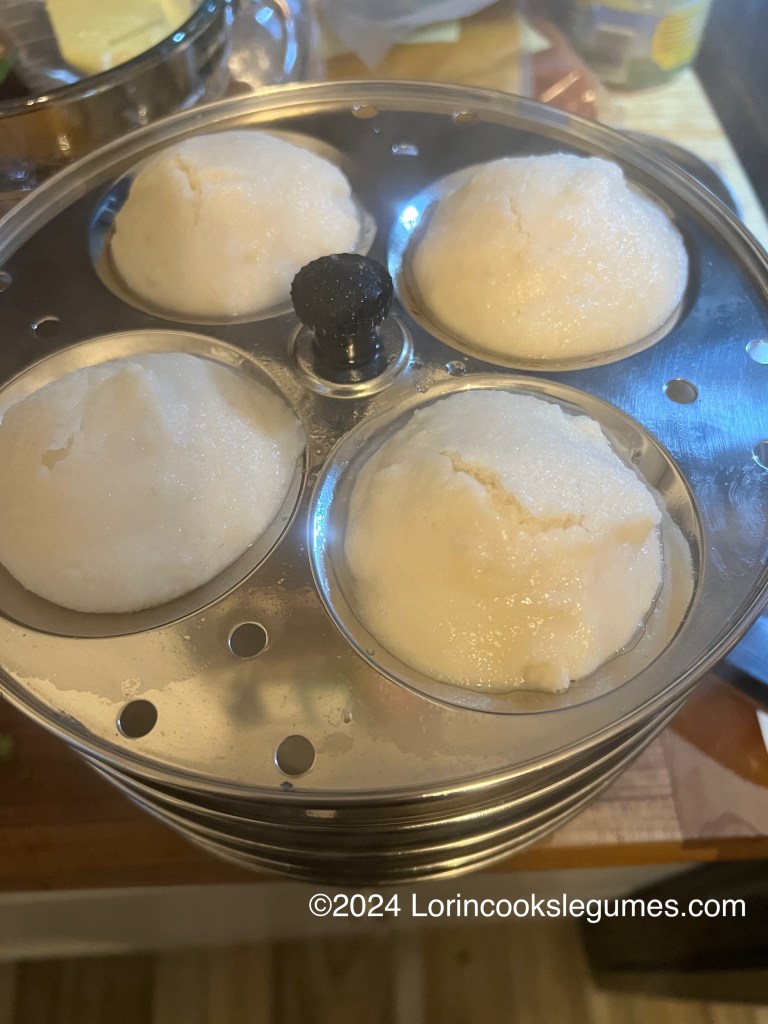
A traditional Idli steamer* consists of a pot and several metal plates with shallow indentations in them that stack together on a central rod. I purchased just a stand* and used one of my stock pots. If you don’t want to invest in an idli steamer, you could just use small ramekins or shallow bowls, although this might take many batches to cook very many, and you might not get the traditional shape.

Fill the idli molds about ¾ full, stack them up, and place them in a pot with an inch of boiling water. Steam for 10 minutes, then remove from heat and wait two minutes before opening the lid. Remove the stand and let it cool for 5 minutes before scooping out the idlis. Be careful not to oversteam the idlis, as overcooked idlis are dense and chewy instead of light and fluffy.
All in all, after two test batches I feel pretty good about my recipe. I don’t think I’ve mastered all the tricks and techniques by any means, and if I make them again I’ll want to play with adjusting the thickness of the batter, and perhaps let it keep fermenting longer to see if it will get even fluffier.


Idli
Yield: 25-30 idli
Prep: 15 minutes
Cook: 15 minutes
Soak: 4:30
Ferment: 10-24+hours
Total: about 30 minutes hands-on
I would suggest starting the process at least 36 hours before you plan to cook until you get a handle on how long fermentation takes in your home. You can refrigerate the batter if it is ready too soon.
(As an Amazon Associate I earn from qualifying purchases.)
¾ cup urad dal
¾ teaspoon fenugreek seeds
1 ¾ cup idli rice
Non-chlorinated water, for rinsing and soaking
3 Tablespoons thick poha
Non-chlorinated water, for rinsing and soaking
1 ⅓ cup soaking water (divided), plus more as needed
¾ teaspoon non-iodized salt
Pick over your dal and remove any bad beans or foreign objects. Add fenugreek seeds and rinse with a couple changes of water. Cover with plenty of cool water and leave to soak at room temperature for 4 ½ hours. In a separate bowl, pick over the rice and rinse it until water runs clear. Cover with plenty of cool water and leave to soak at room temperature for 4 ½ hours.
After dal and rice have been soaking for about 4 hours, rinse the poha and cover with cool water. Leave to soak for 30 minutes.
Drain the dal and add it to a high-speed blender along with ⅔ cup soaking water. Blend to a smooth, fluffy batter, adding additional water a little at a time, as needed. If the blender starts to feel warm, pause and allow it to cool before continuing. Transfer the dal batter to a large bowl.
Drain the rice and poha and add them to the blender. Add another ⅔ cup of soaking water and blend to a smooth or nearly smooth batter (there may be a slightly gritty texture- this is ok). Again, add additional water if needed, and don’t let the blender get warm. Add the rice batter to the dal batter in the bowl. During fermentation the batter will expand to at least double, so make sure your bowl is large enough to handle the expansion.
If it’s summer/ hot where you live add the salt to the batter. (In winter/ cool weather wait until after fermentation, as salt will inhibit that process).
Wash your hands well and use them to mix the batter for 3-4 minutes. The batter should have a thick but pourable consistency, similar to a thick pancake batter. Add a little more water if needed, keeping in mind that it will be slightly thinner after fermentation.
Loosely cover the bowl and set it in a warm place, ideally around 90F, to ferment. In warm weather the kitchen counter is fine. Otherwise, preheat your oven to its lowest setting, turn it off, and let it cool for 5-10 minutes, then put the bowl inside. If you have an oven light, leave it on to help maintain a warmer environment. You could also set it near a radiator. If you have an Instant Pot with a yogurt setting, that is probably the most foolproof method. Set it to low, and cover it with a loose-fitting lid, rather than the IP lid.
Leave the batter to ferment for around 10 hours. In really warm climates it could be ready in as little as 6, and could take as long as 24-36 if your house is really cold. (If it there are no signs of fermentation after 24 hours, discard it and start over). Properly fermented batter will have doubled in volume, be full of air bubbles, and have a slightly sour smell.
If you didn’t add the salt earlier, add it now. Give the batter a gentle stir. If you aren’t ready to steam the idli, store the batter in the refrigerator, and bring it to room temperature for an hour or so before cooking.
Heat an inch or so of water in your steaming pan. Lightly grease idli molds and fill ¾ full with batter. When the water boils, add the idli stand to the pot, cover, and steam for 10 minutes. Remove from heat and allow to sit for 2 minutes before opening the lid. A toothpick or knife gently inserted into an idli should come out clean. Remove the idli stand from the pot and allow it to cool for 5 minutes before using a spoon to release the idlis from the mold. Place in a casserole or other dish that will keep them warm.
Serve with chutney and/ or sambar.
Leftover batter can be refrigerated for up to two days. Steamed idli can be frozen and reheated in the microwave or steamer.
*As an Amazon Associate I earn from qualifying Amazon purchases.
I receive no compensation for mentioning any other websites or product.

2 Comments Add yours