
Chana dal is produced by removing the outer layer of black chickpeas and then splitting the kernel. Although machines can do this, it can be done at home by soaking the whole chickpeas and removing the loose skins by rubbing. In Karnataka it is called kadle bele. Other varieties of chickpea may be used, e.g., kabuli dal.
https://en.wikipedia.org/wiki/Dal#Common_ingredients
Chana dal is split, skinned chickpeas. Several of the bloggers I read to create this recipe wrote about why chana dal is one of their favorite dishes. Growing up in India, their moms would make toor or mung dal every day, so it was a real treat when they got chana dal. Growing up, my family was vegetarian, and used beans as our primary protein source. We didn’t eat very much dal, but garbanzo beans were always one of my favorites, probably because they have a different flavor/ texture compared to other types of common beans.
You could certainly use chana dal to make one of my other dal recipes, and I might not have bothered with a separate recipe if the above quote from wikipedia didn’t mention actually making the dal (as in the split, hulled, beans) at home.
Two summers ago I grew a bunch of different types of dry beans, including two types of chickpeas. I was frankly shocked that the black chickpeas were one of the most successful varieties here in Duluth, Minnesota. I think of chickpeas as a hot, dry climate crop, so wasn’t actually expecting much, but they produced a fairly generous crop of beans that actually matured and dried. (By generous I mean I got about a cup of beans from maybe 15 or so plants.)
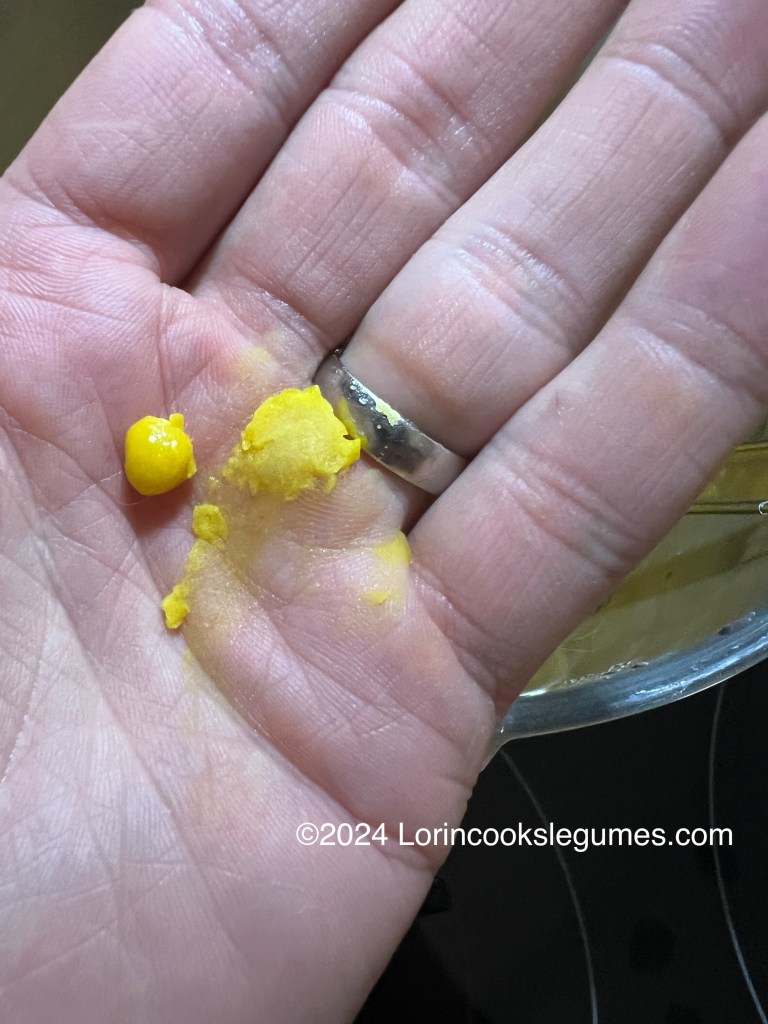
I hadn’t actually gotten around to doing anything with those beans, so I figured let’s try this claim that you can just soak the beans and rub the skins off to make them into dal. Wikipedia is technically correct… but even after 20 plus hours of soaking I had to squeeze each individual bean out of its skin. That took about 90 minutes. Since chickpeas generally only grow 1-2 beans per pod, the original shelling of the beans was labor intensive as well, so this wasn’t a particularly efficient conversion of sunlight and water to edible calories, especially considering I have a bag of commercially produced channa dal in the pantry. It’s possible that bringing the beans to a boil before soaking would loosen the skins more, but I’m not anxious to do anymore experimenting any time soon.


The whole time I was peeling the beans I was thinking about why anyone would have bothered to make skinned beans the first place. Short of “The king wants beans without skins” I can’t think that anyone in their right mind would spend the time to manually peel their beans. (I know there are some types of beans, fava for example, that have inedible skins and have to be peeled; I’m frankly unsure why people bother with them either.) Then I got to thinking about the labor that went into shelling those beans in the first place, and it started to make more sense. If your primary protein source is beans, and you’re trying to invent a way to get them out of their shells easier, some kind of pounding device is probably the first thing that would come to mind. Of course, when you pound the shells you probably wind up breaking a lot of the actual beans as well, and in my experience the skins tend to flake off broken dry beans fairly easily. So with a lot of the smaller beans that have thicker skins and a high skin to meat ratio, I can see people deciding that they liked these split beans better than the whole version.
Searching for specifically “chana” dal recipes did lead me in a slightly different direction than my other dal recipes, with a couple of spices that weren’t included with the other versions. The spices tend towards “sweeter” flavors like cloves and cardamom, making me think that it’s probably more common in Northern India.
My recipe uses both green* and black cardamom pods*. In the world of spices you’ll find three types of cardamom: green, white and black. They all come from plants in the ginger family. Green and white are actually the same thing, except that the green pods have been bleached to make them white (why this is desirable I’m not sure). They have a flavor reminiscent of eucalyptus, and are used in both sweet and savory recipes in India and beyond. Black comes from a different plant, and is dried over an open fire, giving it a smoky, minty flavor. It’s generally only used in savory dishes. I had never used black cardamom before, that I can recall, and the aroma when I added it to the hot oil was amazing.
The other new-to-this-blog spice in this recipe is Amchur.* (I may have included it as an optional ingredient in one or two of my recent recipes, but I hadn’t actually added any to a recipe I cooked yet). Amchur is dried, powdered green mango. It has a sour flavor, so gets used in Northern Indian dishes where tamarind would be used in a lot of Southern Indian recipes. It’s generally added at the end of the cooking process to retain its flavor.
Kasuri Mathi* is dried fenugreek leaves. I used it in my original dal recipe a few months ago, but it hasn’t shown up since. It is traditionally crumbled between your palms and added just before serving. It’s delicious, but does leave your hands smelling like fenugreek for days afterward.
I don’t think that I have fully addressed Indian red chili powders on the blog yet. Most of the recipes I look at specifically call for Kashmiri red chili powder, saying that it is primarily for color, not heat. For quite a while I’d been thinking that Indians just have a very different definition of what “hot” is. But I finally noticed that I have two bottles of red chili powder. One is labeled as “Kashmiri“*, but the older one I’d been mostly using is “regular“*, and there is a noticeable heat difference between them. I guess it’s the Indian version of paprika vs cayenne- they look very similar, but the heat level is different. Now, I still think Kashmiri red chili powder has more heat to it than paprika but it definitely makes for a milder flavor experience.
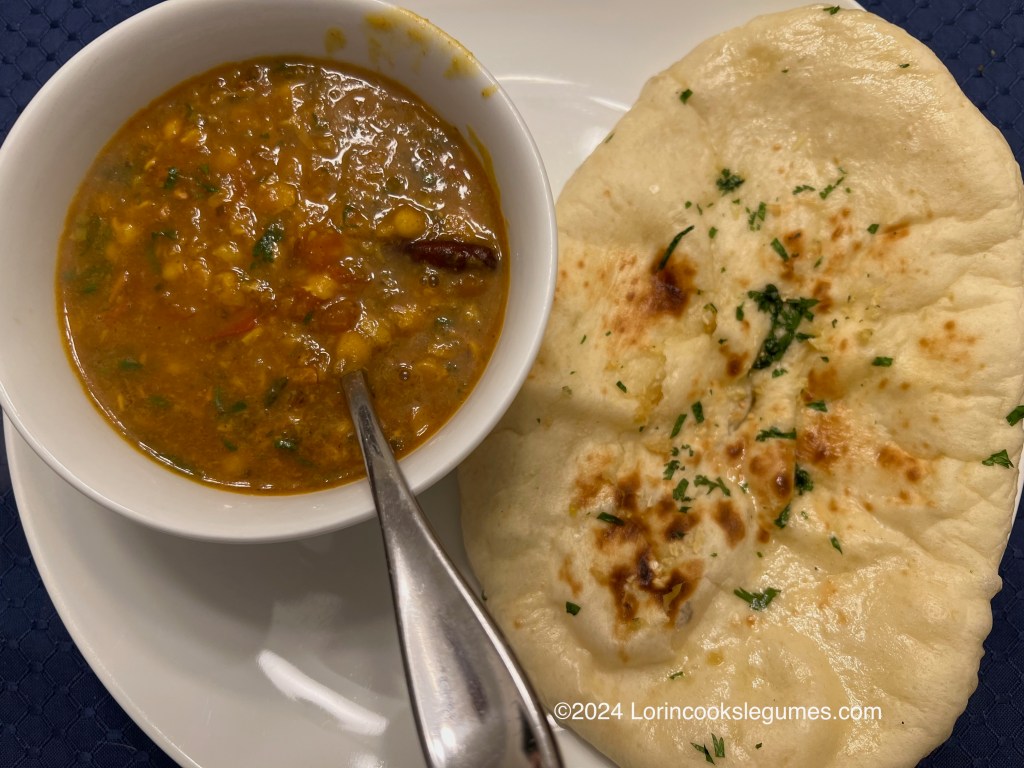
This was definitely my favorite version of dal on the blog so far, especially reheated the next day. I served it with home made garlic naan.


Chana Dal
Prep: 20 minutes
Cook: 50 minutes
Total: 1:10, plus soaking time.
(As an Amazon Associate I earn from qualifying purchases.)
1 cup chana dal
3 cups water
½ teaspoon turmeric
½ teaspoon salt
2 Tablespoons + 1 teaspoon oil
OR
2 Tablespoons + 1 teaspoon ghee
1 teaspoon cumin seed
4 whole cloves
2 green cardamom pods
1 black cardamom pod
1 bay leaf
¾ cup onion, minced
2 ¼ teaspoons minced ginger
1 teaspoon green chili, minced
1 Tablespoon garlic, minced
⅔ teaspoon salt
⅞ teaspoon Kashmiri red chili powder
½ teaspoon turmeric
1 teaspoon coriander powder
⅛ teaspoon asafoetida
⅔ teaspoon cumin powder
1 ¼ cup chopped tomato
About ½ cup water
3/8 teaspoon amchur
½ teaspoon garam masala
1 teaspoon kasuri methi
1 ¾ Tablespoons cilantro, chopped
1 Tablespoon oil
2-3 cloves garlic, minced
1-2 dried red chilies
Optional:
2 Tablespoons lemon juice, in place of amchur
1 ½ inch cinnamon stick
2 Tablespoons masoor dal
1 Tablespoon ghee, cooked with the dal
2 Tablespoons ghee, in place of oil in tadka
1 teaspoon cumin seed, in the tadka
1 pinch Kashmiri red chili powder, in the tadka
2 ½ teaspoons curry powder, in place of powdered spices
1 small piece of charcoal (NOT instant light) and 1 teaspoon oil, for dhugar method.
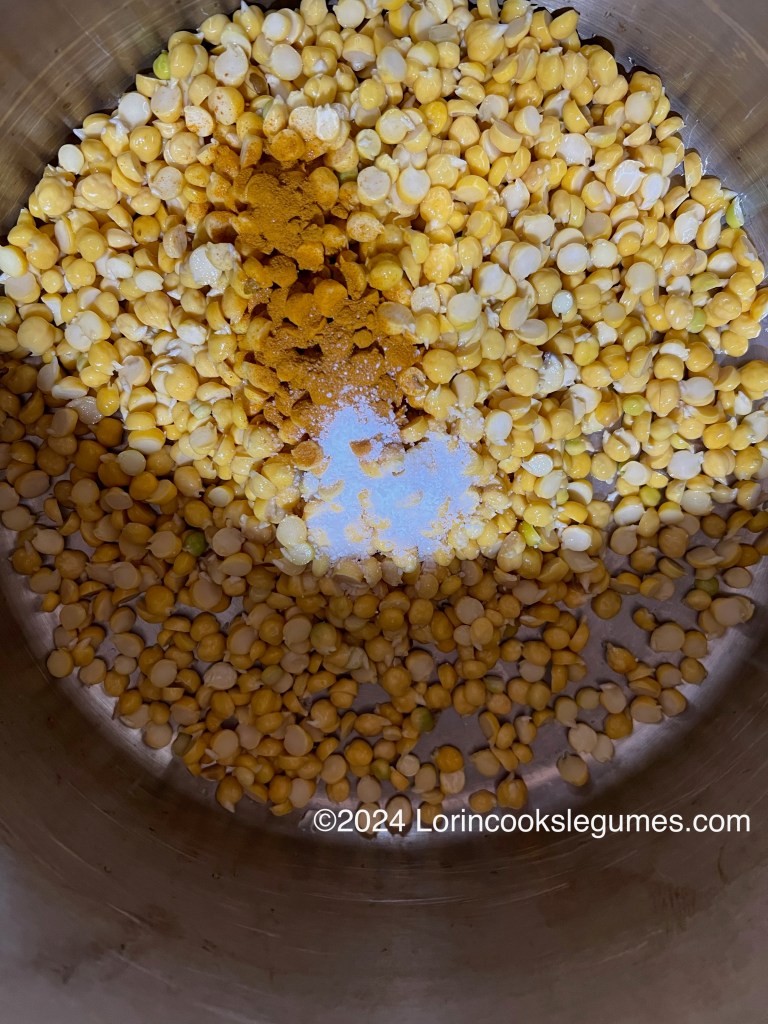
Rinse chana dal several times, until water runs clear. Cover with cool water and leave to soak for a minimum of 30 minutes, up to 4 hours.
Drain dal and place in a pressure cooker, with 3 cups of water, ½ teaspoon turmeric and ½ teaspoon salt. Seal the pressure cooker and bring up to high pressure. Turn heat to low and cook for 10-12 minutes, then remove from heat and allow the pressure to reduce naturally. When you can safely open the cooker, check your dal. It should retain it’s shape, but mash easily between your thumb and finger. If it is not yet soft, bring back to pressure for a couple more minutes.
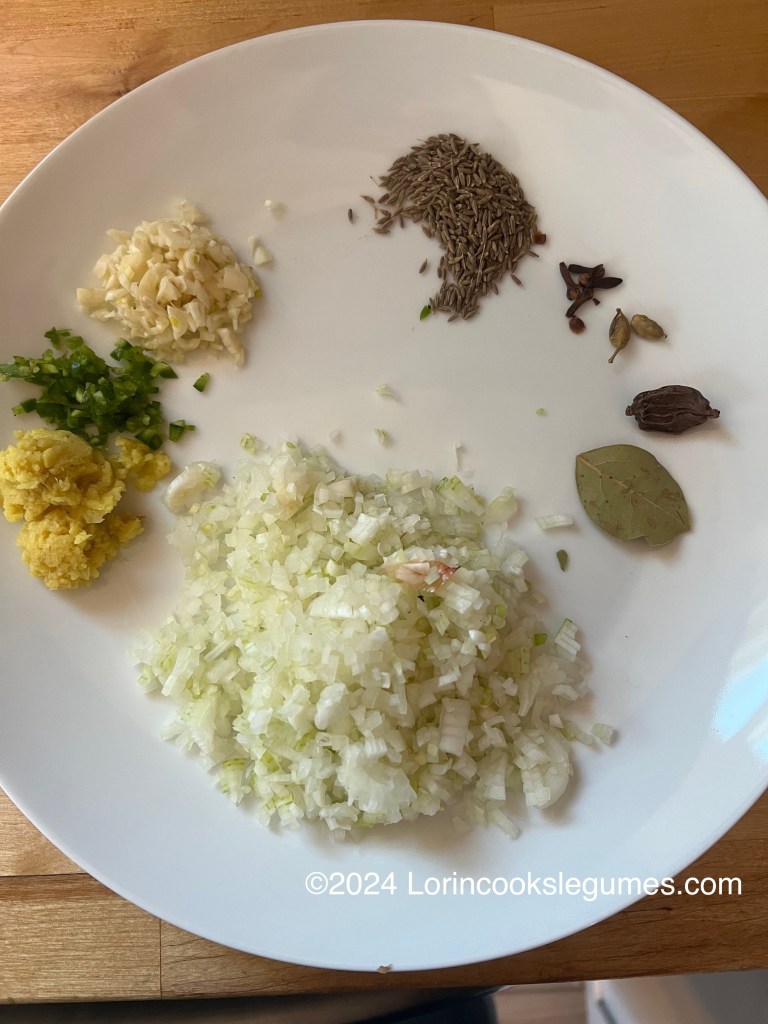
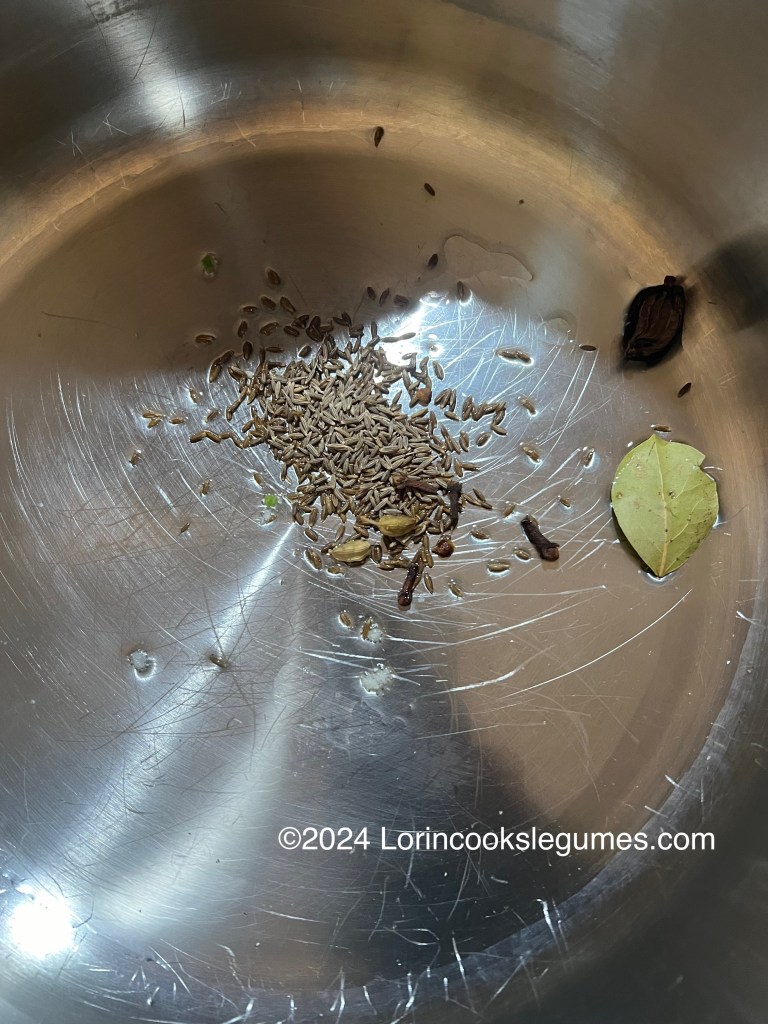
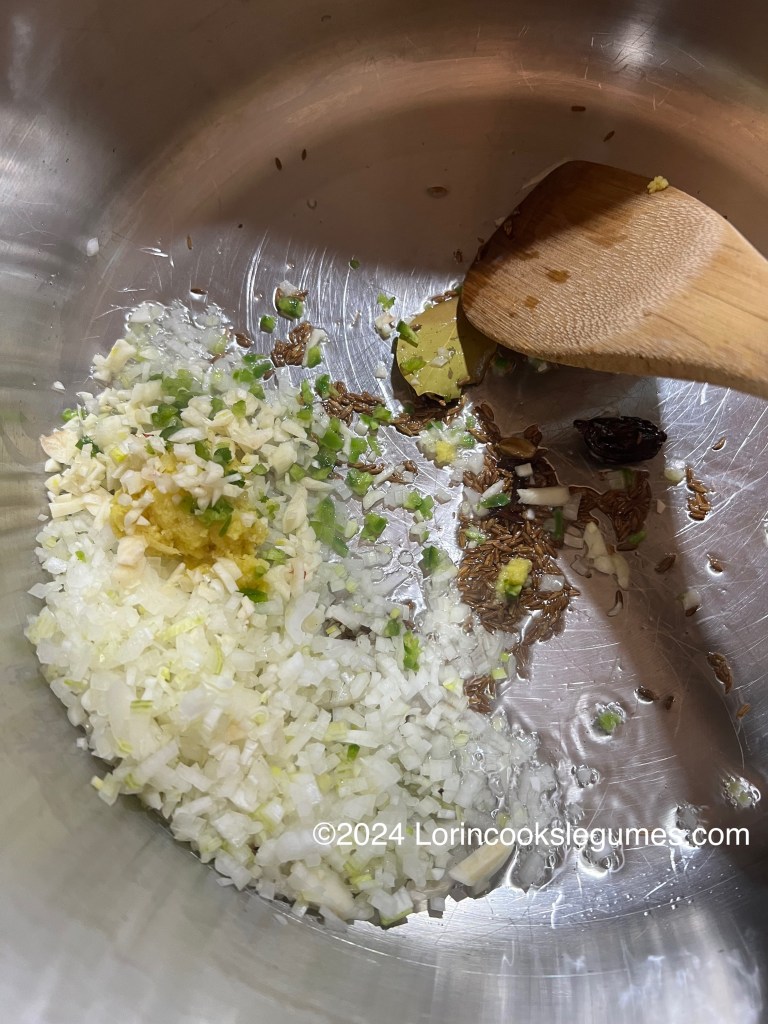
Heat oil or ghee in a large pot. Add cumin seeds, cloves, green and black cardamom pods and bay leaf. Sauté for a minute or so, until the cumin sputters. Add onion, ginger, green chili and 1 Tablespoon garlic and sauté until golden, 8-10 minutes.
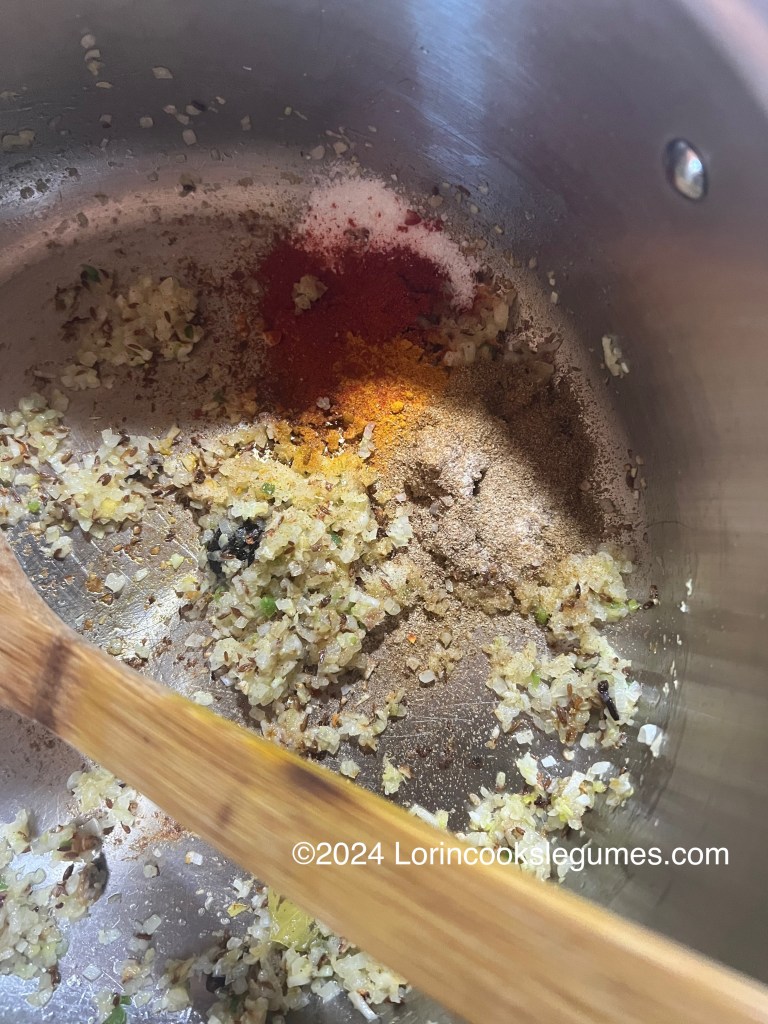
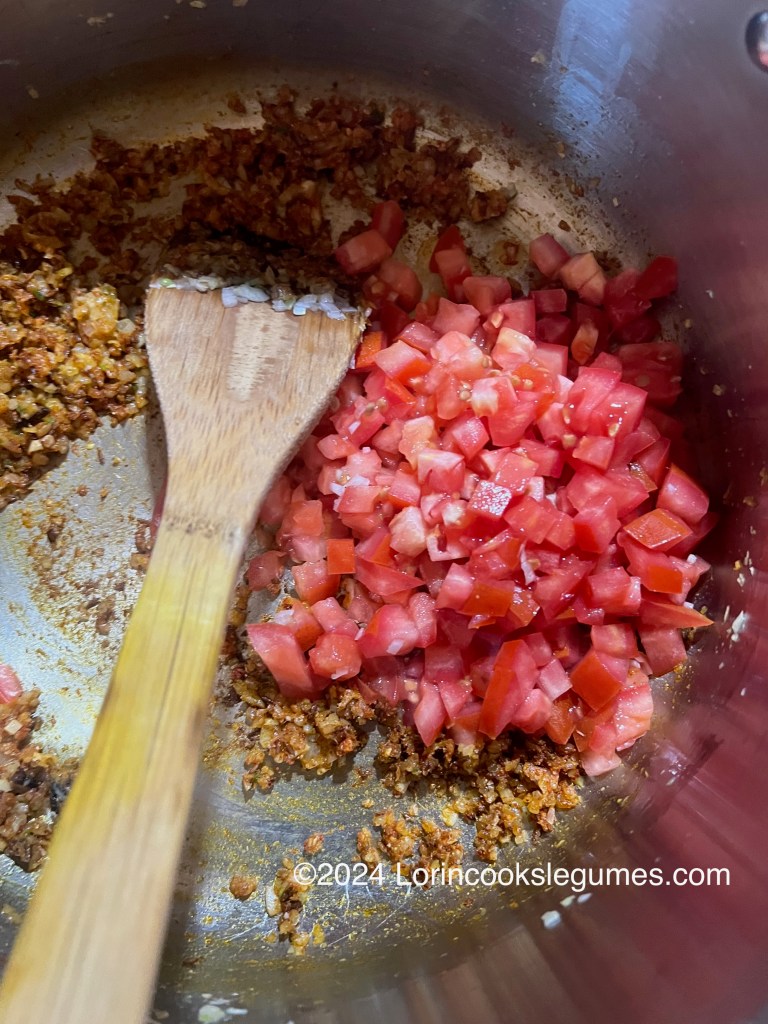
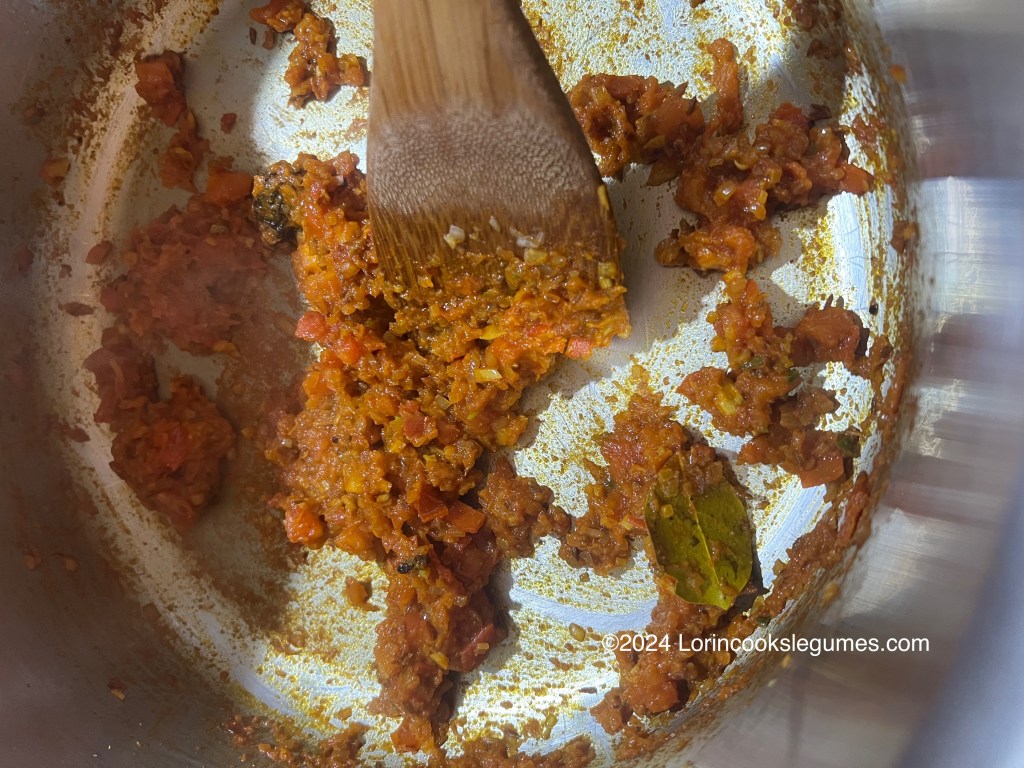
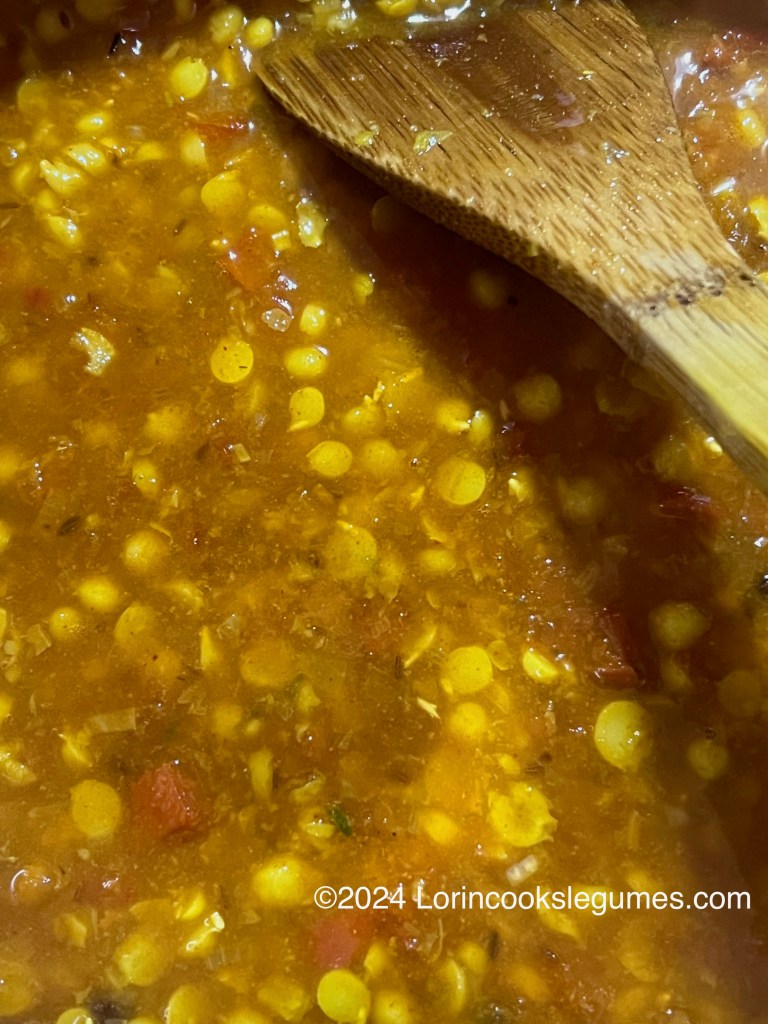
Add salt, red chili powder, turmeric, coriander, asafoetida and cumin powder. Mix well. Add tomato and sauté until tomato is soft and oil begins to separate from the mixture. Add the cooked dal along with any remaining cooking water, and mix well, lightly mashing some of the dal to thicken. .
Add additional water if needed to reach desired consistency. Bring to a simmer and cook for 5-10 minutes.
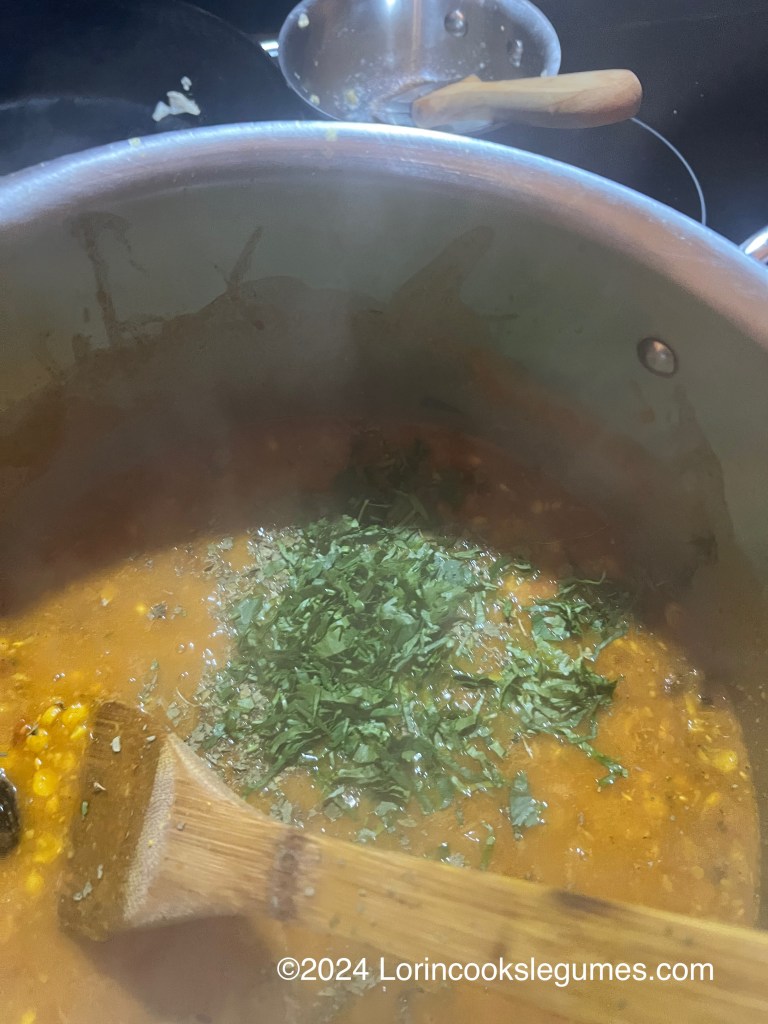
Stir in amchur and garam masala. Crush kasuri methi between your hands and add to the pot, along with the cilantro. Adjust seasoning to taste.
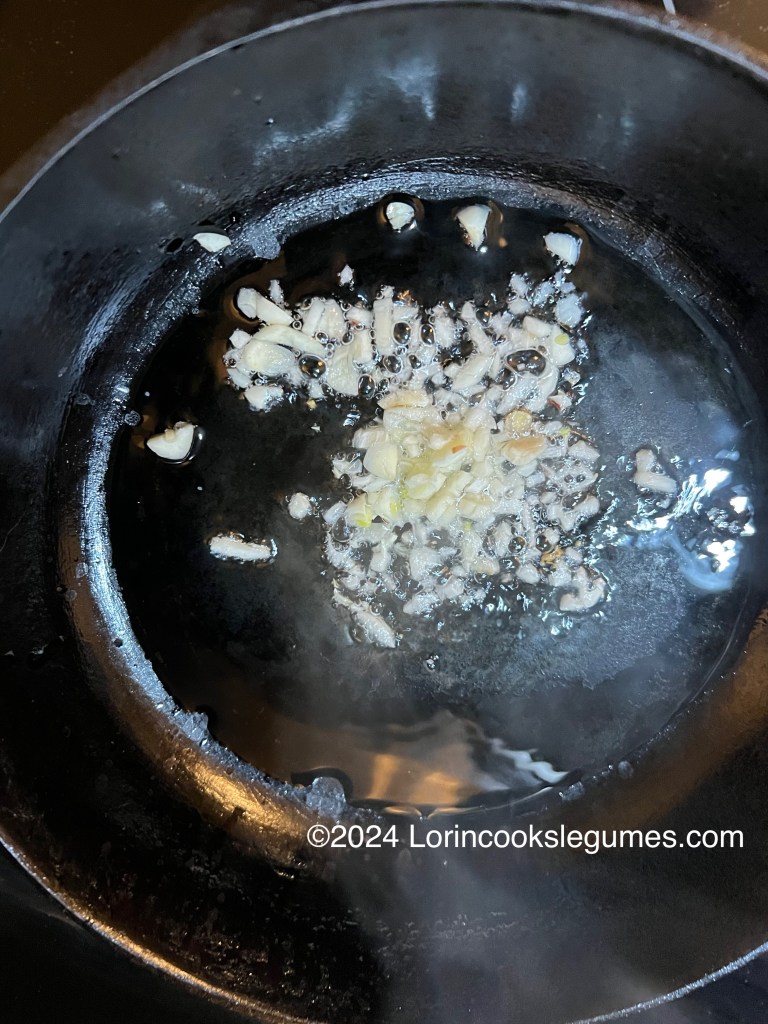
Heat 1 Tablespoon of oil in a small pan. Add 2-3 cloves of minced garlic and fry for 1-2 minutes, until just beginning to brown. Add the dried red chilis and cook another few seconds. Pour the tadka into the dal and mix well.
Serve with rice, naan or chapatis.
Optional dhughar method: before serving, place a small metal bowl into the pot of dal. Hold the charcoal with metal tongs over an open flame until it is red hot. Drop it in the bowl, pour a little oil over it, which should immediately start smoking. Immediately put the lid on the pot and let the smoke infuse into the dal for no more than 2-3 minutes. Remove the bowl, douse the charcoal in water (or otherwise safely dispose of hot charcoal) and serve your dal.
*As an Amazon Associate I earn from qualifying Amazon purchases.
I receive no compensation for mentioning any other websites or product.

One Comment Add yours