
Naan is a leavened, oven-baked (usually using a tandoor) or tawa-fried flatbread, which is found in the cuisines mainly of Iran, Afghanistan, Central Asia, the Indian subcontinent, Indonesia, Malaysia, Myanmar, and the Caribbean.
https://en.wikipedia.org/wiki/Naan
Naan seems to be the one thing that everyone agrees on ordering at Indian restaurants. It’s a delicious, soft, chewy, flatbread, traditionally baked in a tandoor oven. The word naan comes from Persian, and literally means “bread”. There are versions of it all over central asia, but the most famous comes from Pakistan and Northern India, where it has spread to the rest of the world.
Unlike roti or chapati, naan is made with a leavened dough, and is generally enriched with dairy and eggs. This gives a light, fluffy dough that creates lots of bubbles when it cooks, creating the pillowy texture we love.
While there are recipes that only use baking powder out there, the consensus among the bloggers I looked at is that yeasted dough is mandatory to make really good naan. However many of them also include double acting baking powder to give an extra punch of rising power when the dough hits the hot pan. (Double acting baking powder has two different chemical reactions that help doughs and batters rise, one that takes place when the powder is moistened, and another that requires heat to activate).
According to one or two of the blogs that dove deeper into the history, before modern baking yeast yogurt was the original leavening agent in naan. The dough would be left to rest for long enough that the natural cultures in the yogurt would leaven the bread. One or two of the other blogs I looked at felt that using yogurt detracts from the texture, but they were out-voted by all the recipes that did include it.
My recipe calls for 2 Tablespoons of egg. Yes, that is less than one egg. More than that will make the dough too wet. Just beat the egg well and measure out what you need.
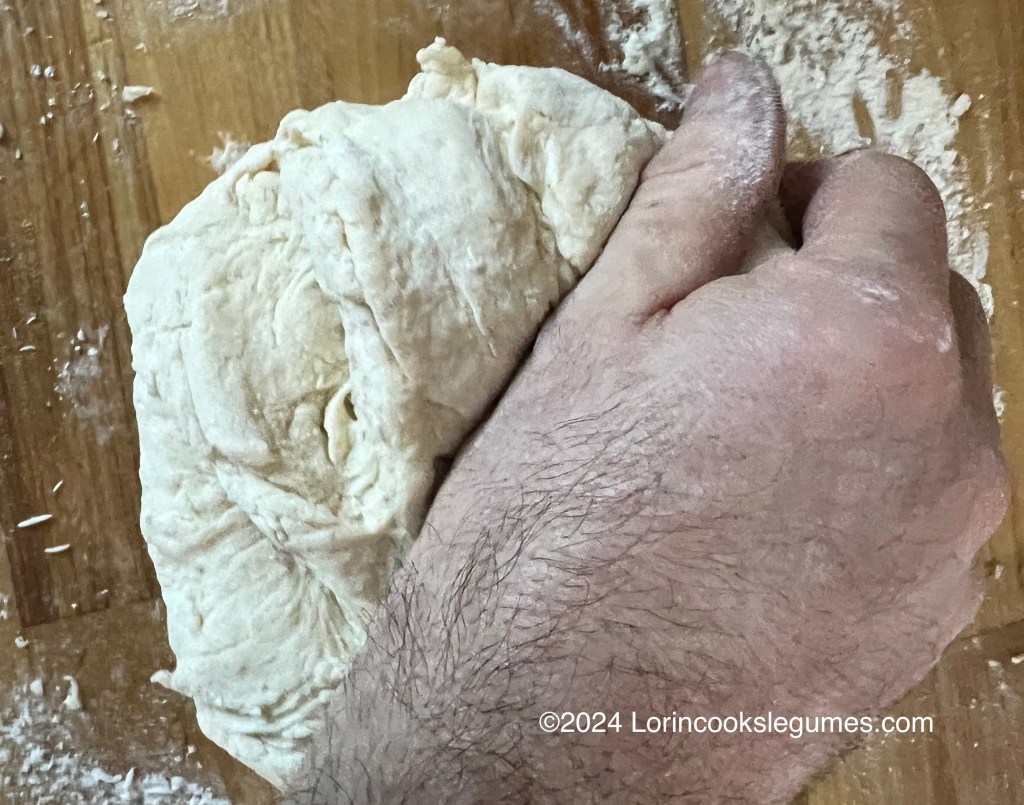
The dough will be fairly sticky. The trick is keeping it relatively sticky while you knead it. Some of the recipes I saw called for oiling your hands rather than using flour on the board while you knead. I chose to use flour, but just the bare minimum required to keep it from sticking too much. I just dipped my hands in a pile of flour and shook most of it off each time it started sticking, and maybe added a teaspoon or so to the counter a few times. I think the ideal consistency is like a Post-it-Note™; it should feel tacky, but release cleanly from your hand/ the counter when you pull away.
Nuances of the dough aside, the real challenge of homemade naan is trying to replicate the baking conditions of a tandoor. A tandoor is a type of wood-fired oven, traditionally an urn shaped clay vessel where temperatures can reach 900F. The naan are stuck to the side of the oven where they quickly cook from both sides.
Of course most people don’t have a tandoor at home, so there are a laundry list of methods people claim make the best, most authentic naan. At the simplest, people just cook the naan on a frying pan on the stove top, flipping it to cook both sides, but that doesn’t really capture the essence. Other people cook one side on the stove top, then transfer the partially cooked naan to a hot oven to finish. That works to an extent, but most home ovens still don’t come close to the blistering heat of a tandoor. In the past I’ve cooked naan on my charcoal grill, which was delicious, but once again didn’t quite match a tandoor. .
The method I share here is one I hadn’t seen before researching this post, has quite a few people raving about it online, and I think comes the closest to replicating the conditions in a tandoor that you can get in a western kitchen. Before putting the naan in the pan, the back side of the dough is pressed with wet fingers to create a paste the will stick it to the pan. Once the dough puffs up the entire pan is inverted over the burner and the heat turned up to high. The dough will bubble more, pushing downward toward the heat. Once the bubbles start to brown, the pan is flipped upright again and the naan is done. The entire process only takes a minute or two. The naan should be browned or even slightly charred on the peaks of the bubbles, but still look slightly doughy in the low spots. Tearing a small hole in the center of the dough before cooking helps make many smaller bubbles instead of the entire naan puffing up in one big bubble.
This obviously works best with a gas stove, but I can say that it worked just fine on my electric, radiant heat stovetop. If you have an induction stove it won’t work, since they use magnetic currents in the pan itself to create heat,so you’ll just have to flip the naan and cook both sides on the pan, or try one of the other methods suggested online.
Because of the high heat you are exposing the cooking surface of the pan to with this method, I don’t recommend using a non stick pan, as this could damage the non stick coating. A cast iron skillet is ideal, but any heavy bottomed, low sided pan with a handle should work. The one downside to this process is that you do have to hold the pan above the burner while it’s inverted, so heavy cast iron can get tiring. Whatever pan you use, you’ll want to give it a quick scrub and rinse between batches, as the “glue” formed by wetting the dough will leave a residue that will burn.
One of the recipes I looked at recommended using a grater or garlic press to mince your garlic, as it creates stringier pieces that stick to the dough better than the small bits created by mincing with a knife. For this recipe I add garlic in two different places. First the raw naan is sprinkled with garlic and cilantro before cooking, then, once cooked, the naan is brushed with garlic butter, and the process is repeated with the next piece of dough. You could, of course, skip the garlic and cilantro if you want plain naan.
I served this with my chana dal.


Garlic Naan
Yield: 6 naan
Prep: 20 minutes
Rise: 60-90 minues
Cook: 20 minutes
Total: 1:40-2:10
(As an Amazon Associate I earn from qualifying purchases.)
½ cup lukewarm water
1 ¼ teaspoon active dry yeast
OR
1 ¼ teaspoon instant yeast
2 teaspoons white sugar
2 ⅓ cups all purpose flour
OR
2 ⅓ cups bread flour
¾ teaspoon salt
⅔ teaspoon baking powder
4 Tablespoons yogurt
4 Tablespoons milk
1 ¾ Tablespoons neutral flavored oil
OR
1 ¾ Tablespoons olive oil
OR
2 Tablespoons butter, melted
2 Tablespoons beaten egg
2 Tablespoons butter
2 cloves garlic, grated
1 small clove garlic, grated
Finely chopped cilantro, to taste
Optional:
2 Tablespoons ghee, in place of oil or butter in dough
2 Tablespoons ghee, in place of butter for brushing
Nigella seeds, to taste
Shredded cheese (roll naan, place cheese in center, fold edges over cheese, roll again)
½ teaspoon anise seed
2 teaspoons chopped parsley, in place of cilantro.
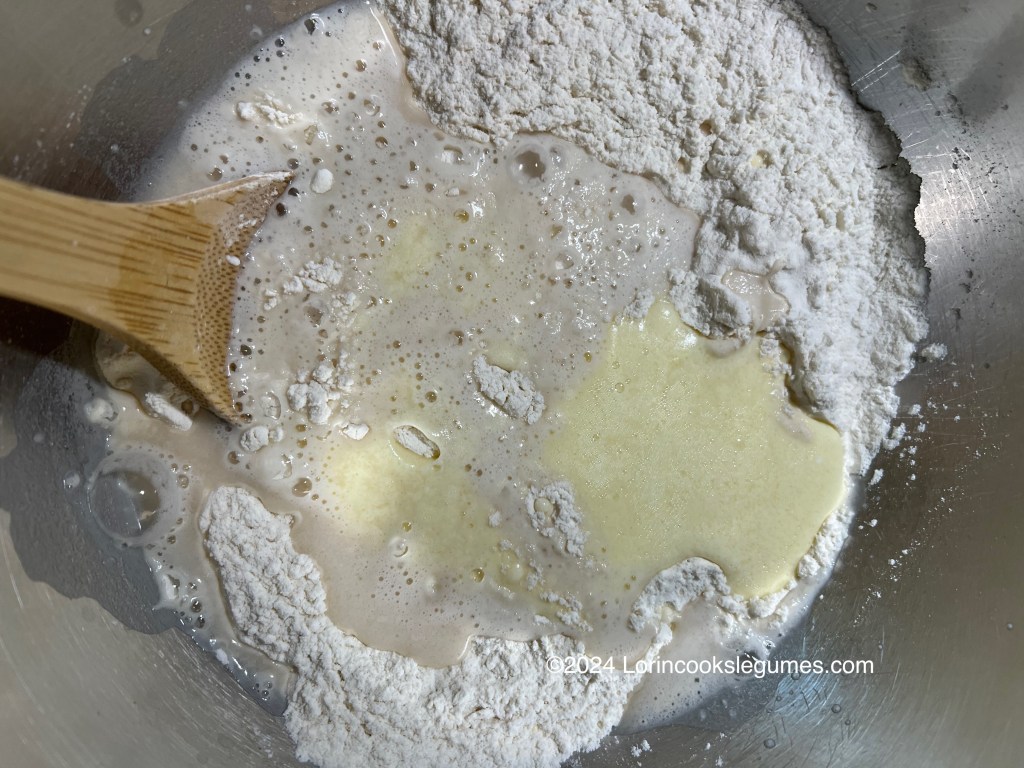
Warm ½ cup water to lukewarm (100-110F). Whisk in yeast and sugar and set aside to bloom for about 10 minutes, until the yeast is nice and foamy. (If it doesn’t foam, your yeast has expired and you’ll need to buy new yeast).
Combine flour, salt, and baking powder in a large mixing bowl.
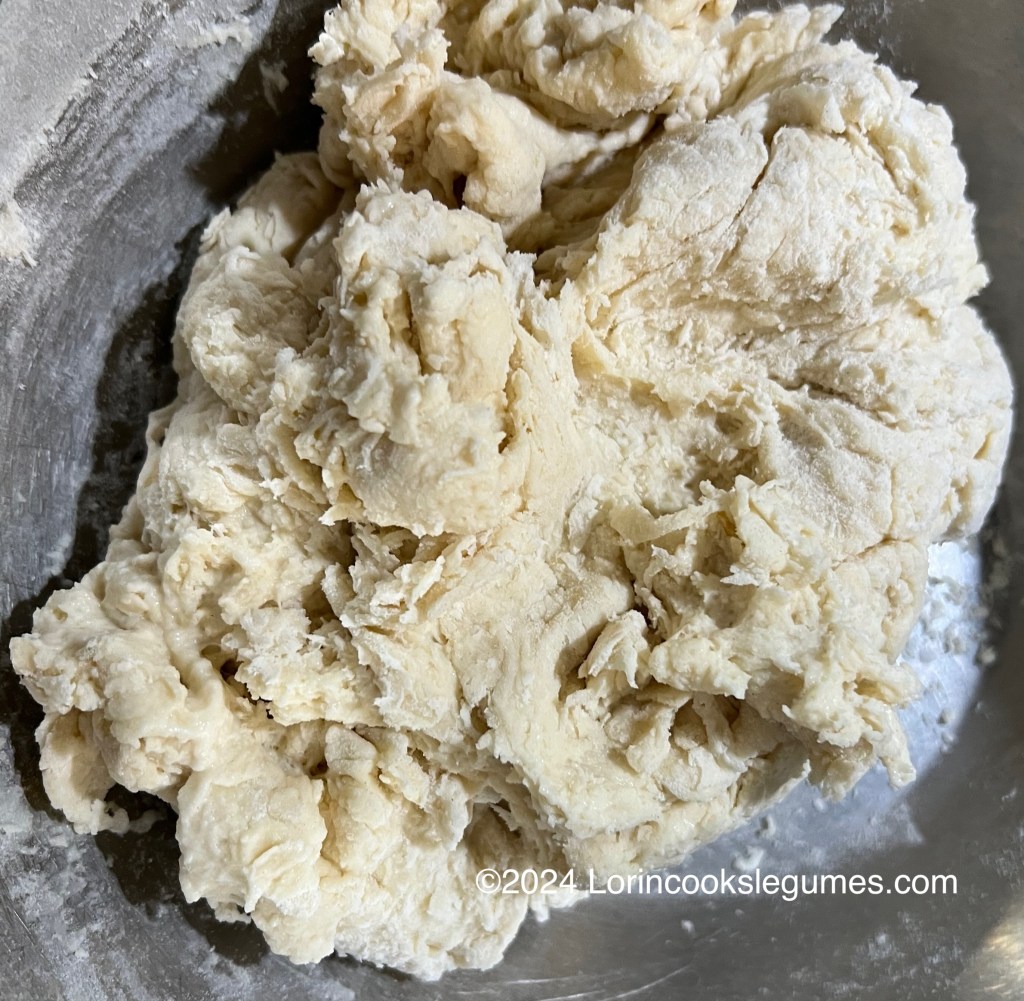
In a separate bowl, mix together yogurt, milk, oil, and egg. Add the yeast mixture and the yogurt mixture to the flour and stir until a shaggy dough forms. Turn out onto a lightly floured work surface and knead for about 5 minutes, until dough is smooth and elastic. Shape the dough into a ball. Lightly oil the mixing bowl and put the ball of dough in the bowl, turning to coat all sides in oil. Cover with a clean cloth and set aside in a warm place to rise until doubled, 60-90 minutes.
Lightly punch down the dough, then turn out onto a lightly floured surface. Divide into 6 pieces and form them into balls. Loosely cover with a towel and let rest for 5-10 minutes.
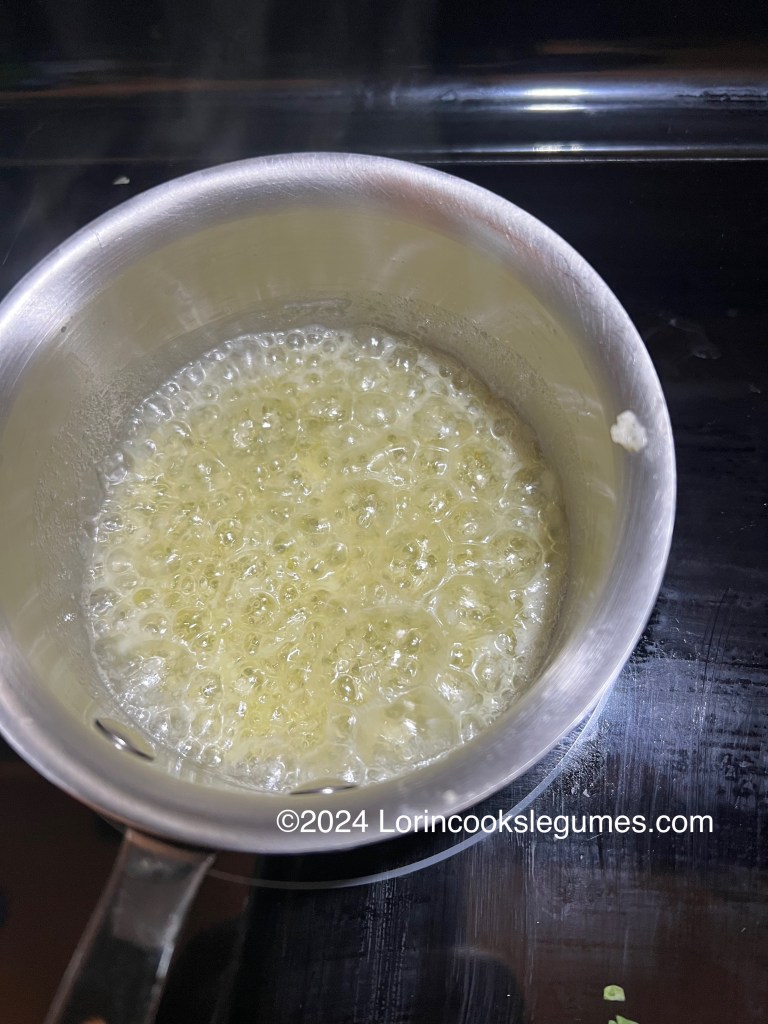
Meanwhile, melt 2 Tablespoons of butter in a small pan and add 2 cloves of grated garlic. Cook for a minute or two, then set aside.
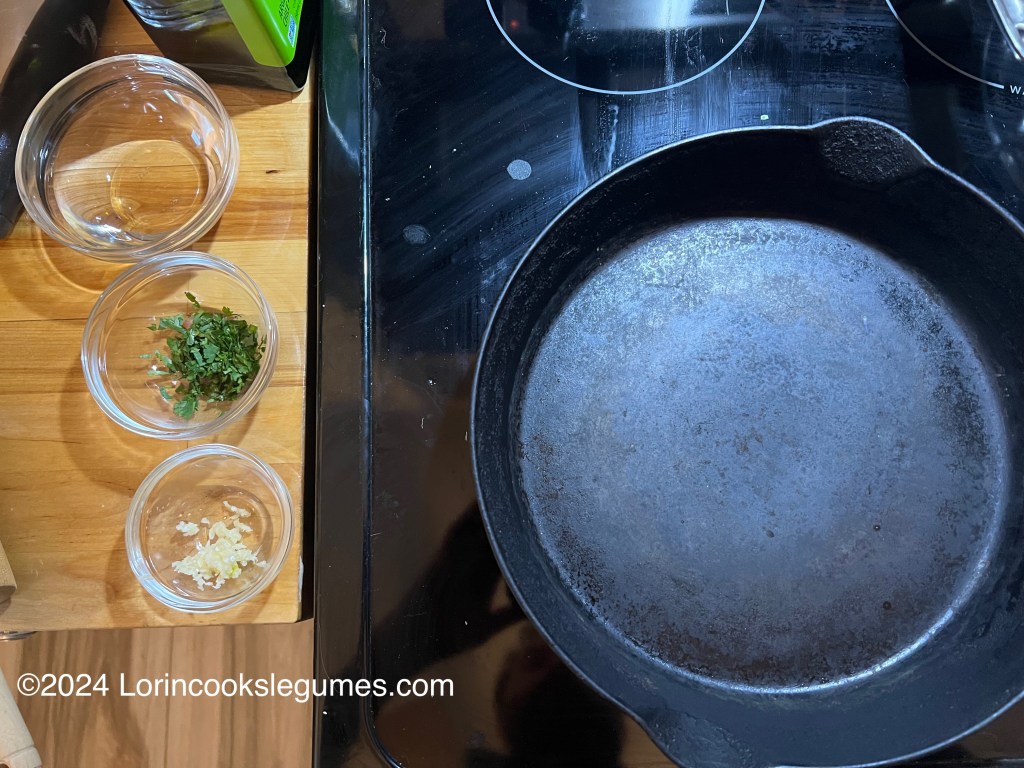
Heat a cast iron skillet or other heavy bottomed, low sided, pan over medium high heat. (Don’t use a non-stick pan, as the high heat required to cook the naan will damage the non stick coating). Set a small bowl of water near your work space, along with 1 clove of grated garlic and some finely chopped cilantro.
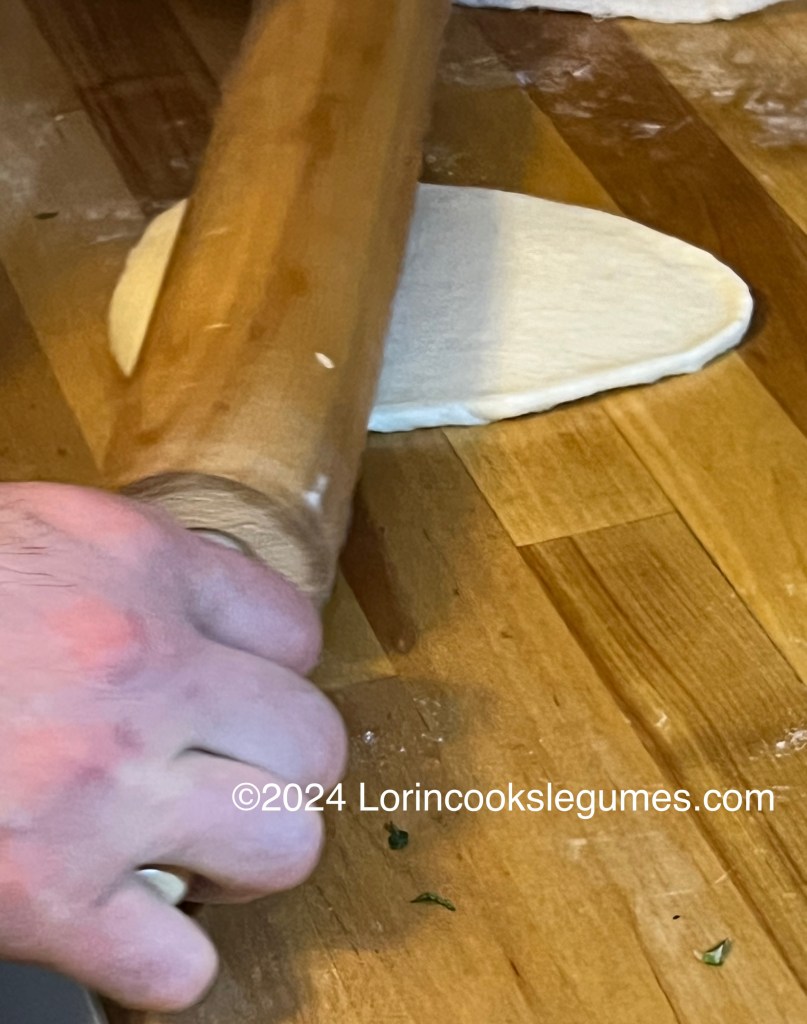
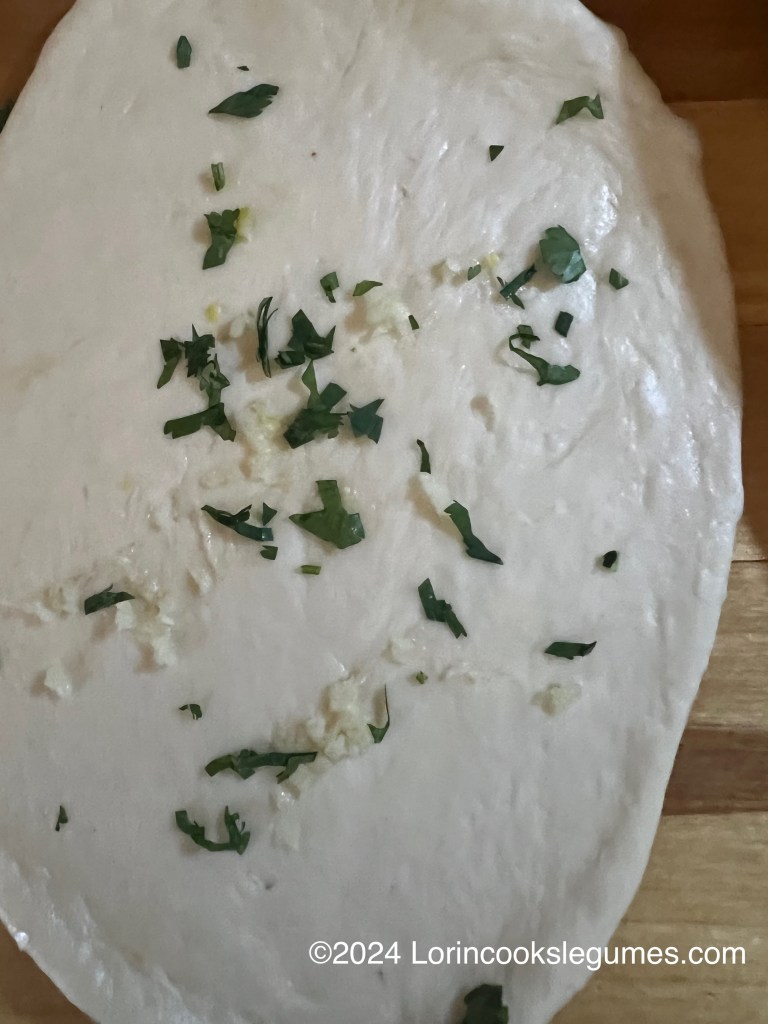
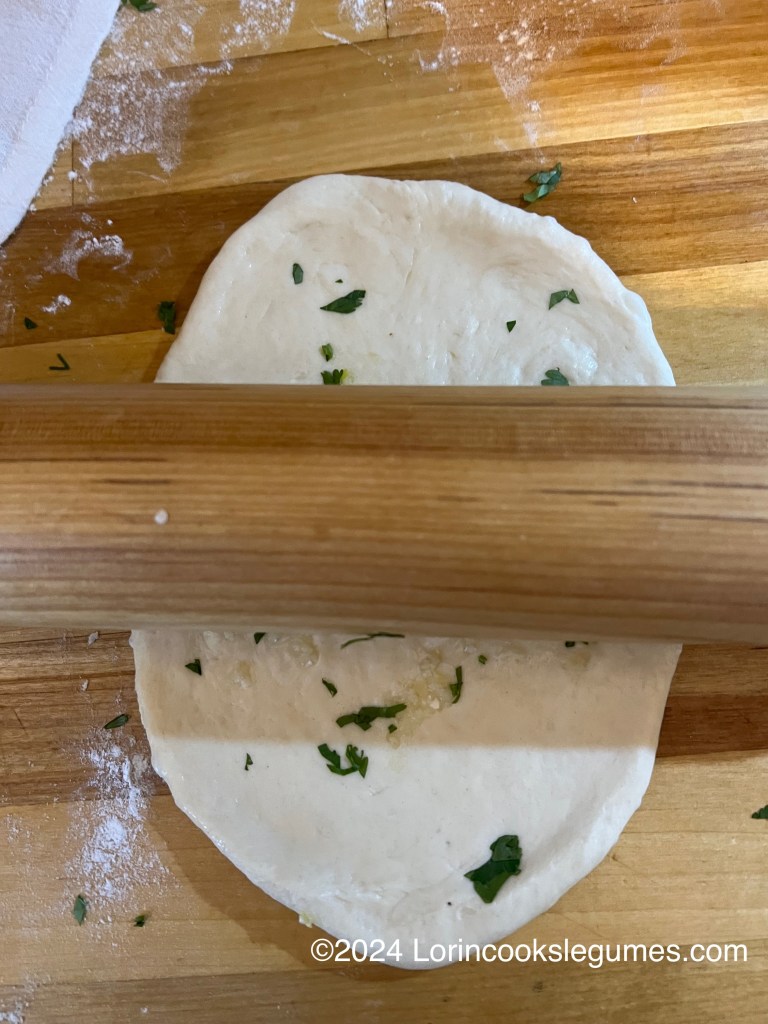
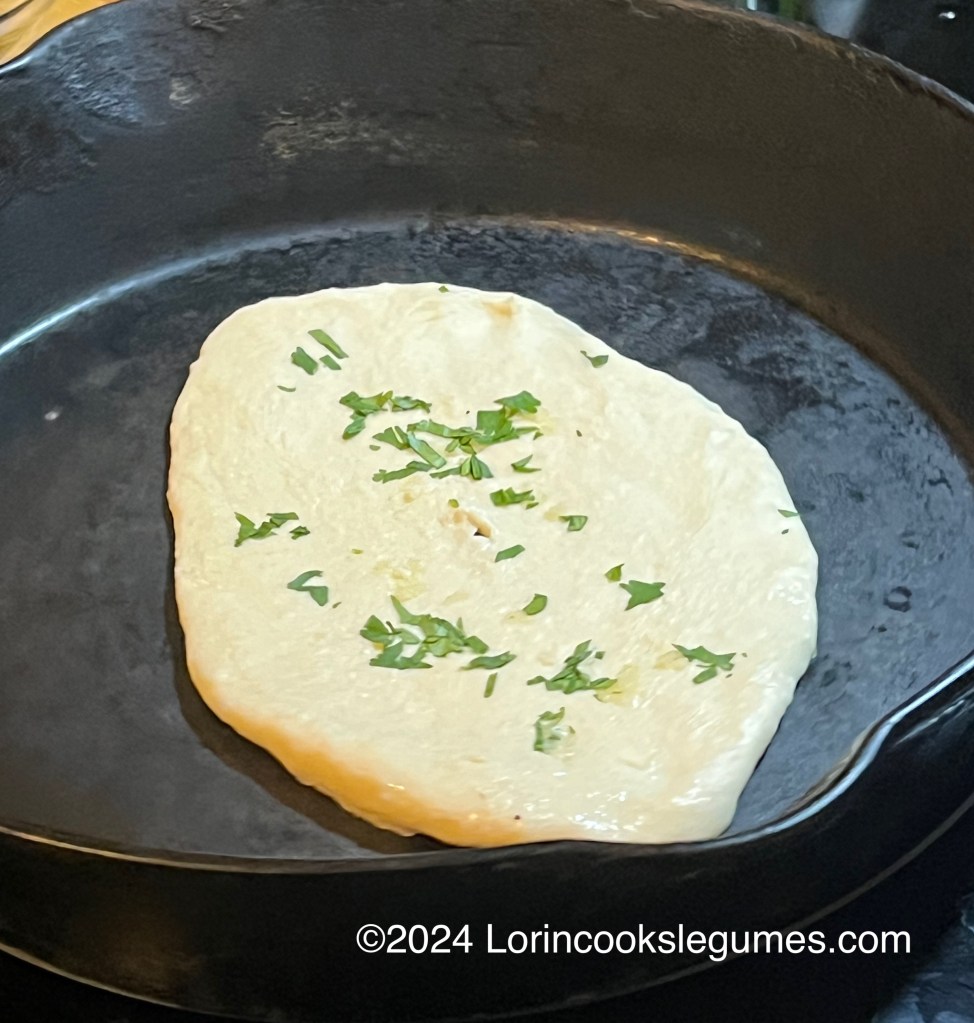
Take one ball of dough and roll it out into an oval about ⅛ inch thick. Roll from the center off the edges, rather than back and forth. Sprinkle a pinch of garlic and some cilantro over the dough and lightly press in with the rolling pin. Break a small hole in the center of the dough (this will encourage the dough to make many small bubbles rather than one large one).
When the pan is just beginning to smoke, flip the rolled dough over on the counter and dip your fingers in the bowl of water, then press them on the naan, wetting the dough in five spots. This will form a glue that sticks the dough to the pan when we flip it over.
Transfer the naan to the pan, water side down. Cook for about 1 minute. The dough should bubble up. At the first hint of a burnt smell, invert the pan, holding it above the burner and crank the heat to high until the bubbles are nicely browned, or even charred a bit. The lower parts should look slightly doughy still. Use a spatula to remove the naan from the pan, then brush the top side generously with garlic butter. Cover with a towel while you cook the remaining naan.
Give the pan a quick rinse and scrub, and lower the heat again, and return the pan to the heat while you roll the next naan.
Repeat the rolling and cooking process with the remain dough, adjusting heat as needed to prevent burning.
If you have an induction stove, or don’t want to hold your pan upside down, you can just flip the naan in the pan and cook the other side on the pan. You won’t get quite the same effect, but it will still be delicious. (Skip wetting the dough if you do this).

2 Comments Add yours