
Roti (in English known as chapati) is a round flatbread native to the Indian subcontinent. It is commonly consumed in many South Asian countries.
https://en.wikipedia.org/wiki/Roti
Many cultures around the world have some kind of bread as a staple of their diet, appearing on the table at most meals no matter what else you are eating. India is no different. Rice is probably the most commonly consumed carb in India, but roti or chapati is close behind it, with both being served at the same meal in many households.
Roti and chapati are types of unleavened flatbread, made from fine, stone ground, whole wheat flour. There’s much confusion about what the difference between the two is, with some saying that roti is made with just flour and water, while chapati has fat added, others say it is all about the diameter of the bread, and still others the thickness. Mostly it seems to be about what part of India you are from and what your parents call it. I think the best explanation, and the one I’m going with, is that roti is a term that encompasses a number of different styles of flatbread made with similar dough, and that chapati is a type of roti. That said, I’m using the terms interchangeably in this post.
Here in North America, naan is the Indian bread that gets most of the attention, but from my research it seems that naan is actually more of a Pakistani dish, being popular only in parts of northern India. (Of course, the political and cultural histories of Pakistan and India are closely intertwined, but I’m not going to get into that here.) Naan is generally made with the same flour as roti but is yeasted and usually contains some dairy.
Roti is traditionally made with a type of stone ground whole wheat flour called atta or chapati flour. It is milled finer than the whole wheat flour generally found in America. Some sources said that white whole wheat flour is an acceptable substitute, others said not so much. I also saw recommendations to blend bread flour with whole wheat, again with other people disagreeing. In the end, I decided to just purchase the real thing from Amazon. (One of the many reasons it’s been a month since my last post, besides the fact that I looked at over 70 dal recipes before creating my own, was that this roti recipe was kind of a last-minute decision. I knew I was going to make it, but I hadn’t decided if I was going to create my own recipe, or actually read any other recipes very closely, and it wasn’t until half the dal ingredients I had ordered from Amazon had already gotten lost in the mail and showed up 4 days late that I realized that I also wanted special flour as well.
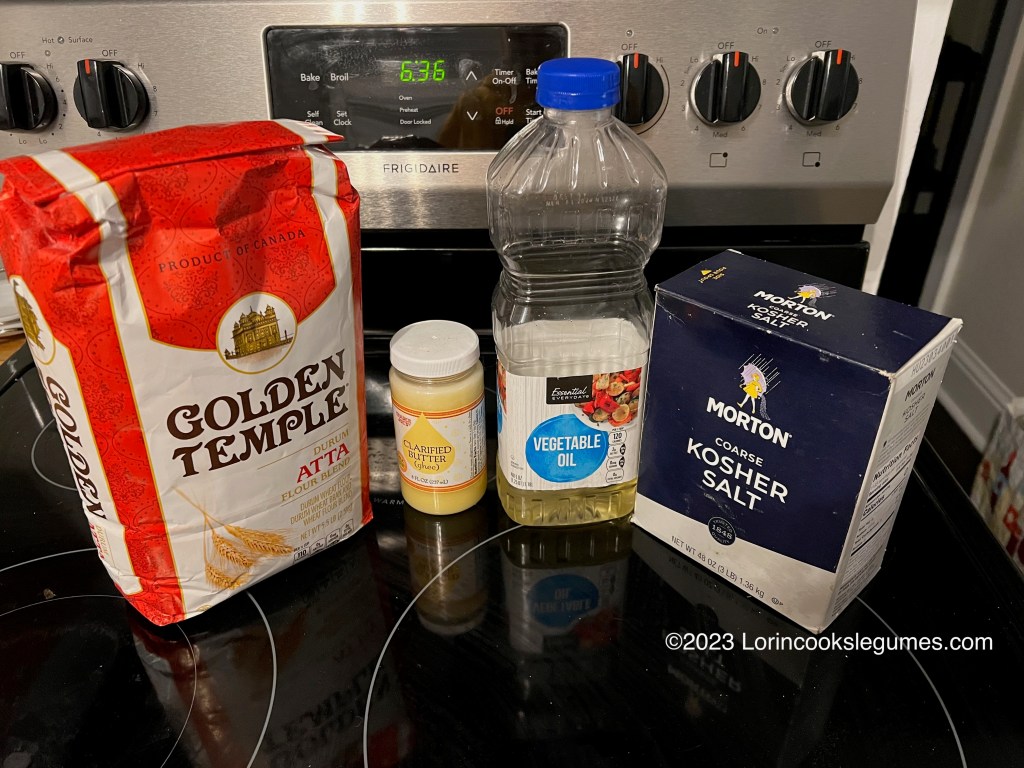
Traditionally, roti is made with just atta and water. However, every recipe I looked at included salt, because let’s face it, bread tastes better with salt. The addition of fat to the dough is a little more controversial, but it is said to make the roti softer, and enough of the recipes included it that I did too. Most recipes also called for brushing the finished bread with melted ghee or oil, although, again, that varies from region to region and household to household.
That’s it for ingredients. So of course with only four ingredients, it’s all about technique to turn them into a delicious, soft, flexible chapati.
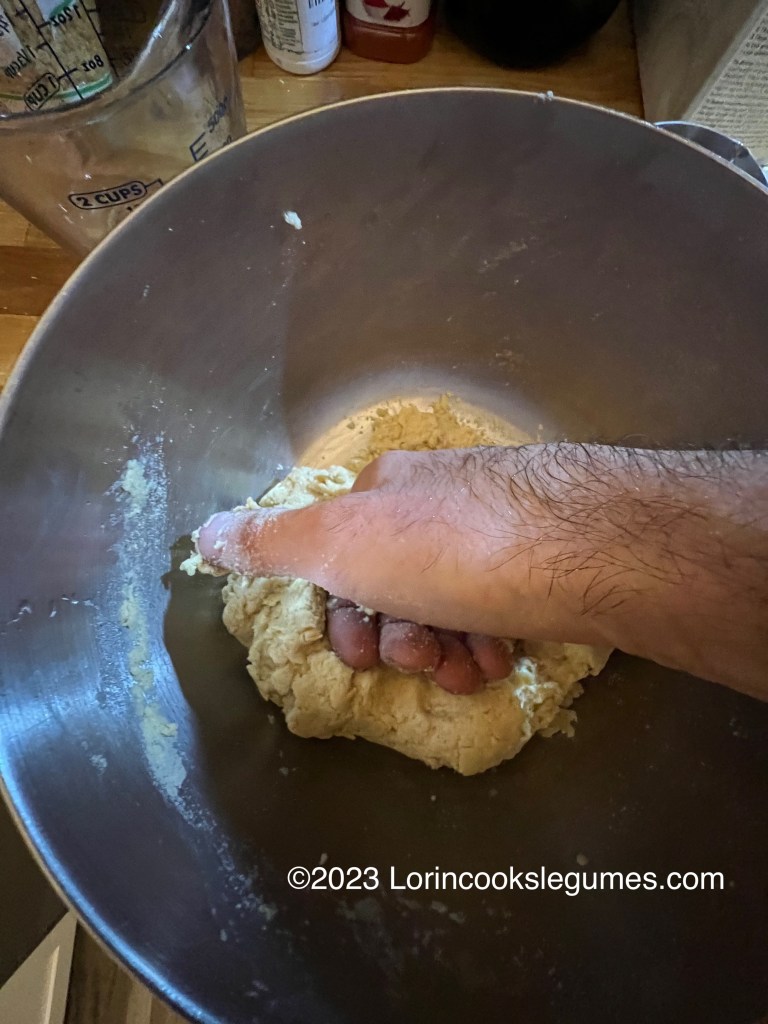
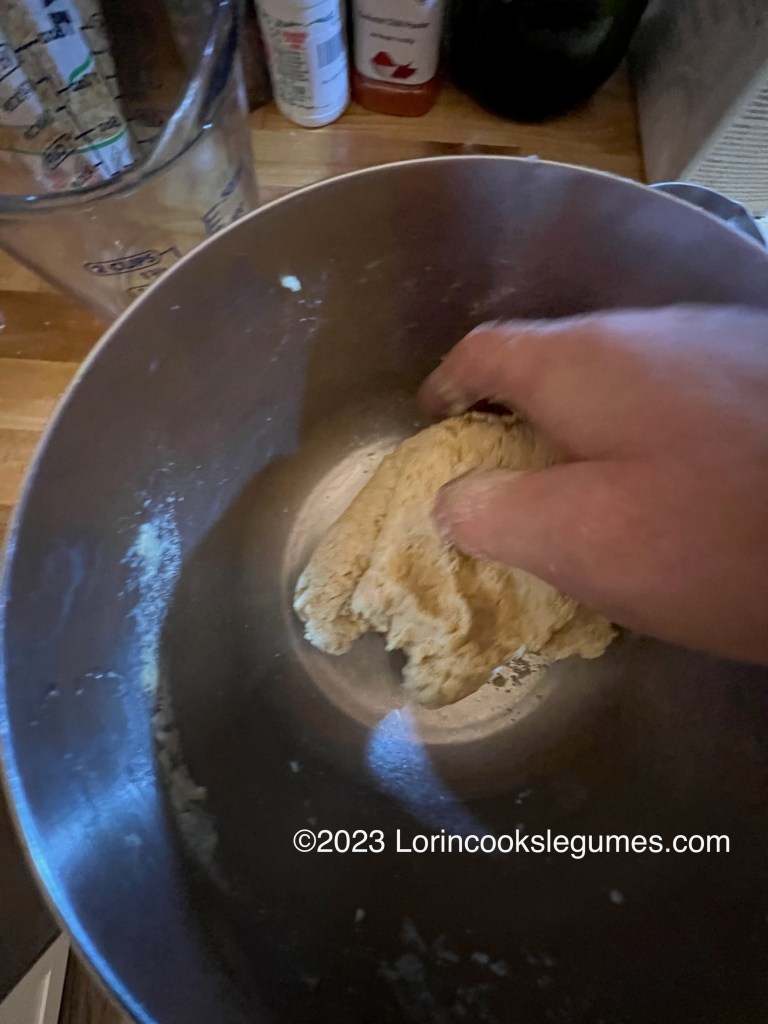
Using hot water is recommended to help make a more pliable dough. And then using just the right amount to get a soft, just slightly sticky dough. If you’ve done any bread making before, you know that this can vary depending on the flour you use, the weather, and the whims of the bread gods. (OK, probably mostly just the moisture level of the flour and the humidity in the air). Add your water a bit at a time until the dough seems right. If it’s too sticky add another tablespoon of flour, too stiff, another splash of water. I used about ¾ cup, some recipes I looked at said it took up to 1 ¼.
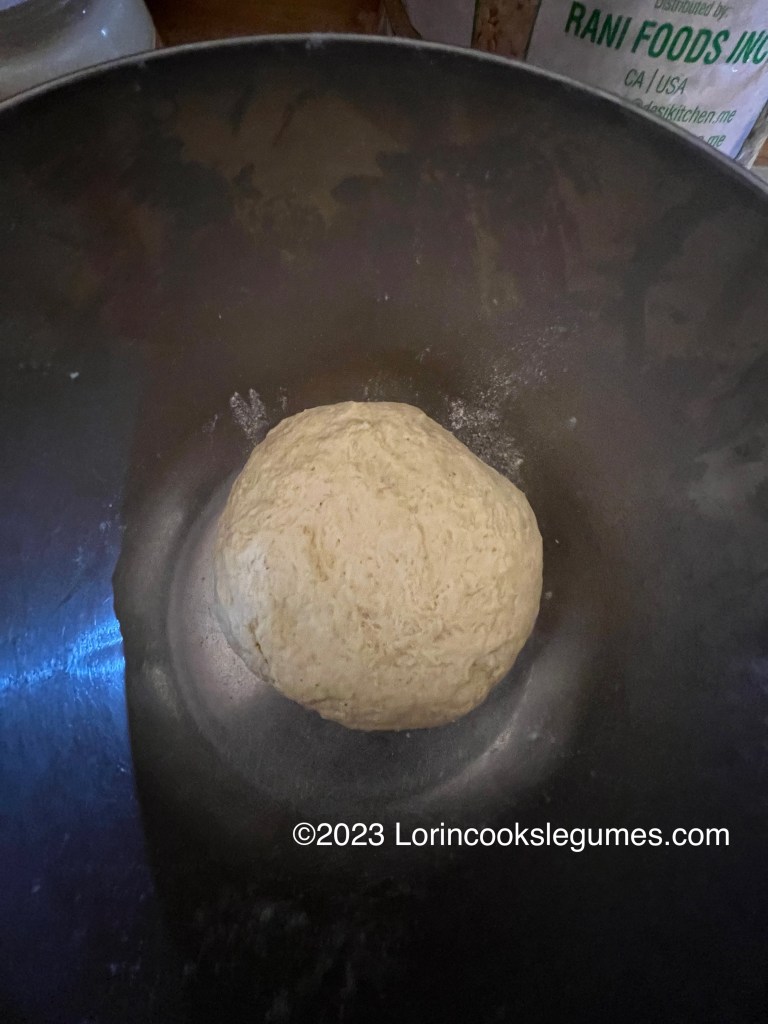
Once the dough comes together you want to knead it for about 5 minutes, until it is smooth and pliable. Then it needs to rest for at least 30 minutes. It’s not a leavened dough, so it’s going to look exactly the same at the end, but inside the gluten will have relaxed, making it much easier to roll out. (This is a useful trick to remember for any dough you want to roll or stretch thin, especially if it has been kneaded.)
I’ve never considered myself very good at rolling dough evenly, so after all the recipes talking about how this was an art they had spent years perfecting, I was pleasantly surprised to find that the dough was easy to work with and kind of just naturally did what I wanted it too.
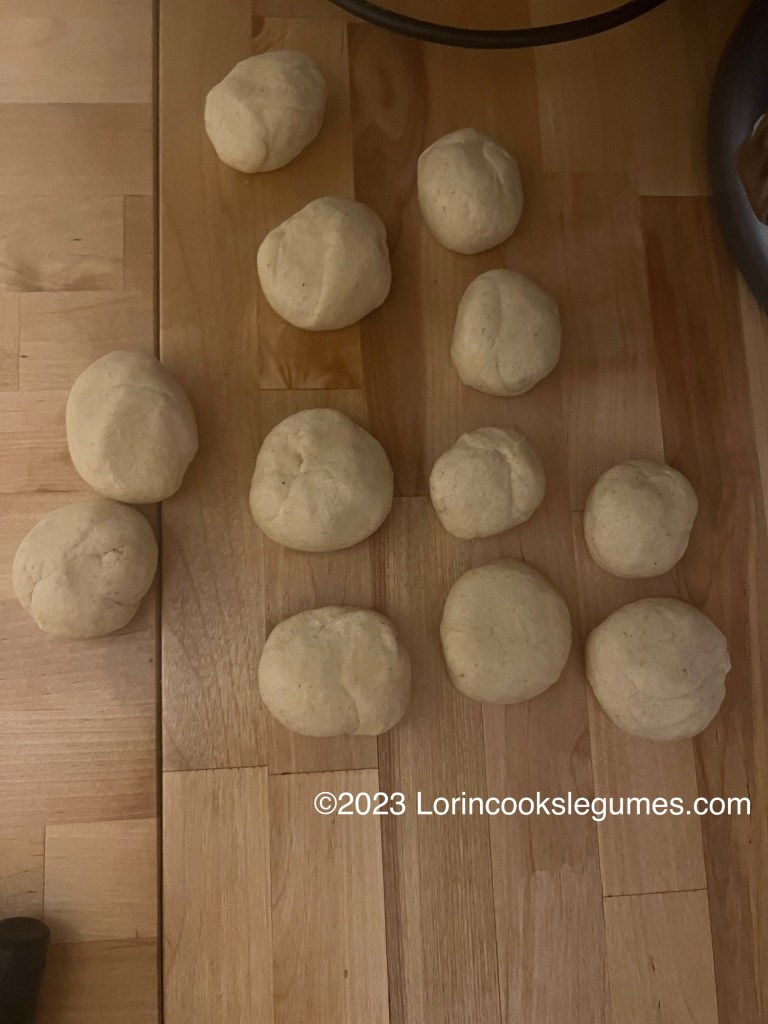
Once your dough is divided into 12 equal pieces you want to shape each into a small, smooth ball, making sure that all seams are sealed. Work with one ball at a time, keeping the rest under a damp towel to prevent drying out.
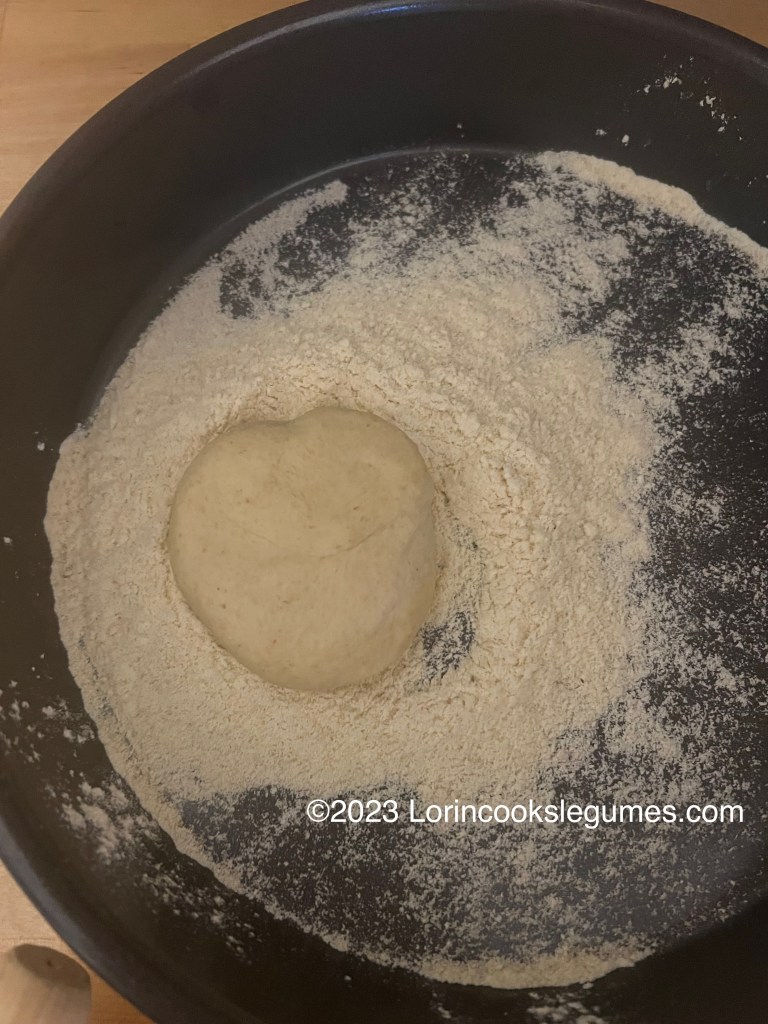
Lightly flatten a ball of dough between your hands, and then put it onto a plate with a little flour, flipping it to lightly dust all sides with flour. Place on a work surface and use a rolling pin to roll it out to a 5-6 inch circle of even thickness. With practice, your dough should naturally move in a circle as you move the rolling pin back and forth (this was the part I was most shocked to see happening with my limited rolling skills). If you haven’t figured that out you can also manually turn and flip the dough so that it rolls evenly. If it starts to stick to the rolling pin or counter, dredge it in the flour again. You want your dough thin, but not paper thin. If it’s too thin it won’t puff, but too thick it will take too long to cook and wind up tough and chewy. I chose to roll all my roti before I started cooking, but with practice, you should be able to roll one while the previous one cooks.
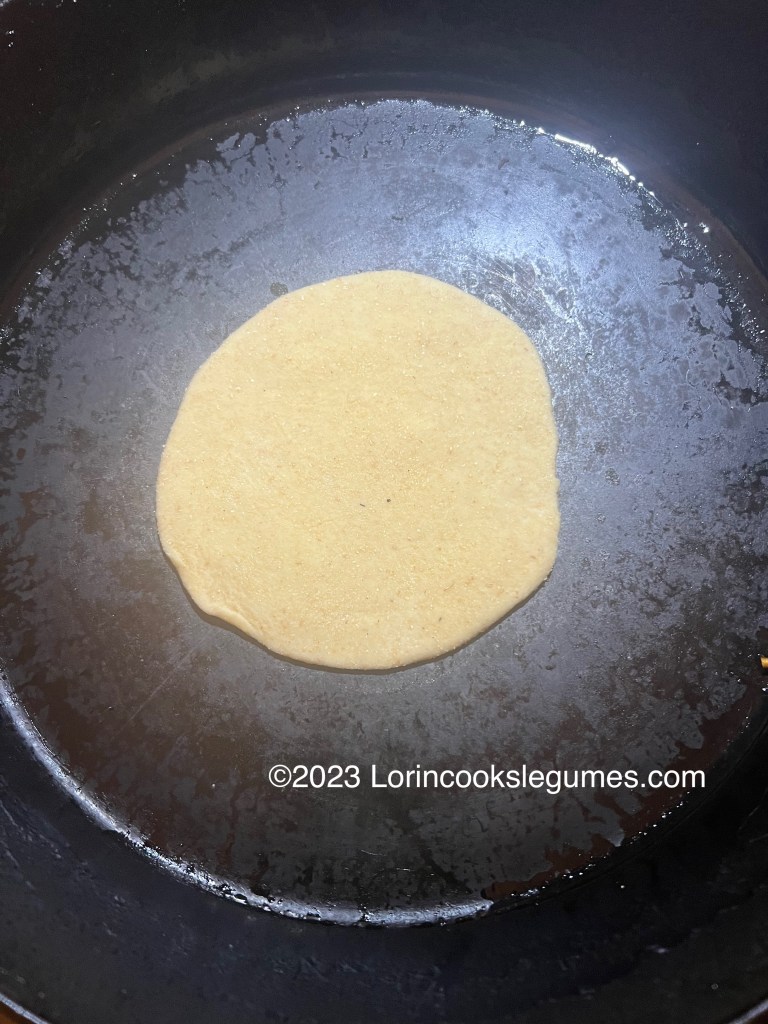
Heat a heavy skillet over medium-high heat. It should be very hot, but not quite smoking. Take a roti and dust off any excess flour before placing it on the hot pan. Cook for about 30 seconds, just until the top starts to look dry. You might see a few small bubbles start to appear. Now flip the roti. There should be a few brown spots, but the first side shouldn’t be fully cooked. Cook the second side about 30 seconds longer than you cooked the first side, until it is nicely speckled with brown.
Now, if you have a gas stove (or other cooker with an open flame) you can remove the chapati from the pan and flip it so the first side is down, directly over the flame. If you have rolled the dough evenly and not overcooked it on the pan, it should puff up like a balloon. Cook for a few seconds until nicely speckled with brown spots, and maybe even lightly charred in a few spots- don’t let it really burn though.
If you don’t have a gas stove (like me) or just feel iffy about cooking directly on the flame, don’t worry, you can still make nice, puffed, soft roti. Just flip the roti back onto the partially cooked first side and then use your spatula or a clean kitchen cloth to press down the roti all over, especially around the edges, which encourages it to puff.
Getting the roti to puff is the challenging part, requiring all the previous steps to come together. The biggest contributing factor to the failure to puff is uneven rolling- use even pressure across the whole roti, and don’t let the edges get thinner. Cooking too slowly will also cause the chapati to dry out and not puff properly. You may need to adjust your heat as you cook to keep the pan hot, but not burn the chapatis. Out of 12 roti, I only had one that fully puffed up, so I guess I haven’t fully mastered the art of rolling yet! Don’t worry, they should still taste delicious even if they don’t puff.
Once the roti is cooked brush lightly with melted ghee or oil, and place it in a tortilla steamer or a zip lock bag lined with a paper towel, or wrap in a clean cloth. Allowing the roti to steam for a few minutes will make it soft and delicious.


Roti/Chapati
Yield: 12 roti
Prep: 20 minutes
Cook: 25 minutes
Total: 45 minutes hands-on, plus 30 minutes for the dough to rest.
2 ¼ cups atta flour (divided)
1 teaspoon salt
1 ½ Tablespoons oil
¾ – 1 cup warm water
1-3 Tablespoons Melted ghee
OR
1-3 Tablespoons Melted butter
Optional:
2 Cups Bread flour, in place of atta
Butter for frying roti.
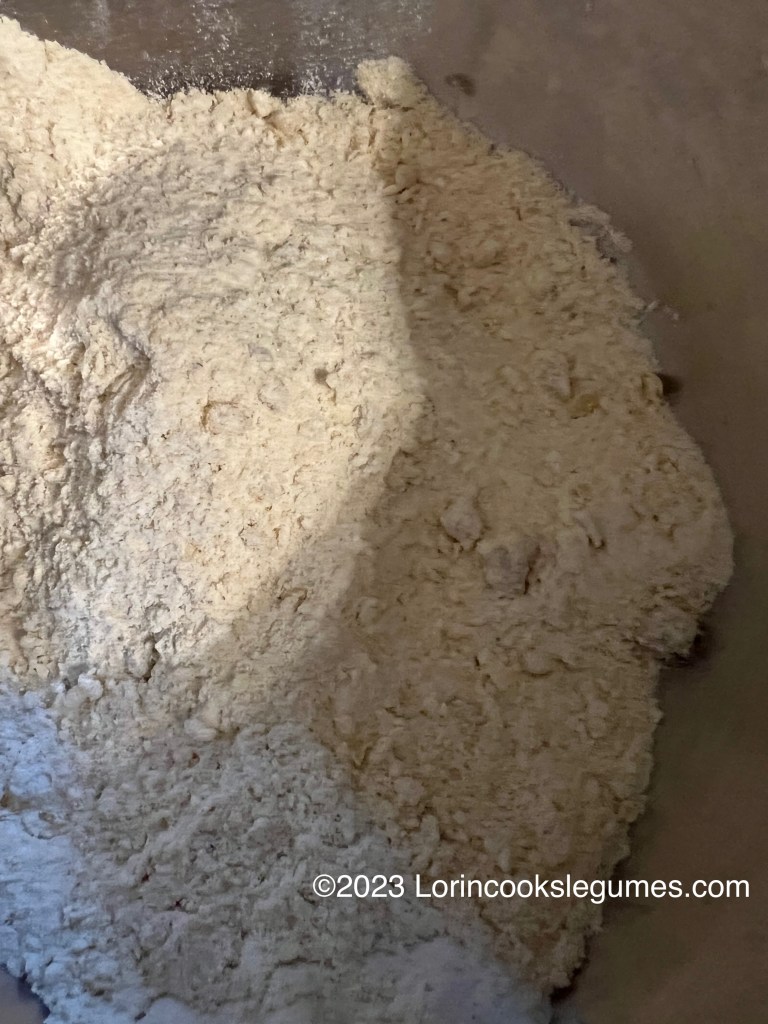
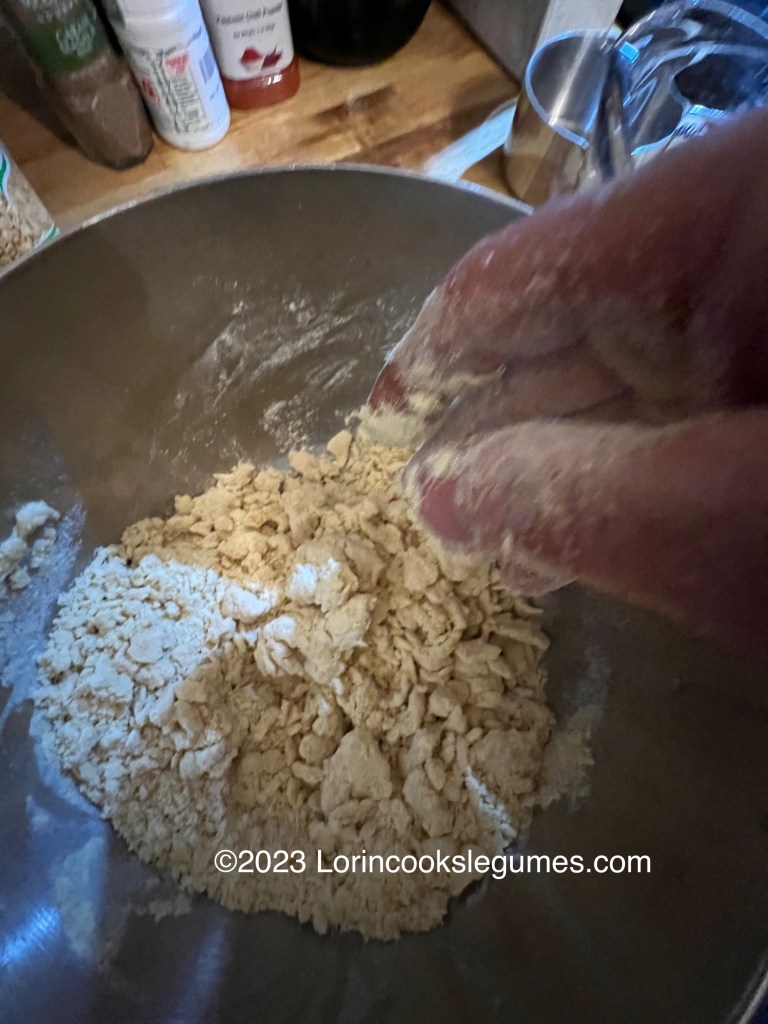
Combine 2 cups of the flour and the salt in a large bowl. Add oil and work it in with your fingers until the mixture resembles coarse meal.
Add the water, a little at a time, mixing well, until a tacky dough forms. It shouldn’t be too stiff or too sticky. Knead the dough for 5-7 minutes, until it is smooth and pliable. Form into a ball, cover with a damp towel, and leave to rest for at least 30 minutes. (This isn’t a yeasted dough, so it won’t rise. Resting allows the gluten to relax, making it easier to roll out the dough.)
Briefly knead the dough again, then divide it into 12 even portions. Roll into smooth balls and cover with a damp towel.
Keeping the remaining portions covered, take one ball and flatten it between your hands. Put the remaining flour on a plate and dust the dough on all sides. Use a rolling pin to roll the dough into a thin circle 5-8 inches in diameter. Lift and turn the dough every couple of rolls and dust with more flour if it begins to stick. Cover the rolled roti with the damp towel and repeat with the remaining balls. (With practice you should be able to roll one roti while the previous one cooks, but for beginners I recommend rolling them all first)
Heat a griddle or cast iron skillet over medium-high heat until very hot, but not quite smoking. Use your hands to dust any excess flour off a roti and place it on the pan. Cook for about 30 seconds, until the dough looks dry and air bubbles begin to form. The bottom should be just starting to show some brown spots. Flip and cook on the other side for about 1 minute until the second side is nicely speckled with brown. Flip again, and using a clean cloth, paper towel, or your spatula press the roti to encourage it to puff. Flip once more and cook for a few more seconds. Each side should be nicely speckled with brown, even a few black, spots and if you’ve rolled the roti evenly it should have completely puffed. Remove from the pan, brush with melted ghee or butter, and place in a paper towel-lined zip-lock bag or tortilla steamer, or wrap in a clean towel.
Cook the remaining roti the same way, adjusting heat as needed so that they cook quickly, but do not burn.
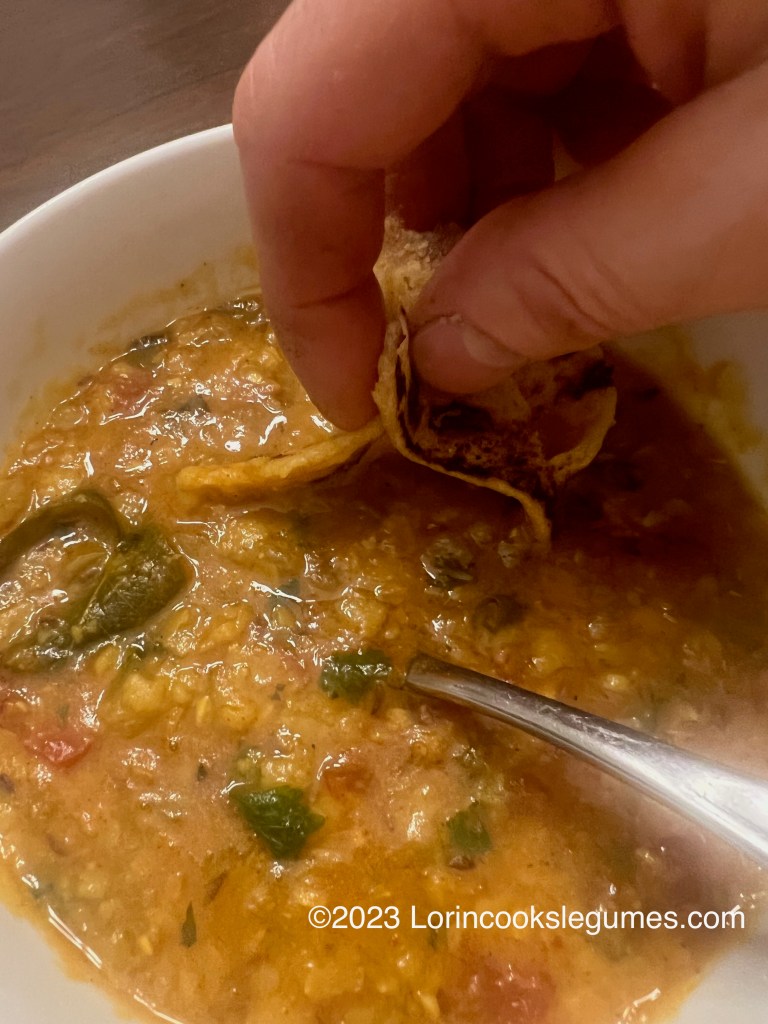
Serve with dal or your favorite curry.

“white whole wheat flour” seems like a contradiction in terms. “White” flour has had the germ, endosperm and bran removed — that’s why it’s white. Whole wheat flour is just the opposite — it’s still got all the germ, endosperm and bran and is brown.
LikeLike
It does sound like a contradiction, and I remember thinking the same thing the first time I ran across it.
Here in the US, and I assume the same is true in the UK, if you go to the grocery store to buy apples you’re going to have several different named varieties to choose from; gala, honey crisp, fuji…, and there are also several other broader categories you might base your choice on red vs. green, cooking vs. eating fresh, sweet vs. tart…
The same is true of wheat, except that no one really thinks about variety names beyond the farmer deciding which variety to grow, as different varieties mostly gets mixed together when it’s sold to the mills, but some of those broader categories do matter, and in this case it’s red wheat vs. white wheat.
Red wheat has a reddish color, and makes the hearty, nutty, flour that we usually associate with whole wheat. White wheat has a lighter, golden color, and therefore makes a lighter colored, milder flavored flour, and is often used to make whole wheat pastry and items that want a lighter texture or color.
So white whole wheat flour is simply whole wheat flour made from white wheat. Perhaps it would be better described as “whole white wheat flour”, but the way I worded it in my recipe seems to be the standard way it is labeled by millers in the US. Maybe it goes by a different name in the UK?
LikeLike
Many thanks for such a quick, detailed and helpful reply.
I’ve never seen a distinction made between red and white wheat in a UK store or on any packaging. Flour here is just described as plain. self-raising, brown, wholemeal, etc, with “strong” versions of some flours, for breadmaking. That said, there’s been a big increase in the variety of non-wheat or “ancient grain” flours being sold here in recent years, such as rye, spelt, emmer, einkorn, millet, etc.
Apparently, most wheat grown in the UK is red, as the climate suits it better (currently, at least), so that’ll be what’s used for flour made from non-imported wheat.
Again., thank you for your reply.
LikeLike